12
Advanced Print Features
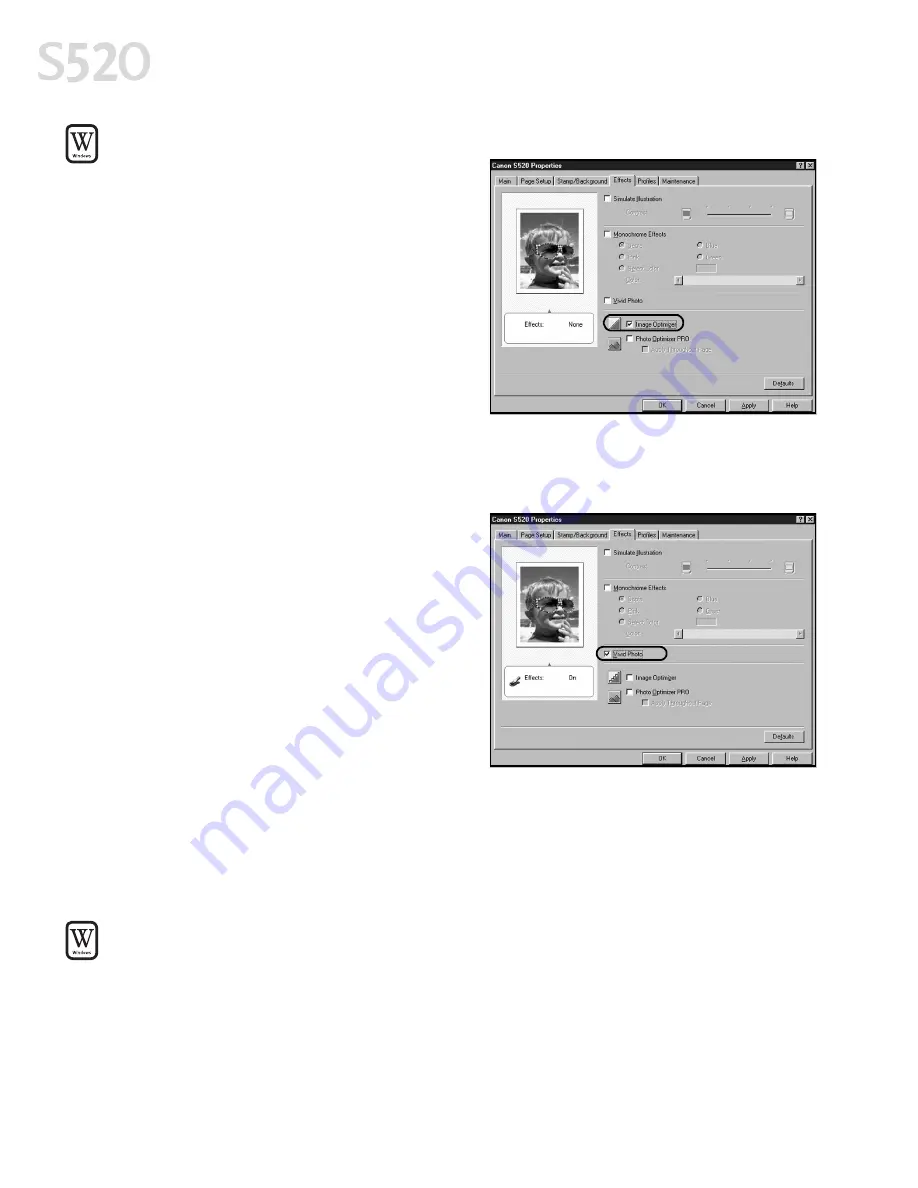
To automatically make images smoother in Windows:
To automatically make images smoother in Windows:
To automatically make images smoother in Windows:
To automatically make images smoother in Windows:
Image Optimizer smooths jagged edges
formed when enlarging a photo or
graphic from its original size. It is most
effective when used with low-resolution
images.
1.
From an application File
File
File
File menu, click
Print.
2.
With Canon S520
Canon S520
Canon S520
Canon S520 as the selected
printer, click Properties
Properties
Properties
Properties.
3.
Click the Effects
Effects
Effects
Effects tab, then select the
Image Optimizer
Image Optimizer
Image Optimizer
Image Optimizer check box.
4.
Click OK
OK
OK
OK to save this setting and close the dialog box.
To use the Vivid Photo Option:
To use the Vivid Photo Option:
To use the Vivid Photo Option:
To use the Vivid Photo Option:
Vivid photo intensifies background
colors for fields, trees, oceans and skies,
while maintaining natural skin tones in
the images.
To use Vivid Photo, select the Vivid Photo
Vivid Photo
Vivid Photo
Vivid Photo
check box on the Effects
Effects
Effects
Effects tab.
Adjusting Color Balance, Intensity and Brightness
Adjusting Color Balance, Intensity and Brightness
Adjusting Color Balance, Intensity and Brightness
Adjusting Color Balance, Intensity and Brightness
You can enhance color printing by adjusting the color balance, intensity
(saturation) and brightness.
To manually adjust color settings in Windows:
To manually adjust color settings in Windows:
To manually adjust color settings in Windows:
To manually adjust color settings in Windows:
1.
From an application File
File
File
File menu, click Print
Print.
2.
With Canon S520
Canon S520
Canon S520
Canon S520 as the selected printer, click Properties
Properties
Properties
Properties.
S520_QSG.book Page 12 Thursday, October 11, 2001 4:22 PM
Содержание Color Bubble Jet S520
Страница 4: ...iv Contents ...
Страница 36: ...32 Using Your Photo Applications ...
Страница 46: ...42 Troubleshooting ...


