6. Photography Auxiliary Functions
-34-
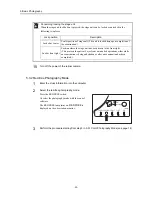
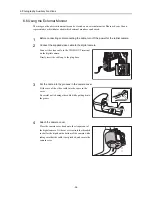
6.3 Small pupil photography function
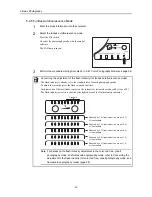
The small pupil photography function can be used in the
color, red free or cobalt photography mode.
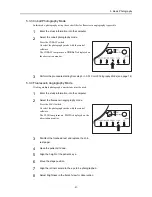
To activate this function, press the small pupil photography
switch on the operation panel.
The small pupil photography lamp turns on brightly.
During the non-mydriatic mode, the small pupil photography
indication (
) and effective photography range are
displayed on the observation monitor. For the details on the
required pupil diameter, refer to
8.2 Functions in the
Observation and Photography Modes (page 54)
.
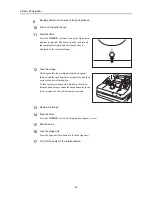
Note: Do not use the small pupil photography function when the patient’s eyes have been
thoroughly dilated. The images will be overexposed.
Note: The images may contain flare around the edges of the images outside the photography
range.
6.4 Diopter Compensation Function
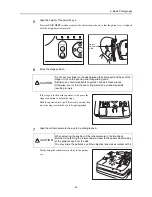
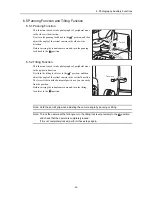
If the target cannot be brought into focus by turning the focus
knob, use the diopter compensation lever to insert the diopter
compensation lens, and take the photographs. Given below is
the diopter range in which images can be photographed.
0 position: –10 to +15 D
– position: –7 to –31 D
+ position: +11 to +33 D
Note that the focus indicator
(see page 33)
cannot be used
when the diopter compensation lever is set to the – or +
position. To bring the target into focus in the non-mydriatic mode, turn the focus knob until the fundus
image is clearly visible on the observation monitor; similarly, to bring it into focus in the mydriatic mode,
turn the focus knob until the cross hair lines and the fundus images are clearly visible in the viewfinder.
Note: When operating the diopter compensation lever, set it precisely to the 0, – or + position.
If the lever is set to a position midway between two settings, fundus images will not be
taken properly.
Small pupil photography indicator
Small pupil photography switch
COLOR R
Small pupil photography range
Diopter
compensation
lever

