4. Preparation
-10-
4.3 Carrying the Instrument
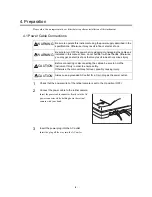
This is the procedure when carrying the instrument by hand.
1
Turn off the power of the retinal camera.
Press the power switch of the retinal camera to the
O
side (OFF).
2
Remove the connected cables.
Remove all power cables and USB cables.
3
Secure the parts in place.
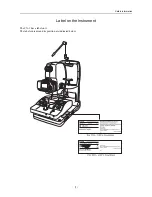
Tighten the panning lock knob, tilting lock lever and the stage unit lock.
4
Carry the retinal camera main unit.
Hold the retinal camera main unit by holding the carrying indentations at the left and right of the
bottom panel, and carrying the unit kept horizontally.
Note: If this product will be transported in an automobile or shipped a long distance, protective
measures need to be taken for vibrations and shocks. Ask a Canon representative or
distributor for more information.
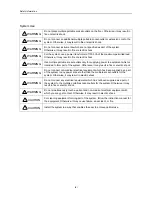
WARNING
When the instrument is going to be moved, be sure to turn OFF the power,
unplug the power cable from the AC outlet, and disconnect other cables.
Otherwise, the cable may be damaged, which may result in fire or electric
shock.
Also, when the instrument is going to be carried, be sure to tighten the
stage unit lock, the panning lock knob and the tilting lock lever, hold the
indentations at the left and right of the bottom panel, and hold the
instrument horizontally.
Do not hold it by the digital camera or the face rest poles or other parts, as
they may come off and result in injury.
WARNING
Do not hit or drop the instrument. The instrument may be damaged if it
receives a strong jolt, which may result in fire or electric shock if the
instrument is used without it being repaired.
To remove the digital camera before carrying the retinal camera
See section
7.5.1 Removing the Digital Camera (page 48)
.

