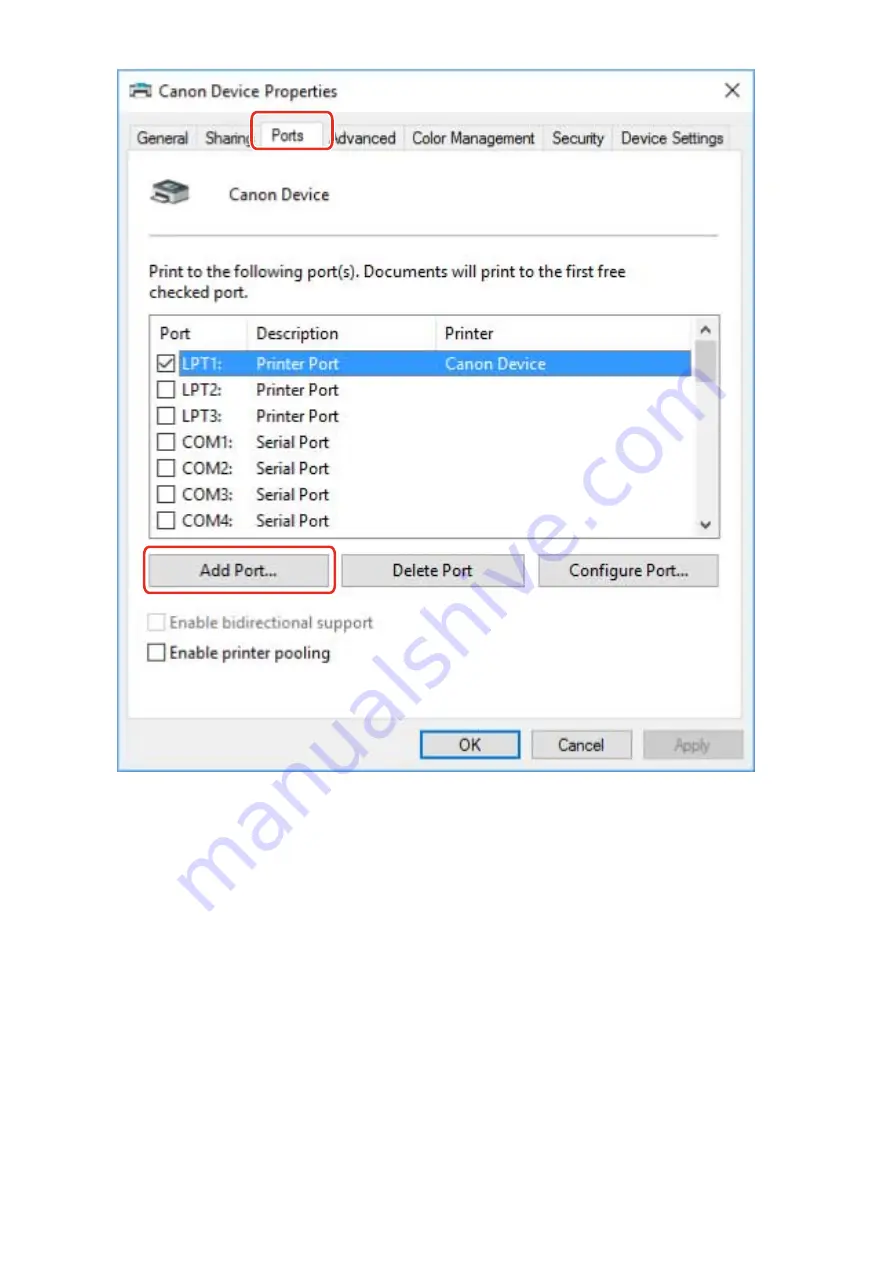
4
In the [Printer Ports] dialog box, select [Standard TCP/IP Port] from [Available port
types] → click [New Port].
5
Proceed with the operation according to the instructions on the wizard, then enter the
device name or IP address.
[Port Name] is automatically entered. Change the port name if required.
If the [Additional port information required] screen is displayed, click the subsequent "Open details" and
perform the necessary operations.
Perform one of the following.
- Return to the previous screen in the wizard → re-enter the information for [Printer Name or IP Address] →
click [Next].
- Select [Device Type] > [Standard] > [Canon Network Printing Device with P9100] → click [Next].
Depending on the device you are using, the name you select in [Device Type] > [Standard] may differ from
[Canon Network Printing Device with P9100].
6
Click [Finish].
Changing Settings to Match the Usage Environment
49
Содержание CARPS2
Страница 6: ...Introduction How to Use the Manual P 3 Disclaimers P 5 Copyright P 6 Trademarks P 7 Introduction 2 ...
Страница 12: ...About This Driver About This Driver 9 About This Driver 8 ...
Страница 14: ...Related Topics Printing from a Desktop App P 57 Printing from a Store App P 60 About This Driver 10 ...
Страница 15: ...Before Use Before Use 12 Before Use 11 ...
Страница 55: ...10 Click Close Changing Settings to Match the Usage Environment 51 ...
Страница 67: ...3 Click More settings Printing 63 ...
Страница 76: ... paste mark cut mark Margin Width Related Topics Layout Sheet P 118 Printing 72 ...
Страница 97: ...Related Topics Main Sheet P 115 Layout Sheet P 118 Booklet Printing P 85 Creating a Booklet 93 ...
Страница 115: ... Device Settings Administrator Settings Sheet P 132 Coordinating with the Device Functions 111 ...


