36
N650U/N656U/N1220U Getting Started
○
○
○
○
○
○
○
○
○
○
○
○
○
○
○
○
○
○
○
○
○
○
○
○
○
○
○
○
○
○
○
○
○
○
7.
Proceed with the installation by following the on-
screen instructions.
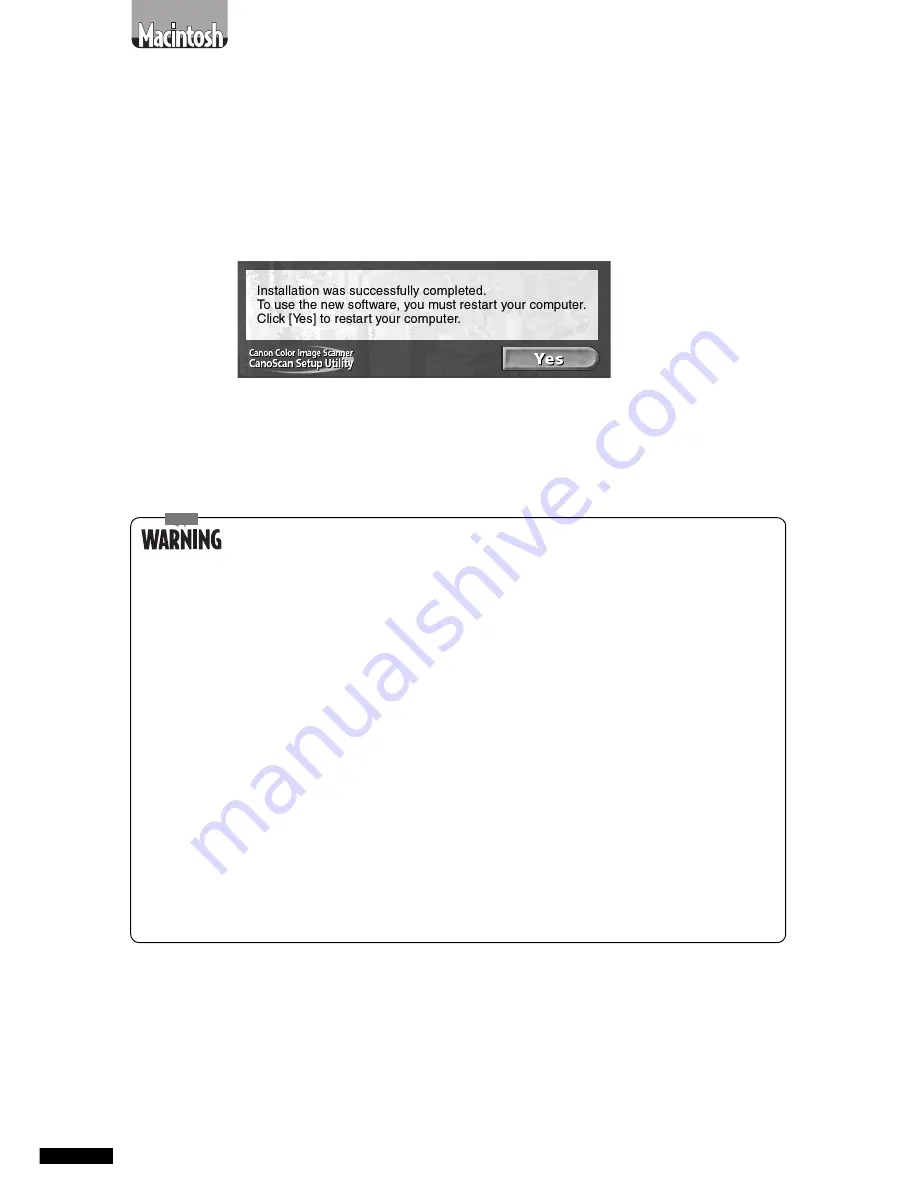
After all the software programs have been installed, restart the
computer as prompted by the on-screen instruction.
○
○
○
○
○
○
○
○
○
○
○
○
○
○
○
○
○
○
○
○
○
○
○
○
○
○
○
○
○
○
○
○
○
○
8.
Remove the CanoScan Setup Utility CD-ROM from
the drive.
Handle the CD-ROM with care, placing it into a protective case.
• Manually install the software if the CanoScan Setup Utility menu
window does not display and you cannot follow the prescribed
installation procedures. Double-click the following icons.
To install CanoScan Toolbox CS:
[CanoScan Toolbox Installer]
To install PhotoStudio 2000:
[PhotoStudio]-[English]-[ArcSoft PhotoStudio]
To install PhotoBase:
[PhotoBase]-[English]-[ArcSoft PhotoBase]
To install OmniPage SE:
[OmniPage]-[English]-[OmniPage 8 SE Installer]
To install Adobe Acrobat Reader:
[Adobe Acrobat® Reader]-[English]-[Reader 4.05 Installer]
To install Canon Plug-in Module CS-U: [Canon Plug-in Module Installer]
• Install Canon Plug-in Module CS-U last. Install a copy of it
into each application program’s folder. You must restart the
computer after installation.
• To manually display an electronic manual, select the language
from [Manual] folder on the CanoScan Setup Utility CD-ROM
and select the appropriate PDF file.
After you have installed the software, the next step is to connect the
scanner to the computer. Proceed to the next page.


