


Advanced Guide
>
Appendix
> Printing Area
Printing Area
To ensure the best print quality, the machine allows a margin along each edge of media. The actual
printable area will be the area inside these margins.
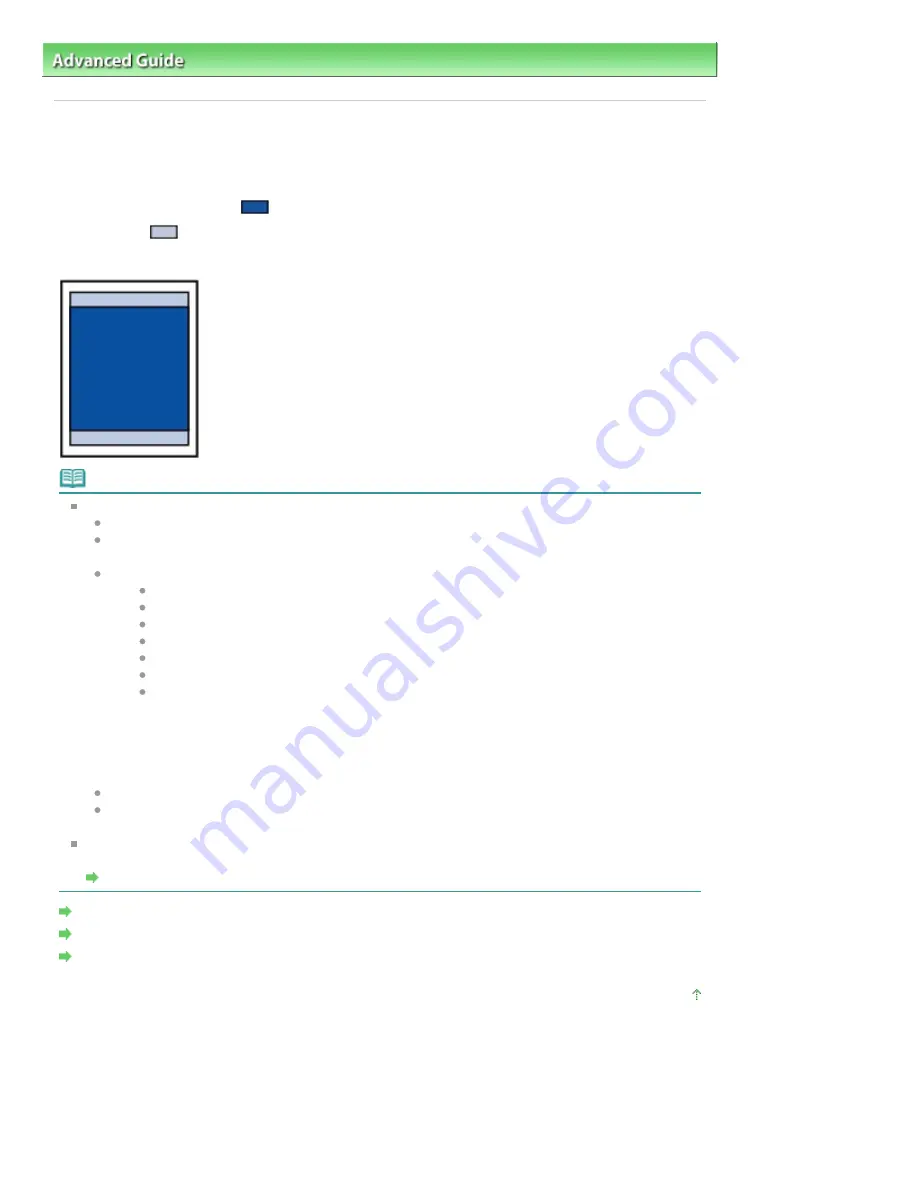
Recommended printing area
: Canon recommends that you print within this area.
Printable area
: The area where it is possible to print.
However, printing in this area can affect the print quality or the paper feed precision.
Note
Borderless Printing
By selecting Borderless Printing option, you can make prints with no margins.
When performing Borderless Printing, slight cropping may occur at the edges since the printed
image is enlarged to fill the whole page.
For Borderless Printing, use the following paper:
Glossy Photo Paper "Everyday Use" GP-501
Photo Paper Glossy GP-502
Photo Paper Plus Semi-gloss SG-201
Photo Paper Pro Platinum PT-101
Photo Paper Plus Glossy II PP-201
Photo Paper Pro II PR-201
Matte Photo Paper MP-101
Performing Borderless Printing on any other type of paper may substantially reduce printing
quality and/or result in printouts with altered color hues.
Borderless Printing on plain paper may result in printouts with reduced quality. Use them only
for test printing. You can perform Borderless Printing on plain paper only when printing from
your computer.
Borderless Printing is not available for legal, A5, or B5 sized paper, or envelopes.
Depending on the type of paper, Borderless Printing may reduce the print quality at the top and
bottom edges of the paper or cause these parts to become smudged.
In Borderless Copying, you can specify the amount of extension by Extended copy amount in Device
settings.
Changing the Machine Settings on the LCD
Letter, Legal
Envelopes
Other Sizes than Letter, Legal, Envelopes
Page top
Page 1001 of 1086 pages
Printing Area
Содержание 4205B002
Страница 10: ...To change the beep volume see Machine Settings Page top Page 10 of 1086 pages Main Components ...
Страница 28: ...Page top Page 28 of 1086 pages Entering Numbers Letters and Symbols ...
Страница 33: ...Page top Page 33 of 1086 pages Setting the Receive Mode ...
Страница 59: ...correct the settings Page top Page 59 of 1086 pages Printing Photos Saved on the Memory Card USB Flash Drive ...
Страница 68: ...Page top Page 68 of 1086 pages Inserting the USB Flash Drive ...
Страница 117: ...Page top Page 117 of 1086 pages Loading Originals on the Platen Glass ...
Страница 122: ...Page top Page 122 of 1086 pages Loading Documents in the ADF ...
Страница 124: ...Page top Page 124 of 1086 pages Originals You Can Load ...
Страница 132: ...Page top Page 132 of 1086 pages Cleaning the Print Head ...
Страница 144: ...Page top Page 144 of 1086 pages Cleaning the Paper Feed Roller ...
Страница 181: ...Page top Page 181 of 1086 pages Printing Photos ...
Страница 189: ...How Can I Move or Copy the Saved File What Is C1 or C4 Page top Page 189 of 1086 pages Creating an Album ...
Страница 198: ...3 Click Print Note See Help for details on the Print Settings screen Page top Page 198 of 1086 pages Printing ...
Страница 200: ...Questions and Answers How Can I Move or Copy the Saved File Page top Page 200 of 1086 pages Printing Calendars ...
Страница 203: ...See Help for details on the Page Setup screen Page top Page 203 of 1086 pages Selecting the Paper and Layout ...
Страница 206: ...See Help for details on the Edit screen Page top Page 206 of 1086 pages Editing ...
Страница 208: ...Note See Help for details on the Print Settings screen Page top Page 208 of 1086 pages Printing ...
Страница 215: ...Page top Page 215 of 1086 pages Printing ...
Страница 222: ...Note See Help for details on the Print Settings screen Page top Page 222 of 1086 pages Printing ...
Страница 224: ...Adjusting Images Page top Page 224 of 1086 pages Correcting and Enhancing Photos ...
Страница 232: ...Page top Page 232 of 1086 pages Using the Face Brightener Function ...
Страница 248: ...Page top Page 248 of 1086 pages Correct Enhance Images Window ...
Страница 258: ...Page top Page 258 of 1086 pages Cropping Photos Photo Print ...
Страница 262: ...Page top Page 262 of 1086 pages Printing an Index ...
Страница 302: ...Page top Page 302 of 1086 pages Borderless Printing ...
Страница 307: ...Selecting Scaled changes the printable area of the document Page top Page 307 of 1086 pages Scaled Printing ...
Страница 358: ...Page top Page 358 of 1086 pages Smoothing Jagged Outlines ...
Страница 481: ...Page top Page 481 of 1086 pages Scanning Multiple Documents at One Time from the ADF Auto Document F ...
Страница 505: ...View Use Window Page top Page 505 of 1086 pages Classifying Images into Categories ...
Страница 542: ...Defaults Restores the default settings Page top Page 542 of 1086 pages Scan Settings Dialog Box Photos Documents ...
Страница 572: ...Page top Page 572 of 1086 pages Send via E mail Dialog Box ...
Страница 593: ...Page top Page 593 of 1086 pages Save Dialog Box ...
Страница 641: ...Advanced Mode Tab Page top Page 641 of 1086 pages Scanning in Advanced Mode ...
Страница 674: ...Page top Page 674 of 1086 pages Basic Mode Tab ...
Страница 729: ...Page top Page 729 of 1086 pages Registering Coded Speed Dial Numbers ...
Страница 793: ...Page top Page 793 of 1086 pages Sending a FAX ...
Страница 991: ...Page top Page 991 of 1086 pages Problems Sending Faxes ...
Страница 1015: ...Page top Page 1015 of 1086 pages Installing the MP Drivers ...
Страница 1020: ...Page top Page 1020 of 1086 pages Notice for Unplugging the Power Cord ...
Страница 1023: ...Page top Page 1023 of 1086 pages Using Easy PhotoPrint EX ...
Страница 1052: ...Page top Page 1052 of 1086 pages How to Set a Network Key Network Password Passphrase ...
Страница 1064: ...Page top Page 1064 of 1086 pages Checking Information about the Network ...
Страница 1081: ...Advanced Guide About Network Communication Glossary Glossary About Technical Terms Page top Page 1081 of 1086 pages Glossary ...


