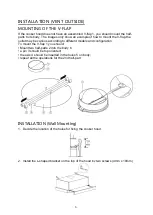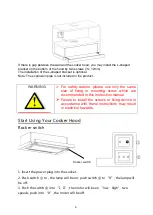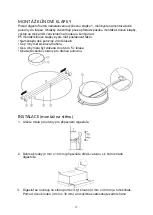
If there is gap between the wall and the cooker hood, you may install the L-shaped
bracket on the bottom of the hood by two screws (3 x 12mm).
The installation of the L-shaped bracket is optional.
Note: The expansion pipe is not included in the product.
WARNING:
For safety reason, please use only the same
size of fixing or mounting screw which are
recommended in this instruction manual.
Failure to install the screws or fixing device in
accordance with these instructions may result
in electrical hazards.
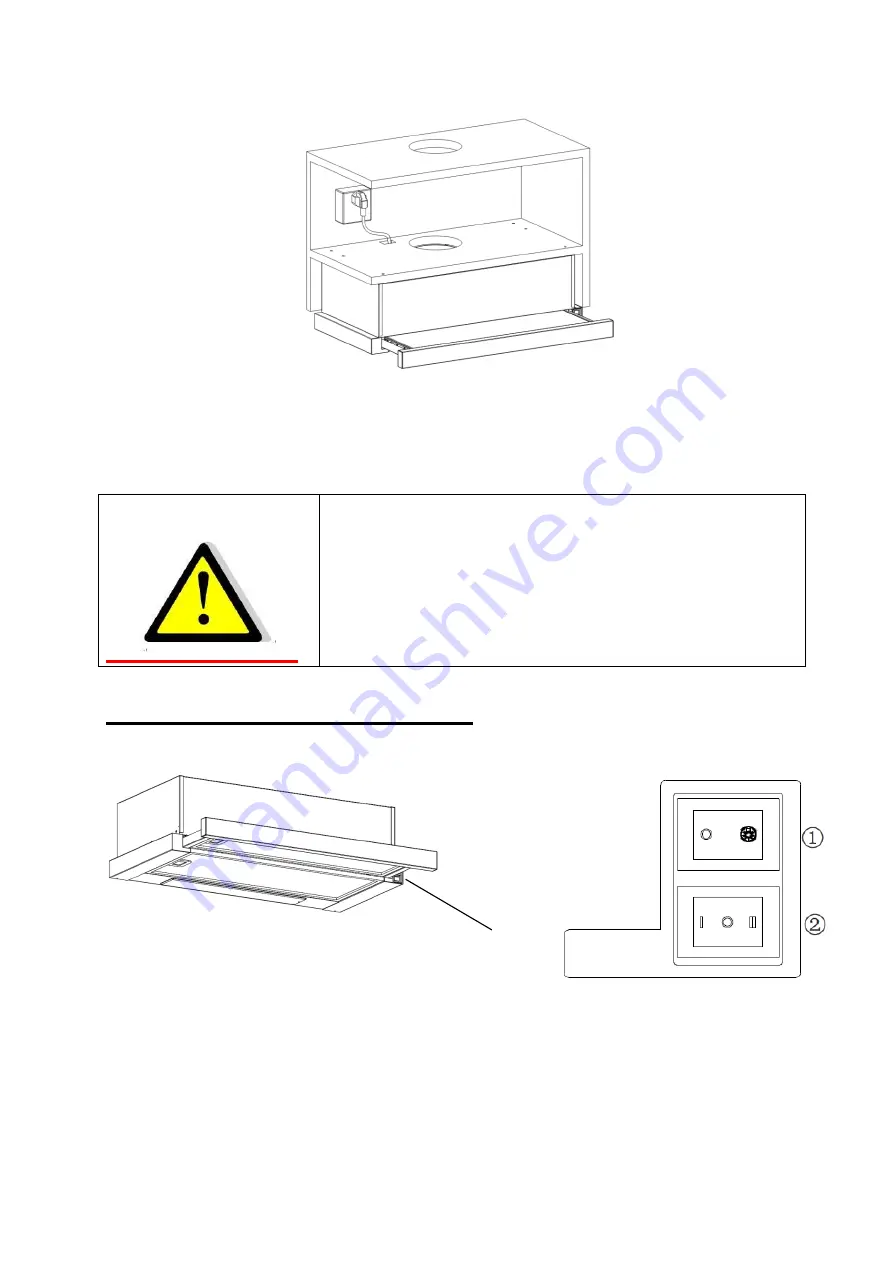
Start Using Your Cooker Hood
Rocker switch
Rocker switch
1. Insert the power plug into the socket.
2. Push switch
①
to , the lamp will be on; push switch
①
to “0”, the lamp will
be off.
3. Push the switch
②
into “I
、
II”, the motor will be on “low
、
high” two
speeds, push into “0”, the motor will be off.
8
Содержание CBT625/2N
Страница 2: ...Cooker Hood Instruction Manual 1 ...
Страница 8: ...7 ...
Страница 14: ...Digestoř Návod k obsluze 13 ...
Страница 20: ...19 ...
Страница 26: ...Abzugshaube Bedienungshandbuch 25 ...
Страница 32: ...31 ...
Страница 39: ...Hotte aspirante Manuel d instruction 38 ...
Страница 45: ...44 ...
Страница 52: ...Napa za štednjak Priručnik s uputama 51 ...
Страница 58: ...57 ...
Страница 64: ...Okap kuchenny Instrukcja obsługi 63 ...
Страница 70: ...2 Zamontuj okap kuchenny na szafce za pomocą 6 śrub 4x35 mm i płaskich podkładek 69 ...
Страница 77: ...Exaustor Manual de instruções 76 ...
Страница 83: ...82 ...
Страница 90: ...Kuchynský odsávač Návod na obsluhu 89 ...
Страница 96: ...95 ...
Страница 103: ...Kuhinjska napa Navodila za uporabo 102 ...
Страница 109: ...108 ...
Страница 115: ...Kuhinjski aspirator Uputstvo 114 ...
Страница 121: ...120 ...


