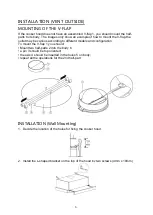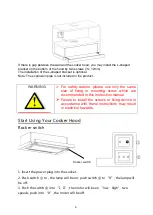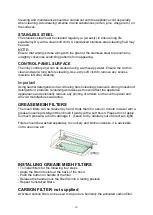
4. The power will be connected when pull out the front panel. Conversely, the
power will be automatically disconnected.
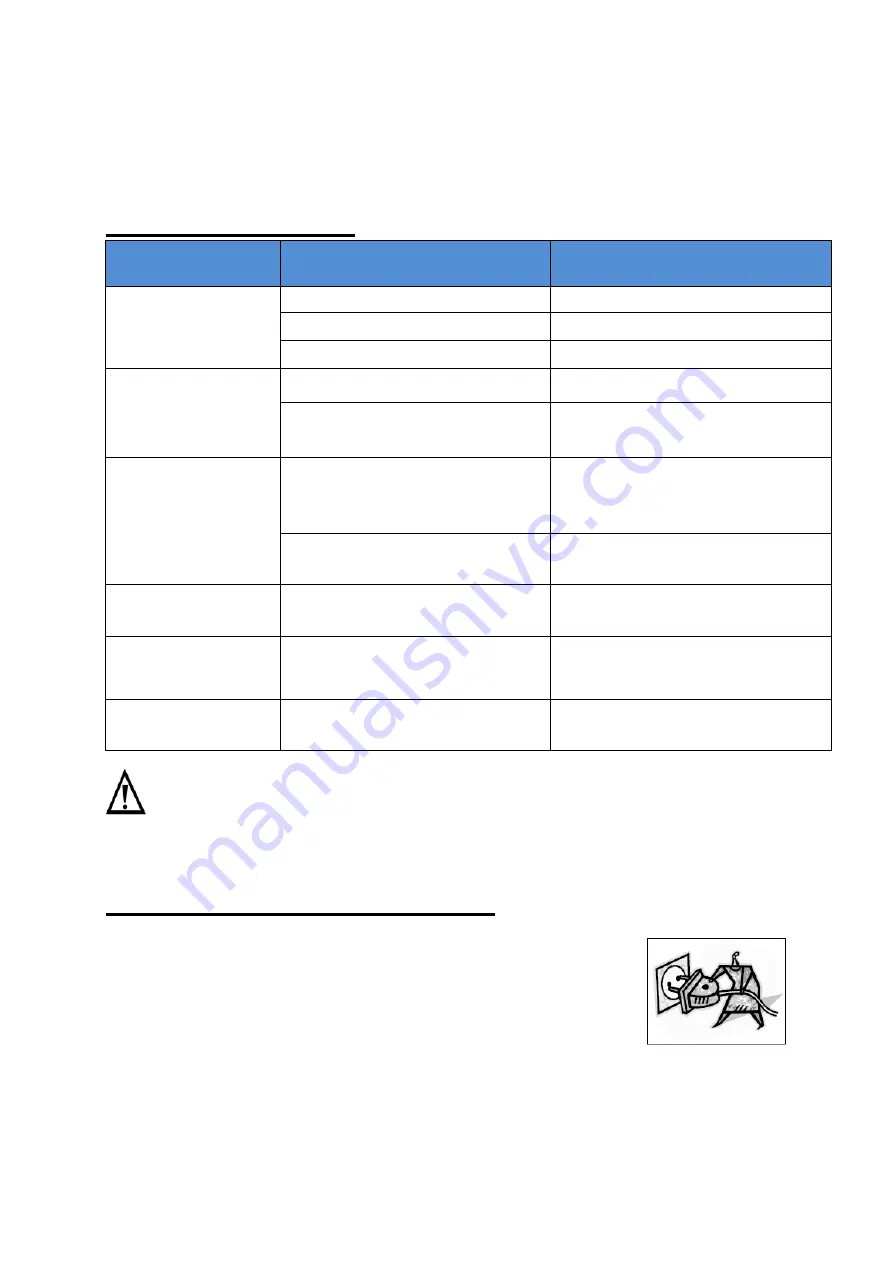
TROUBLESHOOTING
Fault
Possible Cause
Solution
Light on, but motor
does not work
Fan switch turned off
Select a fan switch position.
Fan switch failed
Contact service center.
Motor failed
Contact service center.
Light does not
work, motor does
not work
House fuses blown
Reset/Replace fuses.
Power cord loose or
disconnected
Refit cord to power outlet.
Switch power outlet on.
Oil leakage
One way valve and the outlet
are not tightly sealed
Take down the one way valve
and seal with sealant.
Leakage from the connection of
chimney and cover
Take chimney down and seal.
Lights not working
Broken/Faulty globes
Replace globes as per this
instruction.
Insufficient suction
The distance between the
cooker hood and the gas top is
too far
Refit the cooker hood to the
correct distance.
The Cooker hood
inclines
The fixing screw not tight
enough
Tighten the hanging screw and
make it horizontal.
NOTE:
Any electrical repairs to this appliance must conform to your local, state and
federal laws.Please contact the service centre if in any doubt before
undertaking any of the above.Always disconnect the unit from the power source when
opening the unit.
MAINTENANCE AND CLEANING
Caution:
• Before maintenance or cleaning is carried out, the cooker hood
should be disconnected from the main power supply. Ensure
that the cooker hood is switched off at the wall socket and the
plug removed.
• External surfaces are susceptible to scratches and abrasions, so please follow the
cleaning instructions to ensure the best possible result is achieved without damage.
GENERAL
9
Содержание CBT625/2N
Страница 2: ...Cooker Hood Instruction Manual 1 ...
Страница 8: ...7 ...
Страница 14: ...Digestoř Návod k obsluze 13 ...
Страница 20: ...19 ...
Страница 26: ...Abzugshaube Bedienungshandbuch 25 ...
Страница 32: ...31 ...
Страница 39: ...Hotte aspirante Manuel d instruction 38 ...
Страница 45: ...44 ...
Страница 52: ...Napa za štednjak Priručnik s uputama 51 ...
Страница 58: ...57 ...
Страница 64: ...Okap kuchenny Instrukcja obsługi 63 ...
Страница 70: ...2 Zamontuj okap kuchenny na szafce za pomocą 6 śrub 4x35 mm i płaskich podkładek 69 ...
Страница 77: ...Exaustor Manual de instruções 76 ...
Страница 83: ...82 ...
Страница 90: ...Kuchynský odsávač Návod na obsluhu 89 ...
Страница 96: ...95 ...
Страница 103: ...Kuhinjska napa Navodila za uporabo 102 ...
Страница 109: ...108 ...
Страница 115: ...Kuhinjski aspirator Uputstvo 114 ...
Страница 121: ...120 ...


