


Appendix B - Setting Network ID
38
MLRemote User's Guide
Setting the Network ID
The Network ID must be same for all MLRemote devices communicating with a single MLBase. Each MLBase has a
unique Network ID.
Using a direct connection to the MLRemote, while leaving the MLBase inactive, allows MLWebHardware to send a
signal to the XBee radio inside MLRemote module, updating the settings on the module itself.
Hint - The details on the Information card of the MLRemote are not important at this point, only the Connection Details.
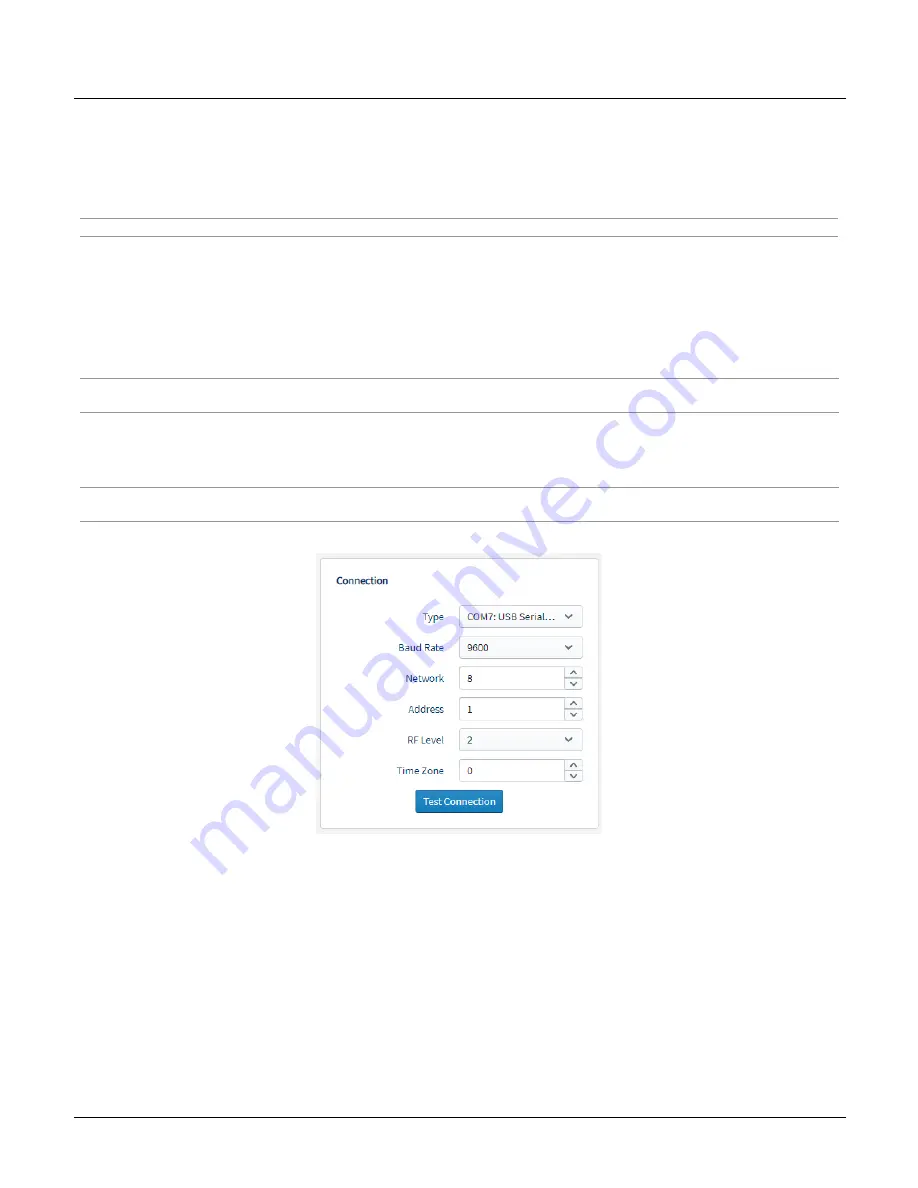
1. From the
Type
drop-down of the Connection card of the MLRemote Configuration form, select the
COM
port
used to connect to the MLRemote.
2. Select "9600" from the
Baud Rate
drop-down list.
3. Press the
Reset
button on the MLRemote Module and wait 10 seconds or until the LCD display flashes,
indicating the MLRemote is operational.
4. Click
Test Connection
to retrieve the MLRemote's current settings.
Note - The MLRemote has a 20 second timeout window. Once it has been awake for 20 seconds, it will go back to sleep. If 20
seconds passes before clicking Test Connection, the Reset button must be pressed again.
5. Update the
Network
field to the desired Network ID.
6. The Address field will have been automatically populated with the MLRemote's serial number in step 4. This
should match the unique Serial Number printed on the label of the MLRemote being configured.
WARNING - Changing the Address value and continuing to update the MLRemote module will change the Address of the
MLRemote module itself, this SHOULD not be done.
7. The RF Level and Time Zone are not important when setting the Network ID.
8. Once the connection is configured, set the MLRemote to
Active
and
Save
the MLRemote configuration. Saving
an Active MLRemote configuration sends the command telling the XBee radio inside the MLRemote Module what
network to use for communicating with the MLBase.
9. Press the
Reset
button on the MLRemote Module and monitor the LCD. Once the LCD stops flashing the
settings have been saved successfully.
Once the Network address is set the custom cable can be disconnected from the MLRemote module.


