User Manual
5
4.4
Set up
LoggerNet
The
LoggerNet
Network Map is configured from the
LoggerNet Setup
screen.
Setup
has two options, EZ (simplified) and Standard. Click on the
View
menu at the top of the
Setup
screen, and select
Standard
view.
From the
LoggerNet
toolbar, click
Main | Setup
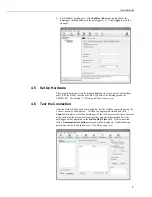
and configure the Network Map
as described below.
1. Select
Add Root | IPPort
.
2. Add a datalogger to the
IPPort
(PakBus® dataloggers, for example the
CR1000, require a PakBusPort).
3. Select the
IPPort
in the Network Map. Enter the LS300G-EU IP address (or
domain name) and port number. The IP address and port number are input in
the
Internet IP Address
field separated by a colon. Preceding zeros are not
entered in the
Internet IP Address
(for example, 070.218.074.247 is entered
as 70.218.74.247).
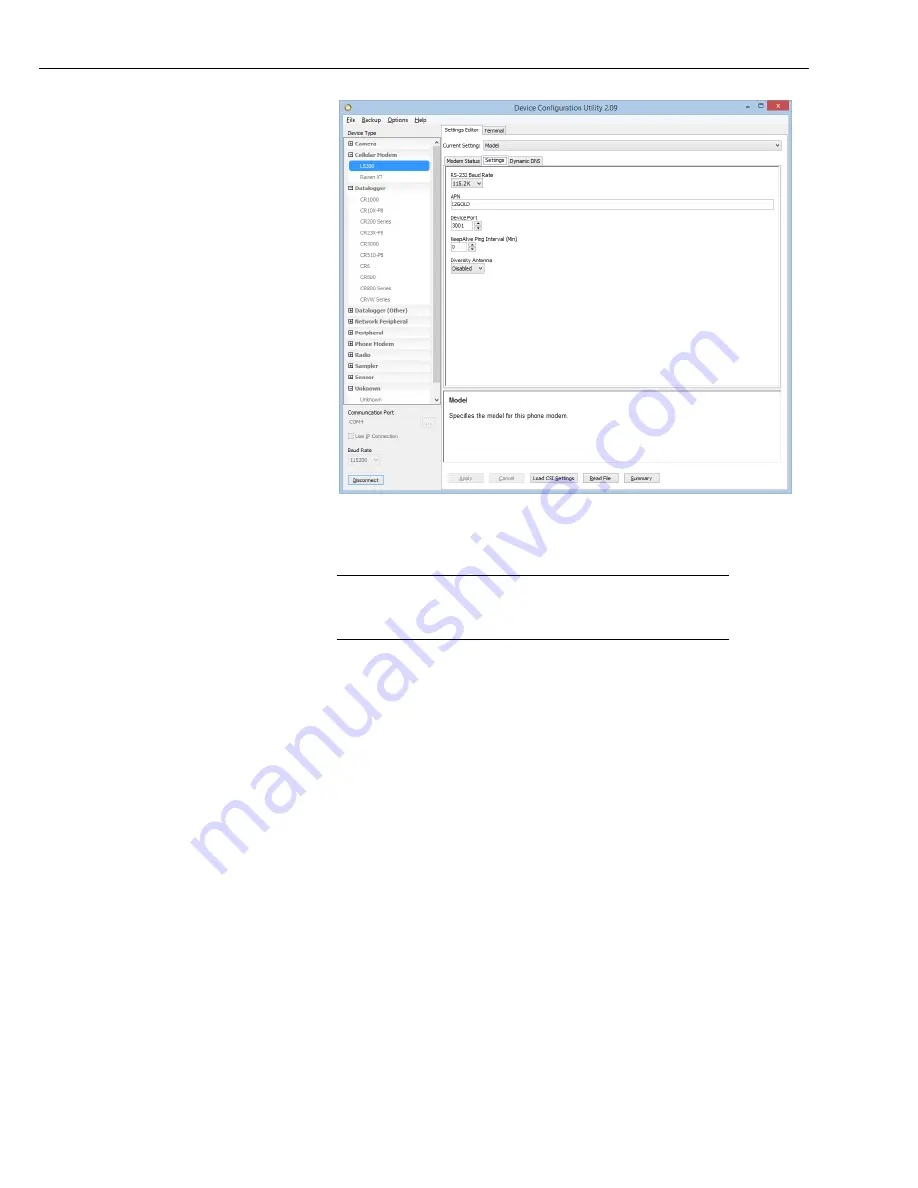
DevConfig
and the LS300G-EU template file configure
the port number to 3001 for serial server mode. Set the
Extra Response
Time
to
4
seconds.
NOTE
Содержание LS300G-EU
Страница 2: ......
Страница 4: ......
Страница 6: ......
Страница 8: ......
Страница 31: ...User Manual 21 Figure 9 1 Can t Connect...
Страница 32: ...LS300G EU GSM GPRS EDGE HSPA Sierra Wireless Cellular Modem 22 Figure 9 2 Can t Connect Network Light is Green...
Страница 33: ...User Manual 23 Figure 9 3 One computer can connect other s cannot...
Страница 34: ...LS300G EU GSM GPRS EDGE HSPA Sierra Wireless Cellular Modem 24...
Страница 40: ...Appendix B EmailSend Using the Gmail Outgoing SMTP Server B 4...
Страница 43: ...Appendix C Configuring the LS300G EU for Dynamic IP C 3 Figure C 1 Serial Server Mode with Dynamic IP...
Страница 44: ...Appendix C Configuring the LS300G EU for Dynamic IP C 4...
Страница 50: ...Appendix E LS300G EU Settings E 4...
Страница 53: ...Appendix F Regulatory Information F 3 F 6 RoHS Compliance...


