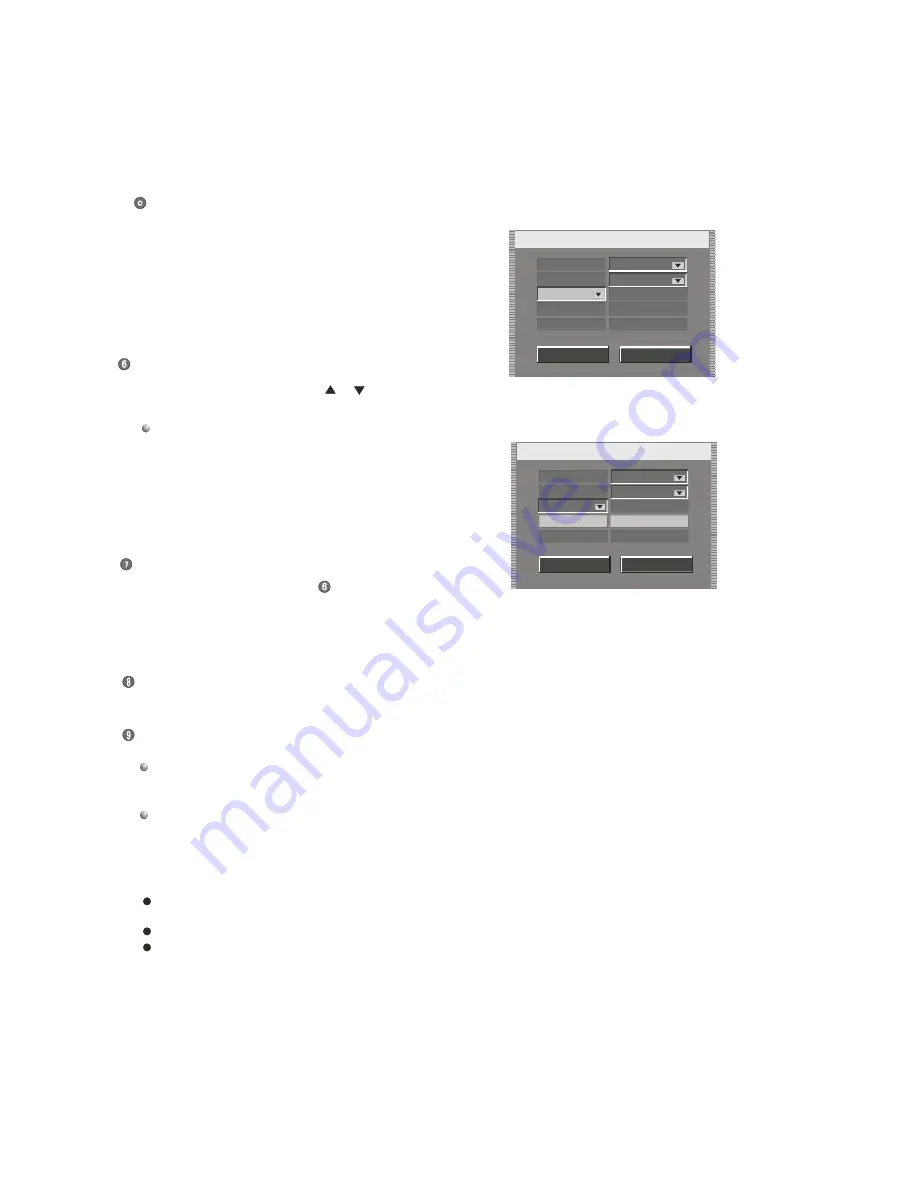
Select the "Start" item by using the [
], [
] buttons then press the [SELECT] button; input your recording time between
00:00~23:59 and press the [SELECT] button to confirm.
Item Editor
F-A/V
SP
Source
Quality
Start
End
Daily
12:10
12:40
Confirm
Cance l
Daily
Item Editor
F-A/V
SP
Source
Quality
Start
End
Daily
--:--
12:40
Confirm
Cance l
Daily
Pressing the [TIMER] button can exit the record schedule menu.
If you select "Daily", you only need to press the [SELECT] button to confirm.
The TV screen will display as follows.
Setting the start time of recording
Setting the finish time of recording
Notes
RECORDING SCHEDULE
DVD55RWi
This item is used to set the start time of recording.
This operation is similar to step
.
Highlight the "Confirm" button in the "Item Editor" , and press the [SELECT] button to finish the setup.
5 minutes before recording, if the unit is in use, a message dialogue will appear to notify you a scheduled recording is
due. Please highlight the "Confirm" button on the dialogue window and press the [SELECT] button to confirm the
cancellation of the recording.
If the system is in standby mode, it will automatically switch on and enter the recording mode in 2 minutes before
recording, and then start recording.
Before using the [TIMER] function, you must set the system time and date. Not doing so will result in errors implemented
by this section.
Please ensure all the given information is correctly entered to allow success of the "scheduled recording task".
Do not use the finalized DVD+R discs.
21.


