Easy Transfer Cable for Windows
14
3.3.6 Using with Windows Easy Transfer Software
Windows Easy Transfer is useful when upgrading a Windows XP, Vista, or 7 computer
to Windows 7 or 8 (not 8.1 or 10). The basic connection steps are summarized below. If
you need more specific instructions, please consult www.microsoft.com/support and
search for Windows Easy Transfer with the operating systems of both computers.
1.
Log onto both computers as an Administrator.
2.
Connect the Easy Transfer Cable to both
computers
3.
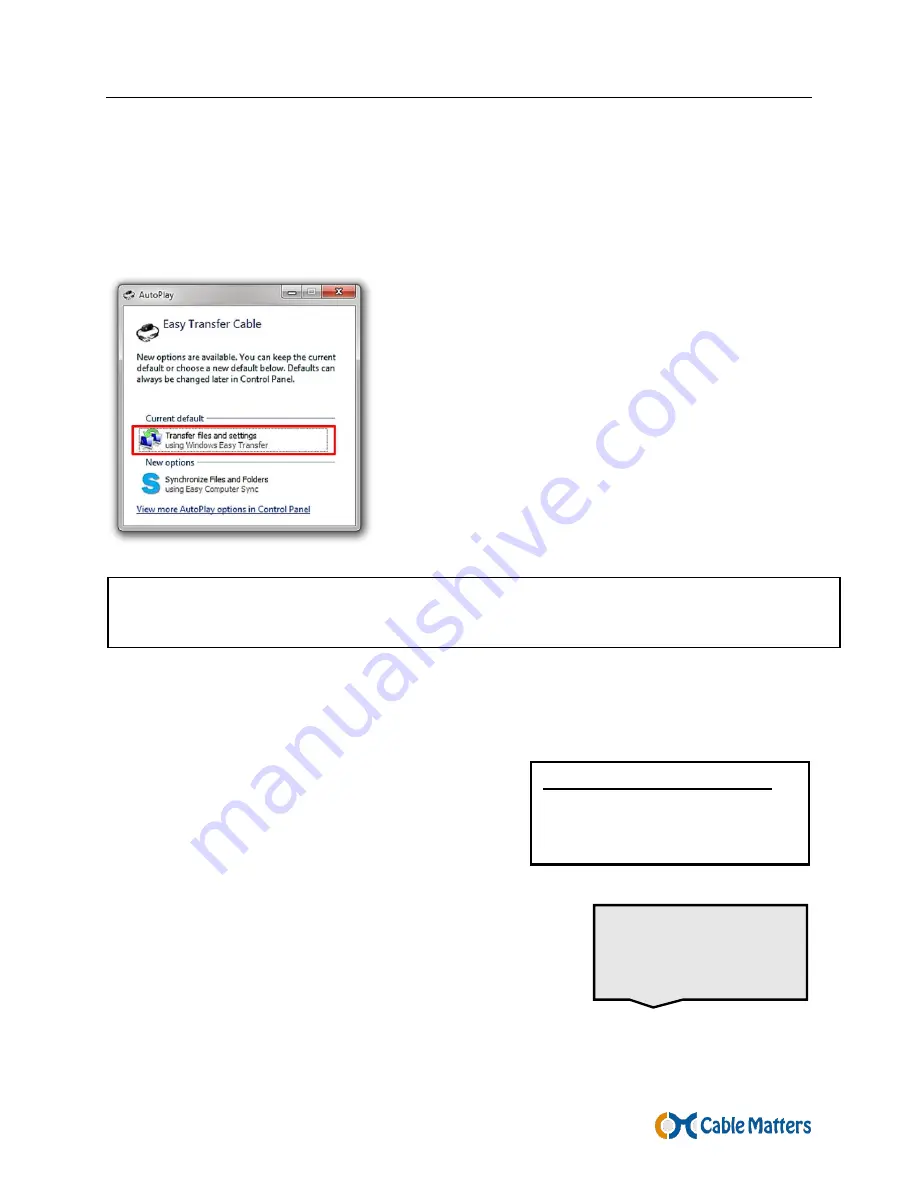
Select
Transfer files and settings
from the
Tools Screen.
Windows XP or Vista may require a software
download for drivers and to install the Windows
Easy Transfer software. See the link below:
The following transfers are supported by Windows Easy Transfer:
Windows XP (SP2/SP3) to Vista, 7, 8
Windows Vista to Vista, 7, 8
Windows 7 to 7 or 8
Windows 8 to Win 8
NOTE: If the AutoPlay or the Windows Easy Transfer
menus do not pop-up after connecting the cable,
check that you have downloaded the latest drivers and
then start the Windows Easy Transfer software
manually from Start > Programs.
The OS of both
computers must be in
the same language
http://windows.microsoft.com/en-us/windows7/products/features/windows-easy-transfer
32-bit or 64-bit Processors
32 bit to 32 Y 64 bit to 32 N
32 bit to 64 Y 64 bit to 64 N


