GasAlertClip Extreme English Instruction Sheet
D2139/5 Page 4
Trimmed and folded dimensions: 4.125 (w) x 5.875 (h)
Calibrating the Oxygen (O
2
) Detector
Every 30 days when the O
2
detector is due to be calibrated, the LCD flashes
CAL
and the detector life-remaining value to indicate that calibration is due.
To calibrate the O
2
detector, complete the following:
1. Calibrate the detector only in a normal atmosphere (20.9% O
2
) that is
free of hazardous gas.
2. Press
and
hold
C
for approximately 3 seconds.
3. The detector emits one beep, one flash, and displays the following
screen:
Successful Calibration
: The detector emits one vibration and one
extended beep to indicate that calibration is successful.
Unsuccessful Calibration:
If the detector does not beep or vibrate after a
calibration, repeat steps 1 and 2 again. If the second attempt is
unsuccessful, contact
Gas Event Data Transmission
The detector stores the last ten alarm events. The recorded data includes
the
•
serial number,
•
detector life-remaining values (months/days/hours),
•
self-tests that have been performed,
•
total number of events that have occurred,
•
event type,
•
duration of all events encountered,
•
gas type,
•
alarm level(s) (ppm or %),
•
time elapsed since the alarm occurred (days/hours/minutes), and
•
duration of the alarm (minutes/seconds).
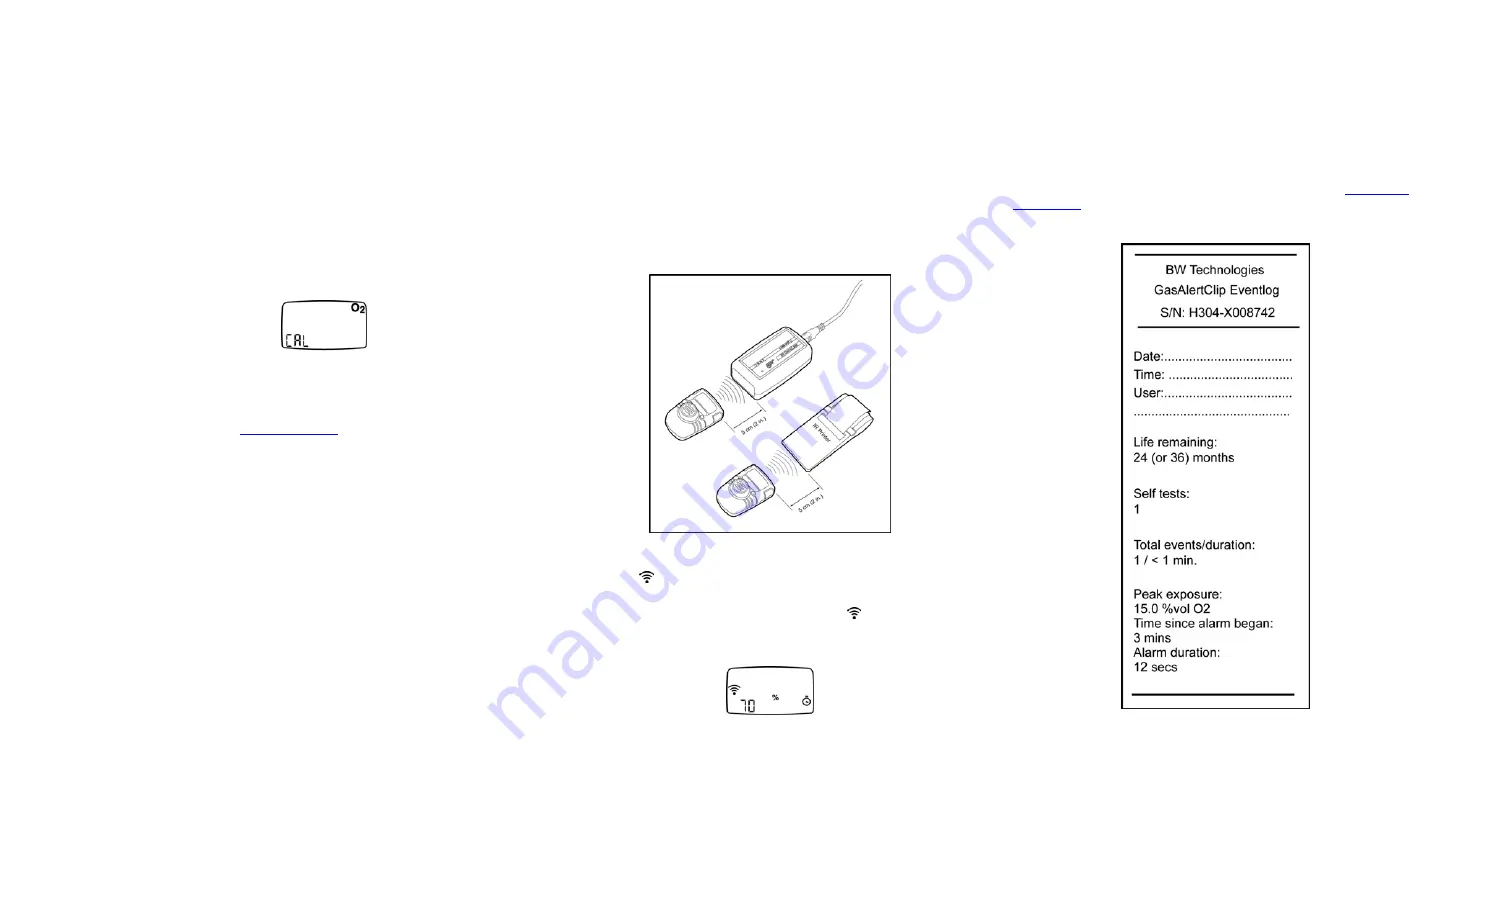
Two options are provided to transmit the gas event data: 1) Transfer data to
a PC using an IR data link or 2) Print the data using the handheld IR printer.
Transfer Data
Transferring Data to a PC
To transfer the data to a PC, complete the following:
1. Connect the IR data link to the PC. Activate the IR datalink.
2. Position the detector and the device as shown in the following
illustration.
3. From the detector, press
C
to access the transmission screen.
4.
Prn
and
flash on the detector LCD. Within 5 seconds, press
C
to
begin the transmission.
5. While data is being transmitted,
Y
displays and
flashes. A
countdown timer displays as a percentage value
(70%)
indicates how
much data remains to be transmitted.
Transferring Data to a Printer
To transfer data using the handheld IR printer, complete the following:
Using the handheld IR printer, complete steps 1-5 as listed for
.
Below is a print out example from the handheld IR printer.


