DSPXmini-FM operational manual V1.2
1
given to programme controllers to adjust the processing knowing that the transmission will remain compliant as
there is no way for the user to adjust the peak output level of the DSPXmini-FM.
These passwords can only be set from the DSPXmini-FM front panel and are located in the system menu.
The password box is located on the connection screen to the right of host and port input boxes.
The default (factory shipped) passwords for the two locks are ‘779’. The remote application will always default
to this when it is run, unless you change it. Some users may find the output lock set to ‘0000’ Try this is 779
does not let you access the output menus.
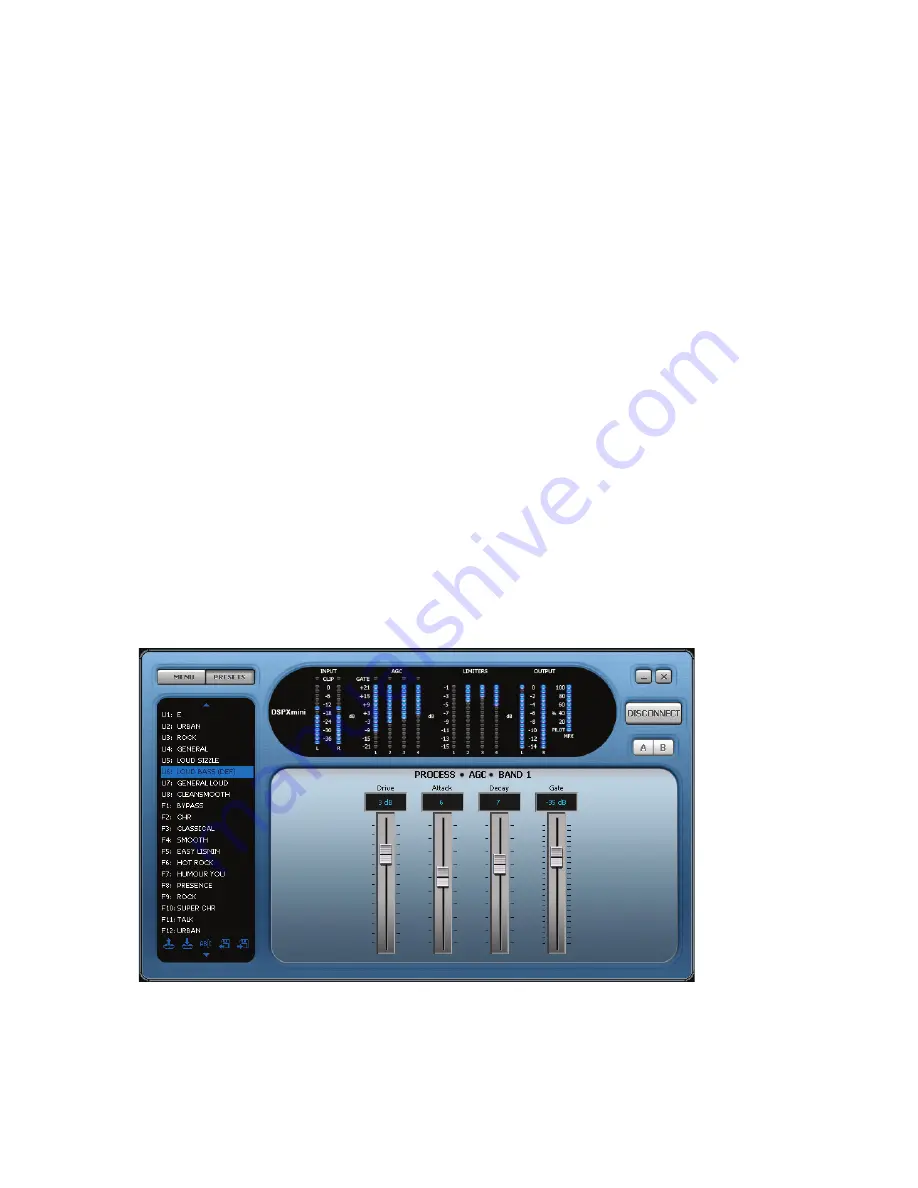
When the DSPXmini-FM is connected the LED’s will show activity and the main controls window should show
processing controls, depending on what option is selected on the menu tree located to the left of the screen.
The DSPXmini-FM remote control application has three windows. The left hand contains the navigation/preset
window. The top shows the LED metering while the bottom right contains the main controls window that is popu-
lated with the appropriate controls for the part of the processing that is selected in the menu tree.
At the top left of the application you have the menu/preset toggle buttons. These change the contents of the left
hand window from the DSPXmini-FM menu tree to the preset list.
The top right of the application contains the minimise and close icons, the connect / disconnect button and the
A/B buttons which will be covered shortly.
NAVIGATING THE PROCESSING STRUCTURE AND MAKING PROCESSING ADJUSTMENTS
Navigating through the processing structures of the DSPXmini-FM is very simple. When connected click the
menu button (top left) if not already depressed. You should then see the menu tree in the left hand window (see
above image).
You can now navigate through the menu tree and see the controls that are contained in that menu appear in the
main controls windows. The example above shows the controls that are contained in the input menu.
Changing the processing is as simple as adjusting the sliders and buttons.
WORKING WITH PRESETS
The DSPXmini-FM remote application makes it easy to load, save and change presets. Click the preset button
(top left) if not already depressed. You should then see the preset list in the left hand window (see image).
Understanding the preset list
The preset list contains all of the presets contained in the DSPXmini-FM. The user presets are prefixed U1 to
U8 and the factory presets from F1 onwards. You may need to use the scroll arrows to view all of them as they
won't all fit in the window at one time.
Preset window shown


