INSTRUCTION, USE AND
MAINTENANCE MANUAL
GB
Page 28 of 68
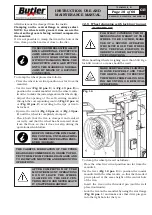
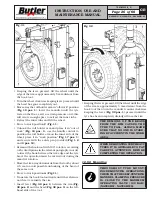
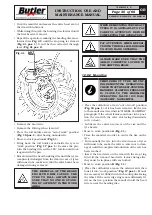
Fig. 34
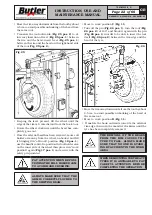
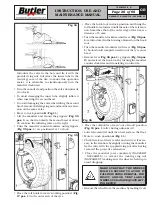
Introduce the valve in the hole and fix it with the
provided ring nut. Introduce the inner tube in the
central groove of the rim (to make this operation
easier, it is advisable to simultaneously turn the
mandrel clockwise).
• Turn the mandrel and position the valve downwards
(6 o’clock).
• To avoid damaging the inner tube, slightly inflate it
when inserting the second bead.
• To avoid damaging the valve when fitting the second
bead, remove the fixing ring nut and mount an exten-
sion on the same valve.
• Move to work position
B
(
Fig. 11
).
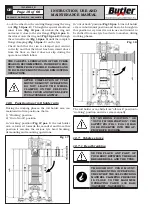
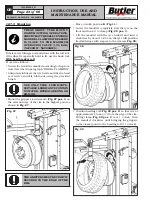
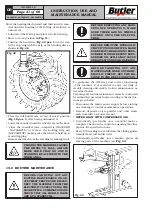
• Lift the mandrel and mount the grippers (
Fig. 35
pos. 1
) on the rim outside the second bead at about
20 cm from the inflating valve on the right.
• Turn the mandrel counterclockwise until grippers
(
Fig. 35 pos. 1
) are positioned at 1 o’clock.
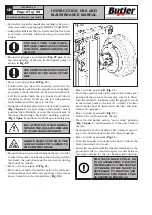
Fig. 35
• Place the roll holder arm in “working position” (
Fig.
17 pos. 1
) to the outer side of the tyre.
7503-M002-6_B
NAV26HW - NAV26HW.S - NAV26HW.ST
• Place the hook tool in work position and bring the
roll holder arm forward until the axis of the reference
notch matches that of the outer edge of the rim at a
distance of 5 mm.
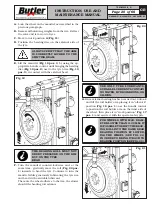
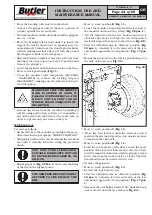
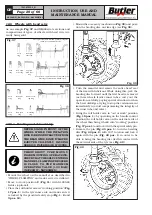
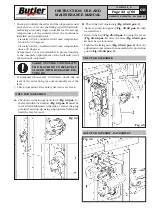
• Turn the mandrel clockwise until lever (
Fig. 36 pos.
1
) is introduced in the housing obtained on the hook
tool.
• Turn the mandrel clockwise with lever (
Fig. 36 pos.
1
) hooked until complete insertion of the tyre outer
bead.
• Remove lever (
Fig. 36 pos. 1
), grippers (
Fig. 36 pos.
2
) and extract the hook tool by turning the mandrel
counterclockwise and translating it outwards.
Fig. 36
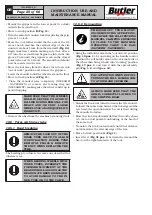
• Place the roll holder arm in “out of work” position
(
Fig. 18 pos. 1
) after having unhooked it.
• Lower the mandrel until the wheel rests on the floor.
• Move to work position
A
(
Fig. 11
).
• Check the state of the tyre valve and centre it, if neces-
sary, in the rim hole by slightly turning the mandrel;
fix the valve with the supplied ring nut after having
removed the protective extension.
• Close the mandrel jaws completely (NAV26HW
- NAV26HW.S) or remove the locking ring nut
(NAV26HW.ST) making sure the wheel is held up to
avoid dropping.
MAKE SURE THAT THE WHEEL’S
HOLD IS SECURE TO AVOID IT
FALLING DURING REMOVAL. FOR
HEAVY AND/OR VERY LARGE
WHEELS USE AN ADEQUATE LIFT-
ING DEVICE.
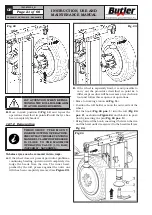
• Remove the wheel from the machine by making it roll.

