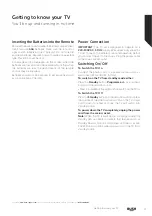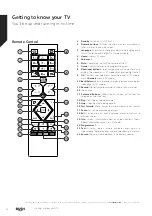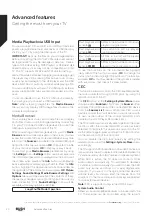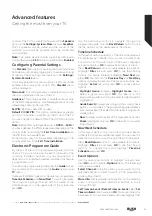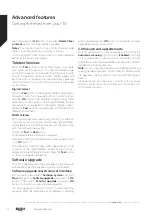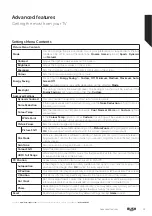
Inserting the Batteries into the Remote
Remove the back cover to reveal the battery compartment.
Insert two size
AAA
batteries. Make sure the (+) and (-)
signs match (observe correct polarity). Do not mix old
and new batteries. Replace only with same or equivalent
type. Place the cover back on.
A message will be displayed on the screen when the
batteries are low and must be replaced. Note that when
the batteries are low, the performance of the remote
control may be impaired.
Batteries should not be exposed to excessive heat such
as sunshine, fire or the like.
Power Connection
IMPORTANT:
The TV set is designed to operate on
a
220-240V AC, 50 Hz
supply. After unpacking, allow the
TV set to reach the ambient room temperature before
you connect the set to the mains. Plug the power cable
to the mains socket outlet.
Switching On/Off
To Switch the TV On
Connect the power cord to a power source such as a
wall socket (220-240V AC, 50 Hz).
To switch on the TV from standby mode either:
Press the
Standby
button,
Pro/-
or a numeric
button on the remote control.
Ŕ
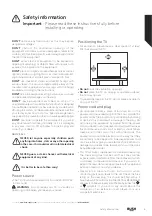
Press the middle of the side function switch on the TV in.
To Switch the TV Off
Press the
Standby
button on the remote control or press
the middle of the side function switch on the TV in and
hold it down for a few seconds, the TV will switch into
standby mode.
To power down the TV completely, unplug the power
cord from the mains socket.
Note:
When the TV is switched into standby mode, the
standby LED can blink to indicate that features such as
Standby Search, Over Air Download or Timer is active.
The LED can also blink when you switch on the TV from
standby mode.
Getting to know your TV
You’ll be up and running in no time
Getting to know your TV
11
or online at
www.bush-support.com
If you still require further assistance, call one of our experts on
0345 604 0105
.
Содержание DLED49FHD
Страница 1: ......
Страница 2: ......
Страница 4: ......
Страница 5: ...Safety information 1 ...
Страница 11: ...Getting to know your TV 2 ...
Страница 15: ...Connections 3 ...
Страница 18: ......
Страница 19: ...Standard features 4 ...
Страница 21: ...Advanced features 5 ...
Страница 31: ...Other information 6 ...
Страница 37: ...Product support 7 ...
Страница 42: ......
Страница 43: ......
Страница 44: ......


