background image

10

11

Preparation

Preparation

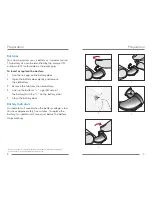
   My hearing instrument has a tamper resistant 

battery compartment. See below.

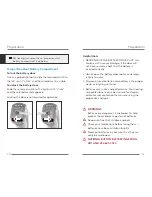
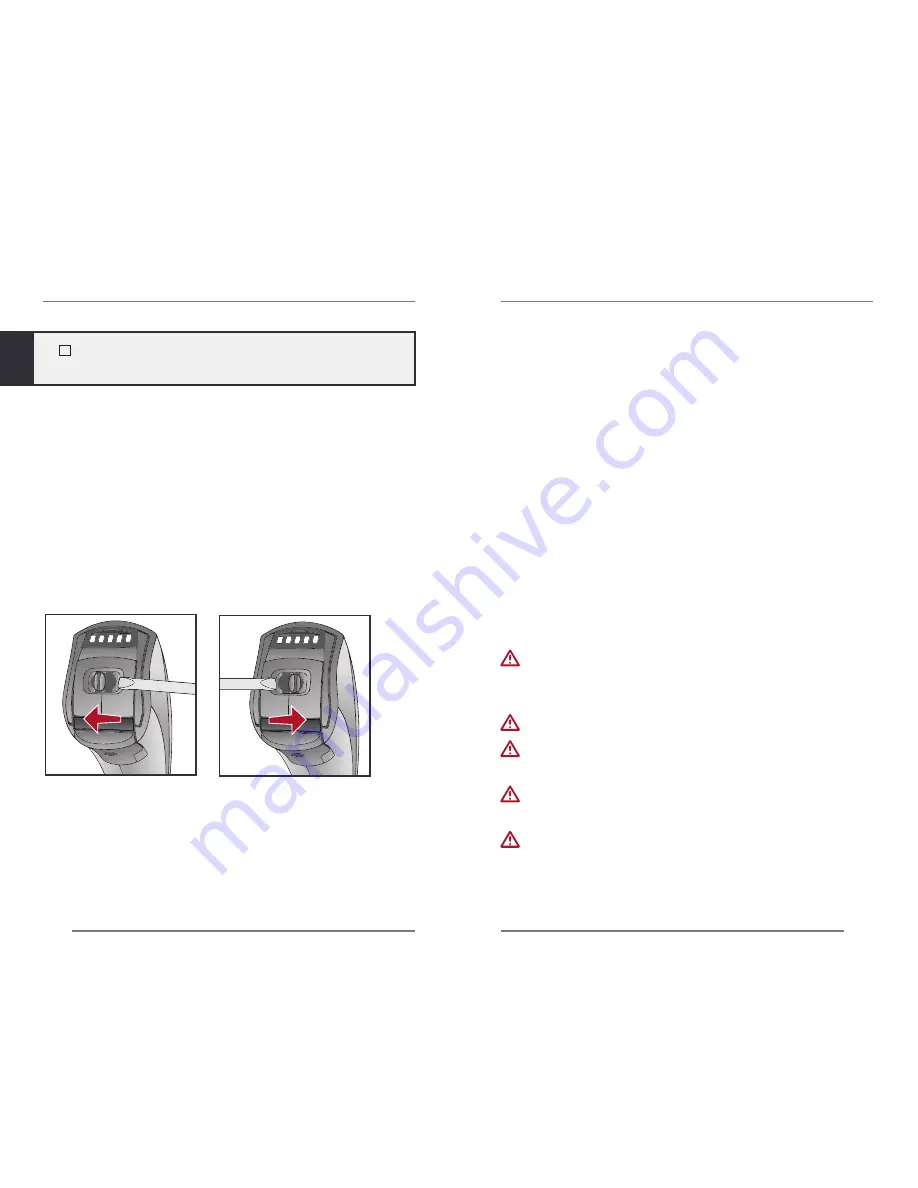
Tamper Resistant Battery Compartment 

To lock the battery door:

Use an appropriate tool to slide the recessed switch to 
the left until it “clicks” and the colored mark is visible.

To unlock the battery door:

Slide the recessed switch to the right until it “clicks” 
and the colored mark disappears.
Locking the door is not required for operation.


WARNINGS


Batteries are dangerous if swallowed. To help 
prevent the accidental ingestion of batteries:

  Keep out of reach of children and pets
  Check your medications before taking them –  

batteries have been mistaken for pills 

  Never put batteries in your mouth, as they can 

easily be swallowed


NATIONAL BUTTON BATTERY INGESTION 
HOTLINE: 202-625-3333

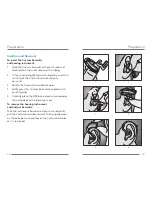
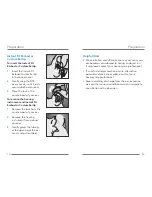
Helpful Hints

•  NEVER FORCE THE BATTERY DOOR SHUT; this 

could result in serious damage; if the door will  
not close securely, check that the battery is  
inserted correctly.

•  Do not open the battery door too far or damage  

is likely to occur.

•  Dispose of used batteries immediately in the proper 

waste or recycling container.

•  Batteries vary in size and performance. Your hearing 

care professional is your best source for lifespan 
estimates and verification that you are using the 
proper size and type.

Содержание Rocker Switch 312

Страница 1: ...O P E R A T I O N S M A N U A L BTE Behind The Ear...

Страница 2: ...TE 312 and 13 Overview 6 Preparation Batteries Battery Indicators 8 Tamper Resistant Battery Compartment 10 Insertion and Removal 12 Operation On Off 16 Volume Control Volume Settings 16 18 Memory 19...

Страница 3: ...ntrol 5 Tamper resistant battery compartment lock not available on all devices 6 Side indicator RED is for right ear BLUE is for left ear Your hearing instrument can be identified by 7 Location of ser...

Страница 4: ...control 4 Battery compartment on off control 5 Tamper resistant battery compartment lock BTE Power BTE and Power Plus BTE only 6 Side indicator RED is for right ear BLUE is for left ear Your hearing...

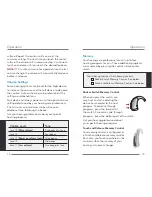
Страница 5: ...the old battery 3 Remove the tab from the new battery 4 Line up the battery s sign flat side of the battery with the on the battery door 5 Close the battery door Battery Indicators An indicator will...

Страница 6: ...teries Keep out of reach of children and pets Check your medications before taking them batteries have been mistaken for pills Never put batteries in your mouth as they can easily be swallowed NATIONA...

Страница 7: ...anal tip of the Custom Earmold into your ear canal 3 Rotate the Custom Earmold backward 4 Softly press the Custom Earmold into place with your fingertip 5 Carefully place the BTE behind your ear wrapp...

Страница 8: ...ove the lock from the concha bowl of your ear 2 Remove the hearing instrument from behind your ear 3 Gently grasp the tubing at the opening of the ear canal and pull outward Helpful Hints Minor irrita...

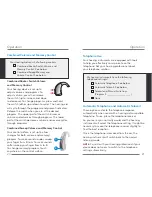
Страница 9: ...d or too soft please contact your hearing care professional for advice and adjustment Rocker Switch Volume Control Your hearing system uses the rocker switch to control volume To increase volume press...

Страница 10: ...m and maximum steps will have an additional tone following the beeps Ask your hearing professional about your specific hearing programs Memory Your hearing care professional can set up to four hearing...

Страница 11: ...ume and reverse cycles through programs Combined Sweep Volume and Memory Control Your control surface is set up to allow changes for both volume and memory program To make sounds louder sweep your fin...

Страница 12: ...nstrument in the non phone ear ear opposite the phone may switch to a telephone setting to reduce background sounds Your hearing professional can provide instructions and techniques for your specific...

Страница 13: ...professional about personal FM systems Wireless Accessories There are several wireless accessories that allow you to control and maximize the full potential of your hearing system These include a rem...

Страница 14: ...away from the earhook Use a soft damp cloth or a cleaning brush to clean debris from the Custom Earmold Wash the Custom Earmold with warm soapy water Never use solvents 2 Slide the Custom Earmold tub...

Страница 15: ...e cleaning tools inside them When not in use remove the batteries completely place your hearing instrument in the storage container and store In a dry safe place Away from direct sunlight or heat to a...

Страница 16: ...sional Your hearing care professional will recommend an appropriate schedule to help you adapt to your new hearing system It will take practice time and patience for your brain to adapt to the new sou...

Страница 17: ...y power line disturbances airport metal detectors electromagnetic fields from other medical devices radio signals and electrostatic discharges If you use other medical devices or wear implantable medi...

Страница 18: ...information concerning the prospective user that the prospective user has any of the following conditions i Visible congenital or traumatic deformity of the ear ii History of active drainage from the...

Страница 19: ...be exercised in selecting and fitting a hearing aid whose maximum sound pressure level exceeds 132 decibels because there may be risk in impairing the remaining hearing of the hearing aid user CHILDRE...

Страница 20: ...38 39 Notes Notes...

Страница 21: ...0086 2015 Starkey Hearing Technologies All Rights Reserved 81844 007 6 15 BKLT2802 01 EE XX...

Отзывы: