


Settings and features tables
141
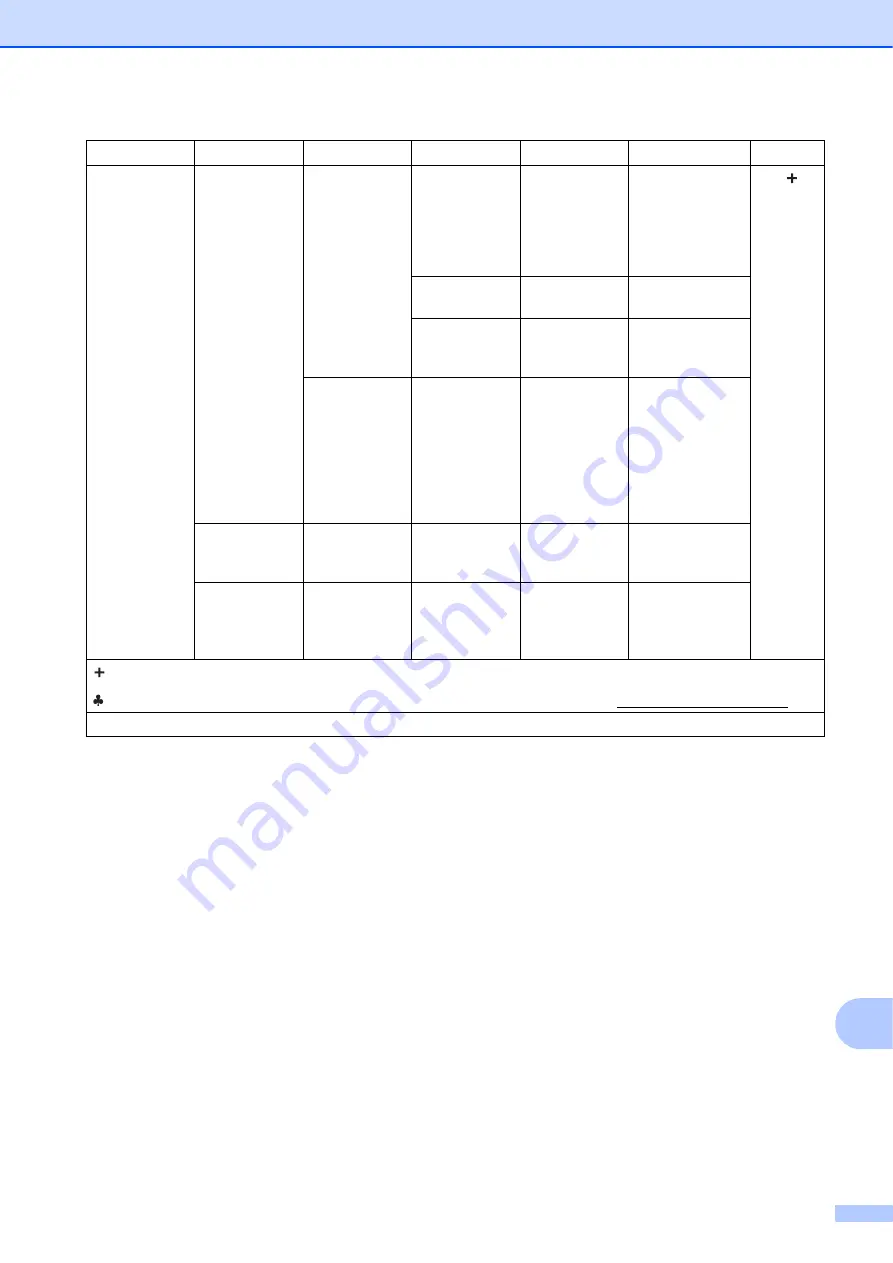
C
Network
(Continued)
E-mail/IFAX
(Available after
IFAX is
downloaded)
(Continued)
Setup Relay
Relay
Broadcast
On
Off
*
Relays a
document to
another fax
machine over the
Internet.
See
.
Relay Domain
—
Registers the
Domain name.
Relay Report
On
Off
*
Prints the Relay
Broadcast
Report.
Manual POP3
Receive
—
—
Accesses the
POP3 server and
confirms whether
an e-mail has
been received.
Network I/F
—
Wired LAN
*
WLAN
—
You can choose
the network
connection type.
Network Reset
—
—
Yes
No
Restore all
network settings
back to the
factory default.
Level1
Level2
Level3
Level4
Options
Descriptions
Page
See Network User’s Guide.
Please go to the Brother Solutions Center to download the Wi-Fi Direct™ Guide at http://solutions.brother.com/.
The default settings are shown in Bold with an asterisk.


