1. Power off the Brocade device.
2. Use a #2 Phillips-head screwdriver to remove the blank faceplate or old module from the front
panel.
3. Install the 10-Gigabit module in the chassis.
4. Use a #2 Phillips-head screwdriver to fasten the screws on the 2 x10-Gigabit module. Affix the
screws loosely at first, then tighten them once you are sure the board is properly positioned.
Replacing the fan tray
The Brocade devices cooling fans use pull configuration to move the air from the front to the back of
the device.
The fans in the Brocade devices include six four-speed fans that operate at low speed, medium speed,
medium-high speed, and high speed based on the ambient temperature and configured or default
temperature thresholds. All fans operate simultaneously at the same speed. If a single fan fails within
the assembly, the fan tray should be replaced. The fan tray is hot swappable.
If a Brocade device remains operational during a fan tray replacement, the procedure must be
completed within 30 seconds.
NOTE
Fan trays are hot swappable. Hot swapping fan trays should be done within 30 seconds so the unit will
continue to function correctly without any fans. However, Brocade recommends that you disconnect
the power supply from AC or DC power before installing or removing the fan tray.
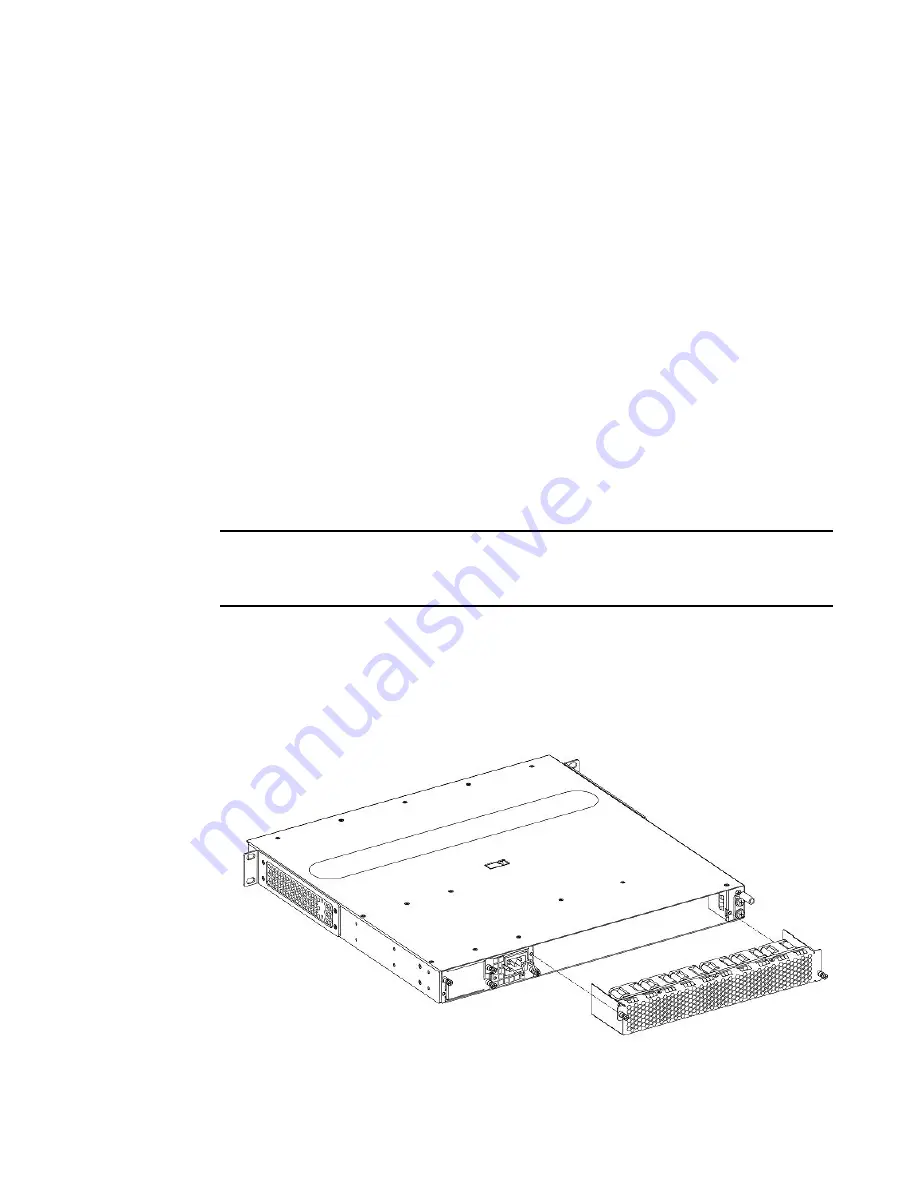
To replace the Brocade fan tray, follow these steps.
1. Power down and unplug the chassis.
2. Unscrew the two screws that secure the fan tray to the chassis.
FIGURE 57
Replacing the fan tray
3. Slide the fan tray out
Replacing the fan tray
92
Brocade NetIron CES 2000 Series and NetIron CER 2000 Series Hardware Installation Guide
53-1003823-01


