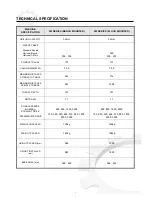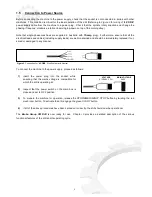
VOLTAGE
MAIN VOLTAGE
415/240V 3 PH
240V
1.5
Connection to Power Source
Before connecting the machine to the power supply, check that the socket is not connected in series with other
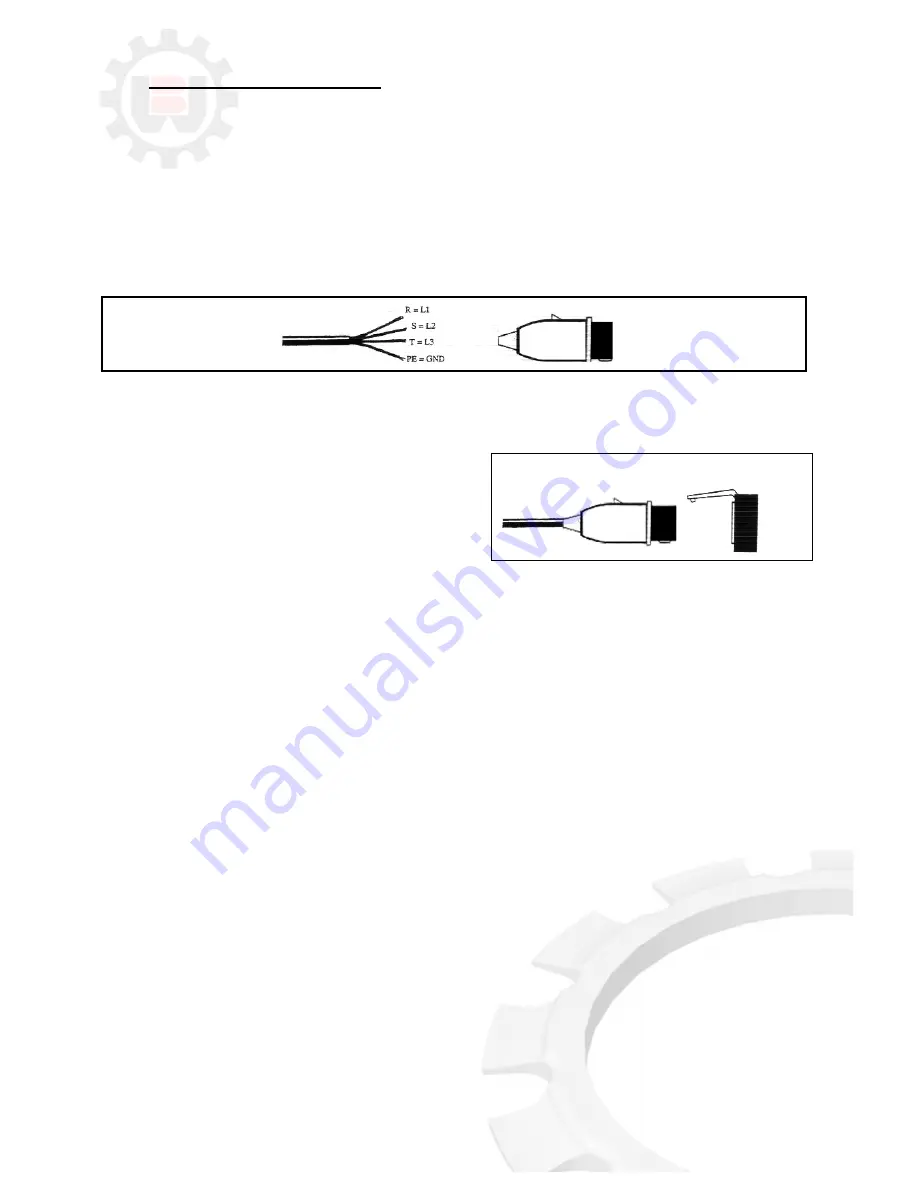
machines. This condition is critical for the ideal operation of the drill (Referring to
Figure 3
for wiring of “
4-CORE
”
power supply cable from the machine to a power plug. Check that the spindle rotary direction and change the
phasing if required; clockwise rotation observing top-down on top of the motor pulley.)
Note that single-phase machines are supplied in Australia with
15-amp
plug). Furthermore, ensure that all the
electrical leads and cables (including supply leads) are well maintained and should be immediately replaced if cut,
sliced or damaged in any manner.
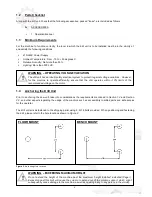
Figure 3
. Connection for “
4-CORE
” Wire System with Neutral
To connect the machine to the power supply, proceed as follows:
1)
Insert the power plug into the socket, while
ensuring that the mains voltage is compatible for
which the drill is operating at.
2)
Inspect that the power switch on the main box is
closed and set to
OFF
position.
3)
To prepare the machine for operation, release the
STOP/EMERGENCY STOP
button by twisting the red
mushroom button. To activate the drill, engage the green
START
button.
4)
If all of the above procedures have been carried out correctly, the drill should now be operational
The
Brobo Group 3M Drill
is now ready for use.
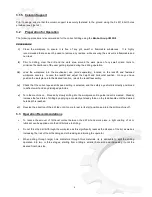
Chapter 3
provides a detailed description of the various
functional features of the drill and its operating cycle.
3
Содержание 3M
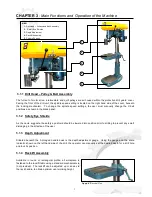
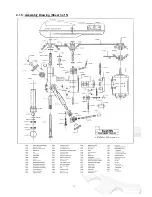
Страница 12: ...CHAPTER 4 Drawings Layouts Assembly and Spare Parts 4 1 1 Assembly Drawing Sheet 1 of 5 9 ...
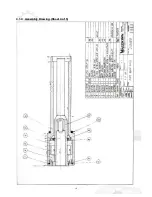
Страница 13: ...4 1 2 Assembly Drawing Sheet 2 of 5 10 ...
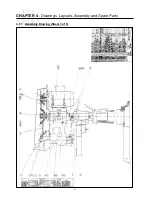
Страница 14: ...4 1 3 Assembly Drawing Sheet 3 of 5 11 ...
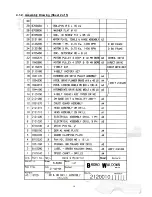
Страница 15: ...4 1 4 Assembly Drawing Sheet 4 of 5 12 ...
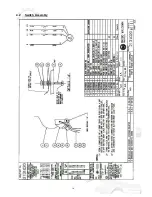
Страница 17: ...4 2 Switch Assembly 14 ...

