TM
GE60 Installation Manual
580-00505, rev 0.4
20 of 30
PRELIMINARY
3.6 Radio Installation
1.
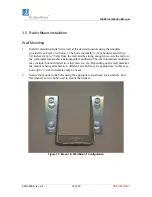
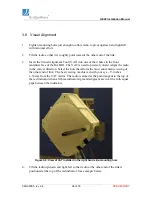
Remove the up/down adjustment bolts from the radio. Place the radio in the yoke—
the two up/down pivot bolts should rest in the U’s cut in the yoke.
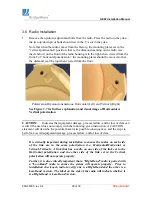
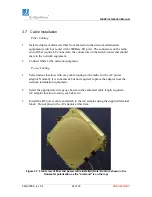
Note that when the radio comes from the factory, the mounting plates are in the
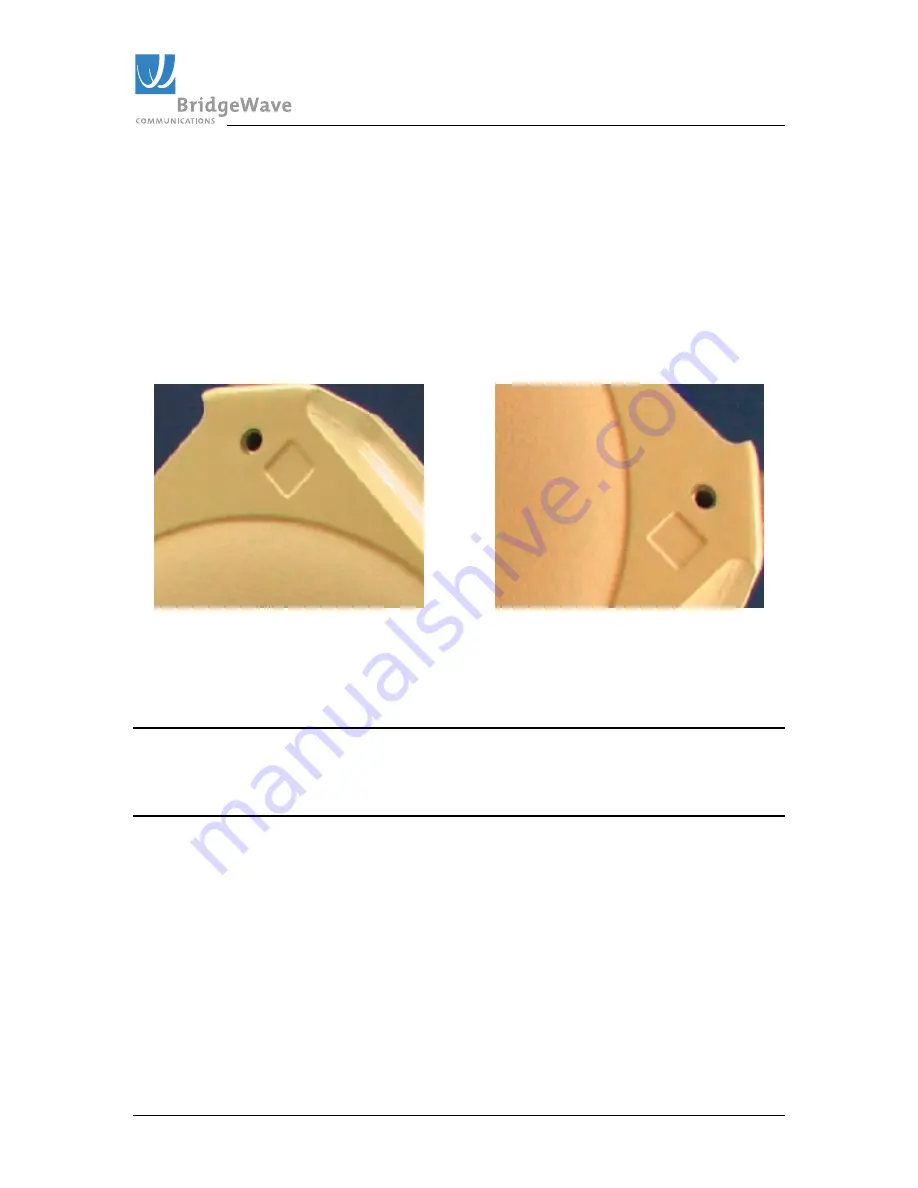
“vertical polarization” position, that is, the diamond
marking on the radio
(see
insert below) on the front of the radio housing is to the right when viewed from the
front. For “horizontal polarization,” the mounting plates should be moved so that
the diamond is at the top when viewed from the front.
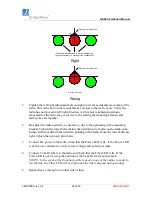
Polarization Diamond orientations: Horizontal (Left) and Vertical (Right)
See Figure 3.7 for further explanation and visual image of Horizontal vs
Vertical polarization
.
CAUTION
!
Indicates that equipment damage, process failure, and/or loss of data can
result if the user does not comply with the following given instruction. A CAUTION
statement will describe the potential hazard, its possible consequences, and the steps to
perform to avoid equipment damage, process failure, and/or loss of data.
It is critically important during installation to ensure the radios on each side
of the link are in the same polarization (i.e., Horizontal-Horizontal or
Vertical-Vertical). A link that has a radio on one side of the link set in the
Horizontal polarization and the other side of the link set in the Vertical
polarization will not operate properly.
Further, it is also critically important that a “High-Band” radio is paired with
a “Low-Band” radio to ensure the system will operate properly. Prior to
installation check each radio to verify one is a High-Band and the other is a
Low-Band version. The label on the side of the radio will indicate whether it
is a High-Band or Low-Band version.

