Install panels
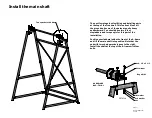
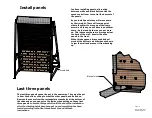
Continue installing panels, alternating
between white and black buttons. Use the
speed control lever to control the descent of
the panels.
As you install panels they will move down
by their weight. There will come a point
where they start to move up of their own
accord, and then you will have to push them
down - harder and harder as you put more
on. This is because there are more panels at
the back of the wall - heavier than the
panels in the front.
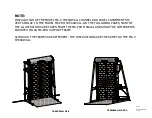
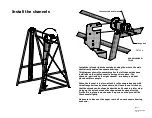
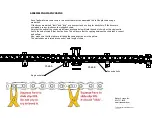
When this happens, always use blocks of
wood at the bottom on both sides as shown
to jam the wall and prevent it from backing
up.
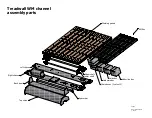
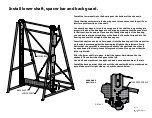
The last three panels cannot be put in the same way. They must be put
in from the bottom, slid up to meet the other panels, and bolted on.
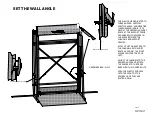
Remove the covers from the rectangular access holes at the bottom of
the channels so you can get to the inside when putting on these last
three panels.
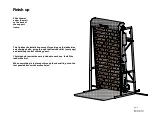
Leave the last panel off until the end of the installation -
after the climbing holds have been put on and everything has been
tested according to the final check list at the end of these
instructions.
Block of wood
Last three panels
Page 15
M6-V install 1-15-16
Brewer's Ledge Inc.
Access hole

