Assembly / Owner’s Manual
44
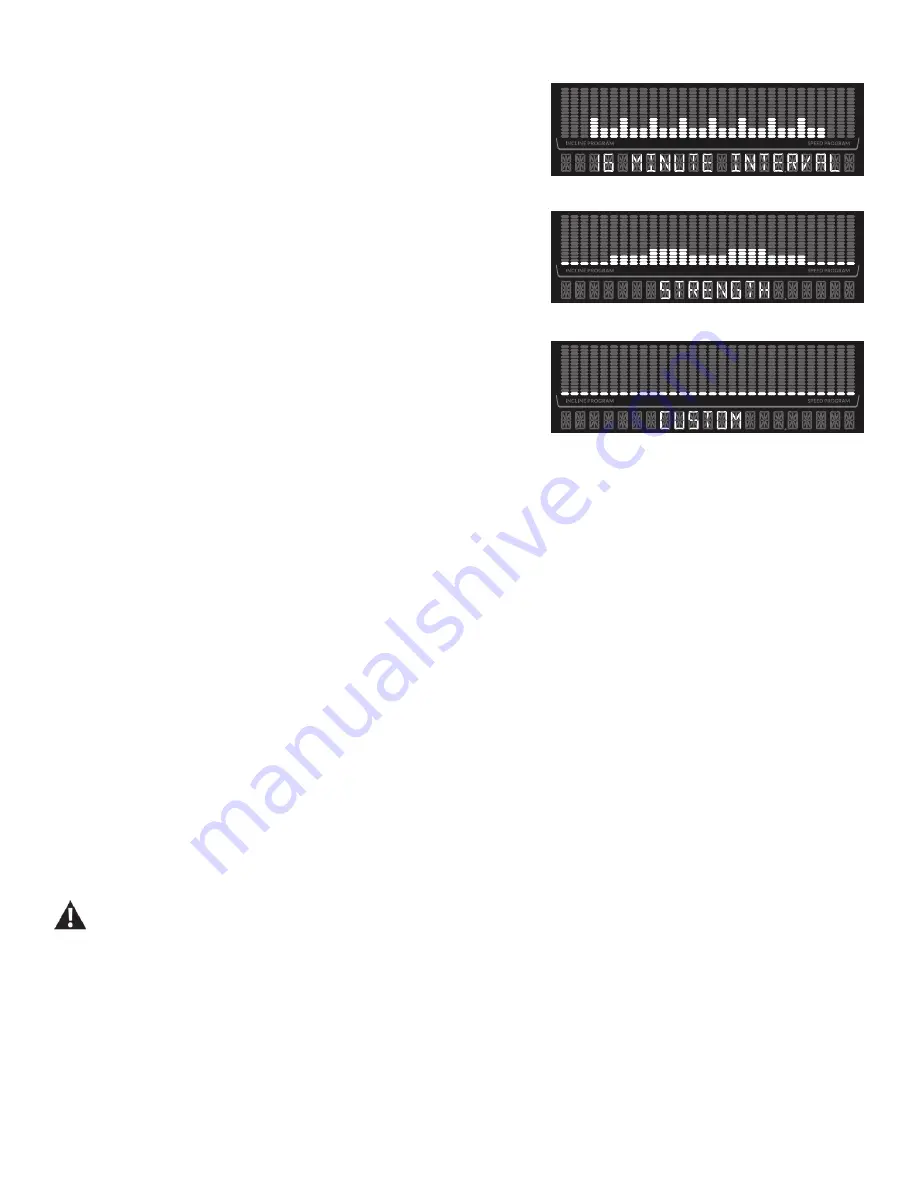
16 Minute Interval
(8 intervals, Sprint 30 seconds and Recover 90 seconds for each interval)
Strength
(30 minutes, 1 minute per column)
Custom
(Open-ended workout, 1 minute each column or saved workout)
The Custom workout program allows a user to “design as you go”, adjusting the currently
active incline segment of each column. When the workout ends, the workout will be as-
signed to the Custom program.
In addition to the “design as you go” option, a completed workout can be saved as the Custom program. All modifications to the workout segments
are saved, allowing the same workout to be repeated by selecting the Custom workout.
Note:
Once a completed workout is saved as a custom workout, it may be desired to reset the program. To reset the Custom program, push
and hold for 3 seconds the Custom button. The Console will display RESET CUSTOM YES. Push Enter to reset, or PAUSE/STOP to
exit reset option.
Starting a Workout
To begin a workout:
1. Review the currently selected User Profile. Push the USER button to change the active User Profile.
2. Mount the machine.
3. Push the button for the desired Program Workout. The Console will show the selected workout.
4. Push the START button.
Your workout will begin after the three second, audible beep countdown.
Note:
Be sure to read the “Getting Started” section of your manual.
During a Profile Program workout, the Console will make an audible beep when the next segment of the workout occurs. Be
prepared for changes in Resistance with each segment change.
If during a workout the User pushes one of the Program buttons, the Console will ask if they would like to switch workouts. If the User confirms
the switch by pressing the ENTER button, the current workout will be ended. The new workout program will be displayed, and will begin when the
START button is pushed.
Содержание BXE326
Страница 1: ...ASSEMBLY OWNER S MANUAL BXE326 This product is compliant with the applicable CE requirements...
Страница 14: ...Assembly Owner s Manual 14 5 Attach Legs and then the Caps to Frame Assembly 7 10 A H B X2 6mm I X2 9 9...
Страница 18: ...Assembly Owner s Manual 18 9 Snap the Exterior Pivot Covers to Frame Assembly 3 19...
Страница 22: ...Assembly Owner s Manual 22 13 Set the Console Angle and Attach the Console Shroud to Frame Assembly 14...
Страница 62: ...Assembly Owner s Manual 62...
Страница 63: ...Assembly Owner s Manual 63...
Страница 64: ...8015013 041517 A EN...


