44
Re-recording only the portion that is mistaken (Punch In/Out)
* If you want to cancel this position and/or register a new point
for punch out, hold down [DELETE] and press [OUT]. The
punch out position will be cleared and [OUT] will turn off.
* Note that the punch in and punch out positions must be at
least 0.5 seconds apart. Accordingly, the punch out position
cannot be set up within 0.5 seconds of the punch in position.
If you want to activate punch in and punch out at
marker positions, first of all move the current position to
the marker for punch in and press [IN]. Then, move to
the marker for punch out and press [OUT]. For a
description of the procedure for moving to marker
positions, refer to “Moving to markers” (p. 48).
Performing auto punch in and
punch out
For this example, we will use auto punch in and punch out to
re-record a portion of Track 1, which was recorded earlier.
1.
Press the TRACK [1].
This track button will start to flash orange and green.
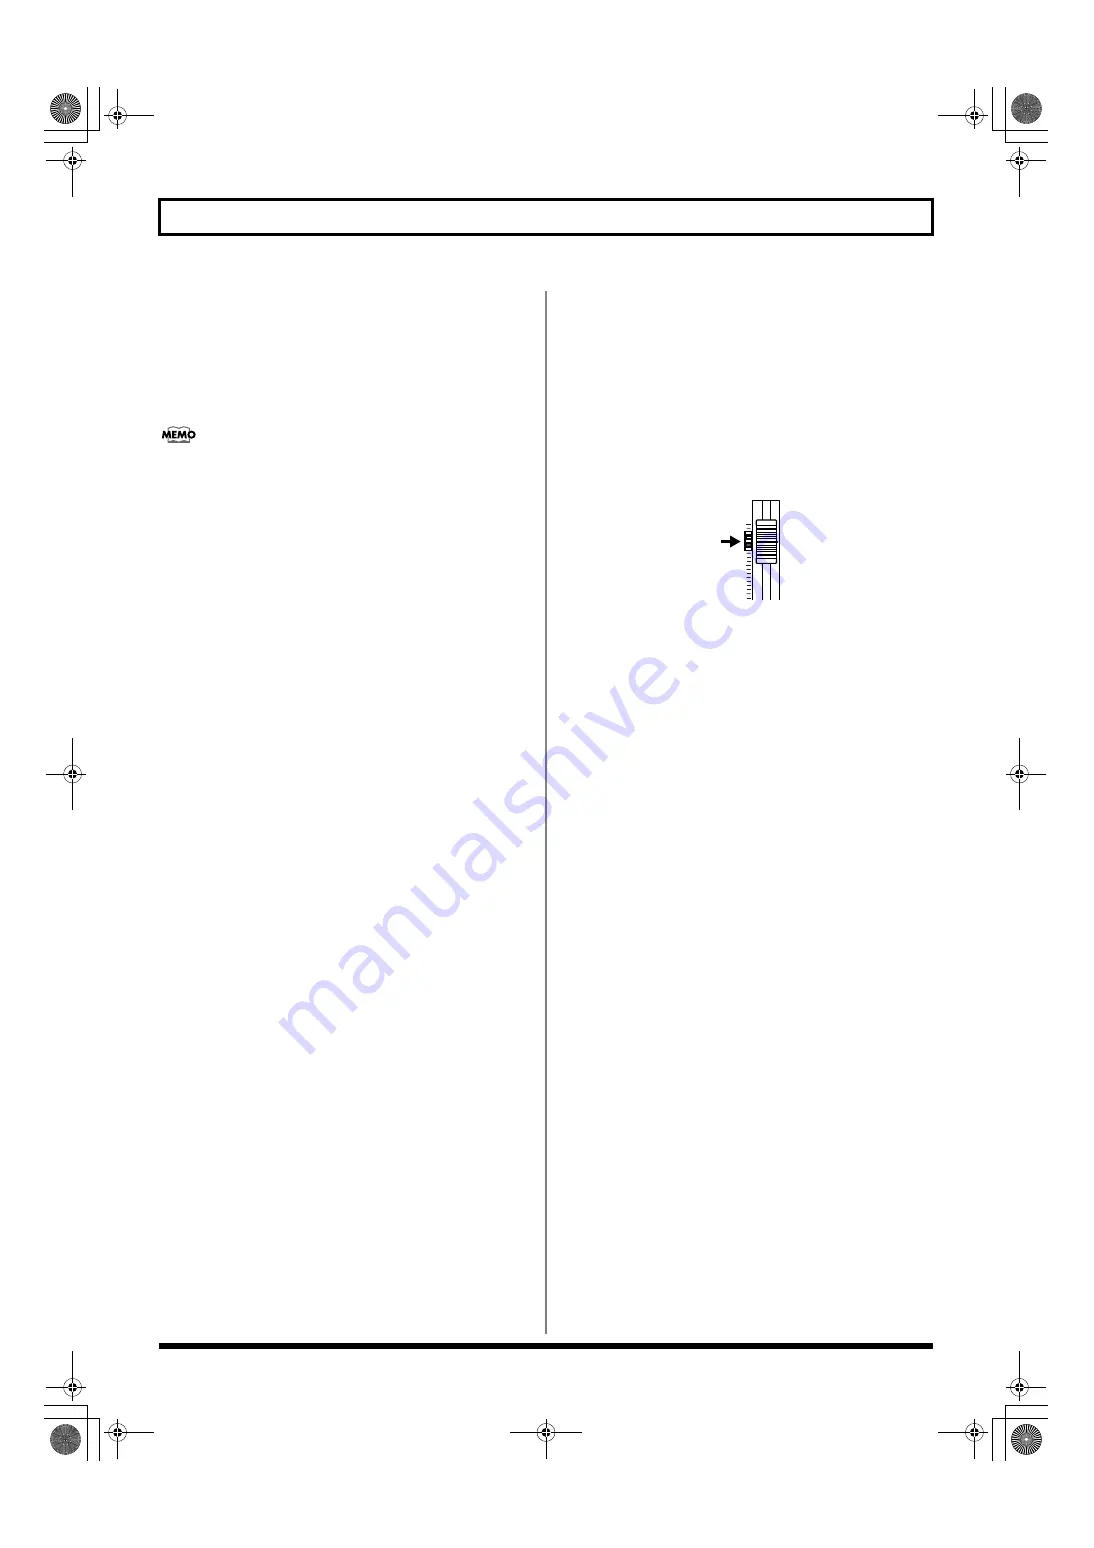
2.
Move the fader for Track 1 to the position shown
below.
fig.10-02
3.
Confirm that AUTO PUNCH IN/OUT [ON/OFF] is not lit up.
If this button is lit, it will need to be pressed to turn it off.
4.
Start playback of your song and use the INPUT LEVEL
knob to adjust the volume of the input to an
appropriate level.
5.
When the volume levels have been matched, confirm
that Track 1 is not being muted before proceeding.
6.
Move to a position before where you want to start re-
record and press AUTO PUNCH IN/OUT [ON/OFF].
This button will light up to indicate that auto punch in/
out has been turned on.
7.
Press [REC] to prepare the BR-1600CD for recording
and then press [PLAY].
Punch in will be activated automatically at the beginning
of the section to be re-recorded so that you can perform
your part without having to worry about pressing
buttons. Similarly, when the end of this section has been
reached, the BR-1600CD will automatically activate
punch out and continue normal playback.
8.
Press [STOP] when re-recording has been completed.
9.
Listen to the performance with the re-recorded section.
Make sure that you move the current position to a point
before the re-recorded section before starting playback.
If necessary, use the fader for Track 1 to adjust its
volume. You can press [IN] at this time to jump straight
to the punch in position.
10.
To clear the settings for the auto punch in/out section,
hold down [DELETE], press [IN] or [OUT].
BR-1600_R_e.book 44 ページ 2007年12月6日 木曜日 午前9時52分
Содержание Digital Recording Studio BR-1600 CD
Страница 41: ...41 Section 1 Advanced Use Section 1 Advanced Use BR 1600_R_e book 41...
Страница 73: ...73 Section 2 Using Effects Section 2 Using Effects BR 1600_R_e book 73...
Страница 145: ...145 Section 3 Using Rhythm Section 3 Using Rhythm BR 1600_R_e book 145...
Страница 203: ...203 Section 4 Using the CD R RW Drive Section 4 Using the CD R RW Drive BR 1600_R_e book 203...
Страница 220: ...220 MEMO BR 1600_R_e book 220...
Страница 221: ...221 Section 5 Using MIDI Section 5 Using MIDI BR 1600_R_e book 221...
Страница 239: ...239 Section 6 Using USB Section 6 Using USB BR 1600_R_e book 239...
Страница 255: ...255 Section 7 Other Convenient Functions Section 7 Other Convenient Functions BR 1600_R_e book 255...
Страница 272: ...272 MEMO BR 1600_R_e book 272...
Страница 273: ...273 Appendices Appendices BR 1600_R_e book 273...
Страница 309: ...309 MEMO BR 1600_R_e book 309...
Страница 310: ...For EU Countries BR 1600_R_e book 310...


