background image

2 - English

Safety Information

Please read this guide

Please take the time to follow the instructions in this setup guide carefully. They will help 

you set up and operate your system properly and enjoy its advanced features. Please 

save all safety and operating instructions, including this guide, for future reference.

All Bose

®

 products must be used in accordance with local, state, and federal law, 

and industry standards.

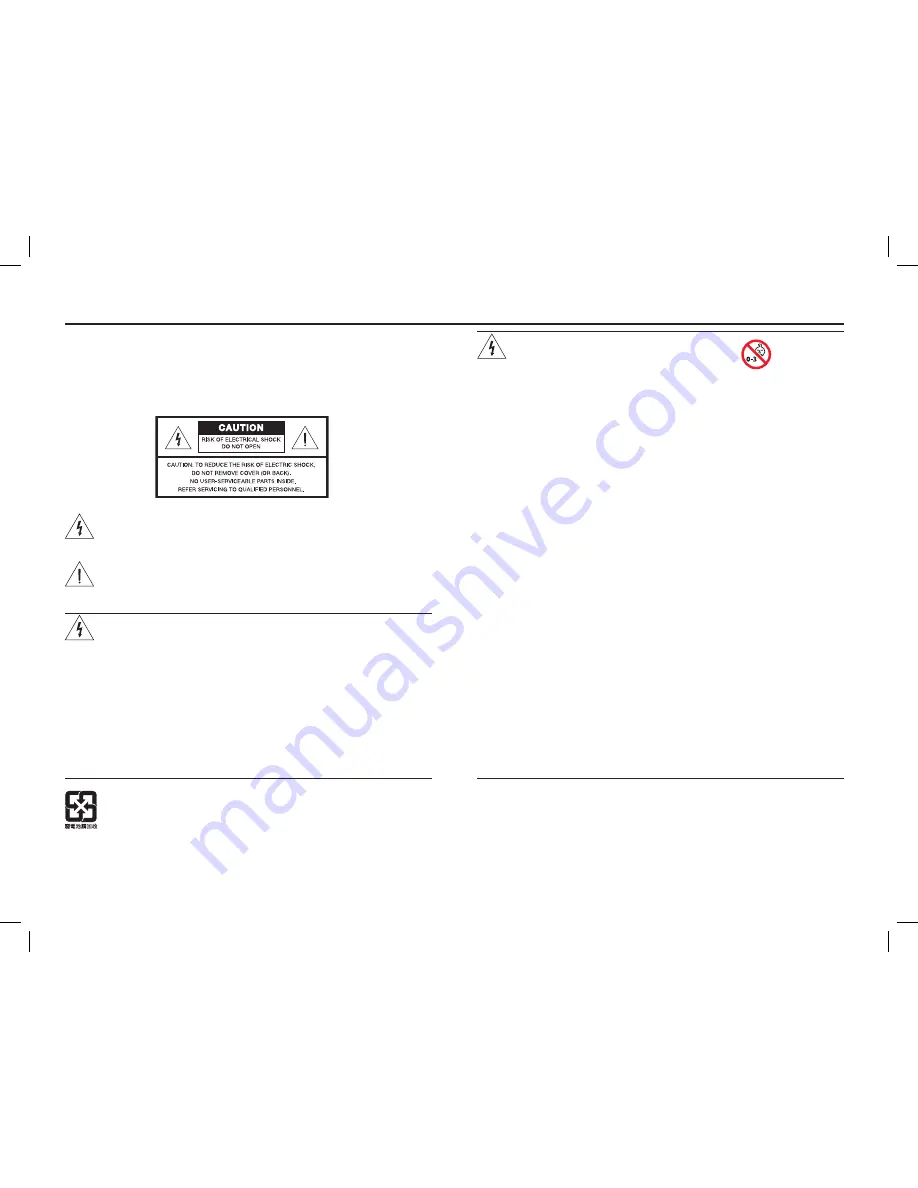
The lightning flash with arrowhead symbol within an equilateral triangle alerts


the user to the presence of uninsulated, dangerous voltage within the system 

enclosure that may be of sufficient magnitude to constitute a risk of electric 

shock.

The exclamation point within an equilateral triangle, as marked on the system, 


is intended to alert the user to the presence of important operating and 

maintenance instructions in this owner’s guide.

WARNINGS:

•  To reduce the risk of fire or electrical shock, do not expose the product to rain 

or moisture. 

• 

 Do not expose this apparatus to dripping or splashing, and do not place objects 

filled with liquids, such as vases, on or near the apparatus. As with any elec

-

tronic products, use care not to spill liquids into any part of the system. Liquids 

can cause a failure and / or a fire hazard.

•  Do not place any naked flame sources, such as lighted candles, on or near the 

apparatus.

•  Keep the remote control batteries away from children. They may cause a fire or 

chemical burn if mishandled. Do not recharge, disassemble, heat above 212ºF 

(100ºC), or incinerate. Dispose of used batteries promptly. Replace only with 

batteries of the correct type and model number.

Please dispose of used batteries properly, following any local regulations. 

Do not incinerate.

WARNINGS:

•  Contains small parts that may be a choking hazard.


Not suitable for children under age 3.

•  Never place the equipment on an unstable surface. The equipment may fall, 

causing serious personal injury or death. Many injuries, particularly to children, 

can be avoided by taking simple precautions such as:


 Only using furniture that can safely support the equipment.


 Ensuring the equipment is not overhanging the edge of the supporting 

furniture.


 Not placing the equipment on furniture (for example, cupboards or book

-

cases) without appropriately anchoring both the furniture and the equipment 

to a wall.


Not placing toys or other items on top of the equipment.


 Not standing the equipment on cloth or other materials placed between the 

equipment and supporting furniture.


 Educating children about the dangers of playing with the equipment and 

climbing on furniture to reach the equipment.

• 

 Allowing children to push, pull, or climb on the monitor may cause it to tip over, 

possibly resulting in personal injury or death.


–  For safety and greater stability, installation of the included anti-tip straps is 

 recommended. 


–  Be sure to install both anti-tip straps according to the instructions on  

page 10.

• 

 If wall-mounting the monitor, follow the wall bracket manufacturer’s instructions 

and the guidelines provided here and on page 12. Unsafe mounting of any 

heavy load can result in serious injury and property damage.


–  Use only an agency-approved wall-mount bracket capable of supporting a 

150 lb. (68 kg) product.


–  Make sure the wall bracket is installed according to all applicable building 

codes.


–  If you doubt your ability to safely wall-mount this product, contact a 

 professional installer for help. 

•  Long-term exposure to loud audio may cause hearing damage. It is best to 

avoid extreme volume when using the system with or without headphones, 

especially for extended periods.

Содержание VideoWave III

Страница 1: ...Setup Guide Gu a de instalaci n Guide d installation VideoWave III entertainment system...

Страница 2: ...ons Do not incinerate WARNINGS Contains small parts that may be a choking hazard Not suitable for children under age 3 Never place the equipment on an unstable surface The equipment may fall causing s...

Страница 3: ...water 6 Clean only with a dry cloth 7 Do not block any ventilation openings Install in accordance with the manufacturer s instructions 8 Do not install near any heat sources such as radiators heat re...

Страница 4: ...ing in conjunction with any other antennas or transmitters This device complies with Industry Canada licence exempt RSS standard s Operation is subject to the following two conditions 1 This device ma...

Страница 5: ...Physical Setup Monitor placement and connections 7 Monitor placement recommendations 7 Placing the monitor with the stand 8 Installing the anti tip straps 10 Wall mounting the monitor 12 Control conso...

Страница 6: ...itor 2 The smaller box contains the control console monitor stand screws and two numbered boxes Box 1 1 contains the system parts used during the physical setup Box 2 contains the system parts used du...

Страница 7: ...r experience The system features ADAPTiQ audio calibration technology which customizes the sound during setup based on where the system is positioned as well as the size shape and furnishings of the r...

Страница 8: ...he stand 1 Unpack the stand stand screws and monitor 2 Lower the monitor onto the stand carefully lining up the holes in the bottom of the monitor with the supports on the stand WARNING The 46 in moni...

Страница 9: ...t the screws into the holes on the back of the monitor and tighten using the provided 5 32 in 4 mm hex wrench 5 Place the monitor on a flat stable surface capable of supporting the combined weight of...

Страница 10: ...ntally starts to tip over Installing the anti tip straps It is important that you install both straps according to the following instructions WARNING Do not use the anti tip straps for any application...

Страница 11: ...uds 3 Locate the two wall studs closest to the straps Each strap should be attached to the wall stud closest to it CAUTION Do not attach both straps to the same stud 4 Hold the bracket on the end of e...

Страница 12: ...screw pattern The mount must be able to support the weight of the monitor The 46 in monitor weighs 120 lbs 54 kg The 55 in monitor weighs 135 lbs 61 kg Articulating wall mounts are not recommended bec...

Страница 13: ...d monitor according to the instructions included with the wall brackets 4 Lift the monitor out of its packing material WARNING The 46 in monitor weighs 120 lbs 54 kg The 55 in monitor weighs 135 lbs 6...

Страница 14: ...control console to the monitor Until your system setup is complete and your external devices are connected keep the control console posi tioned for easy access to its rear connection panel CAUTION If...

Страница 15: ...ol console 4 Plug the AC power cord into the power supply Fully insert the plug in as far as it can go 5 Plug the other end of the power cord into a live AC mains power outlet 6 To begin the interacti...

Страница 16: ...nnect audio video devices to your system When it is time to connect devices the Unify system will guide you in choosing the right cable The USB flash drive can be used to update the system software Se...

Страница 17: ...g green Starting up Solid green On and ready to use Orange Shutting down or off and charg ing iPod or iPhone dock dock available for purchase from Bose Note When the system starts up the monitor emits...

Страница 18: ...perform this step exactly as it appears on your monitor It ensures that the remote can communicate with the control console 6 Follow the onscreen instructions to complete your system setup The Unify...

Страница 19: ...Press the Setup button on the control console to activate the Unify system menu See Changing Your System Setup in the VideoWave III entertainment system Operating Guide For help in trying to resolve...

Страница 20: ...2013 Bose Corporation The Mountain Framingham MA 01701 9168 USA AM370618 Rev 00...

Отзывы: