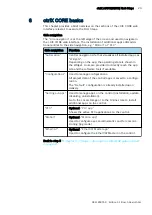
19
ctrlX AUTOMATION First Steps
Step 11 – Configuring a kinematics
Bosch Rexroth AG
R911403760 Edition 01
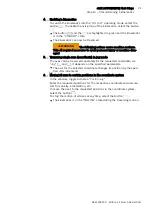
5.
Traversing an axis in jog mode
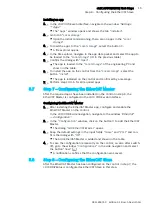
The axis can be traversed with
“Jog ”
and
. It depends on the speci-
fied parameters.
The axis changes its position along the specified JOG increments
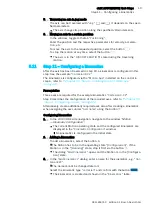
6.
Moving an axis to a certain position
In the window, toggle to thetab
“Positioning”
.
Enter the position and the respective parameters for velocity, accelera-
tion, etc.
To move the axis to the requested position, select the button
.
To stop the motion at any time, select the button
.
The axis is in the
“DISCRETE MOTION”
state during the traversing
motion.
5.11
Step 11
–
Configuring a kinematics
After the axis has been traversed in step 10, a kinematics is configured in this
step. See the example
“Cartesian X-Y-Z”
.
The kinematics is configured via the
“Motion App”
installed on the control in
step 6, refer to
Installing the ctrlX CORE app ”
Prerequisites
Three axes are required for the example kinematics
“Cartesian X-Y-Z”
Step 9 describes the configuration of the required axes, refer to
Configuring an axis ” on page 16
Alternatively, create additionally required axes also after creating a kinematics
when assigning the axes under
“Axis name”
using the button .
Configuring kinematics
1.
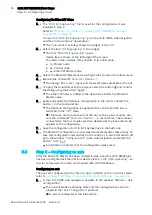
In the ctrlX CORE side navigation, navigate to the window
“Motion
Kinematic Configuration”.
The current Motion operating state and the configured kinematics are
displayed in the
“Kinematic Configuration”
window.
No kinematics is configured in the initial state.
2.
Adding a kinematics
To add a kinematics, select the button .
The Motion has to be in the operating state
“[Configuration]”
. If the
Motion is in the
“[Running]”
state, stop it first via the button .
The dialog
“Add Kinematics”
opens and the Motion is in the [Configura-
tion] state.
3.
In the
“Add Kinematics”
dialog, enter a name for the kinematics, e.g.
“Car-
tesianXYZ”
.
The name cannot be changed later on!
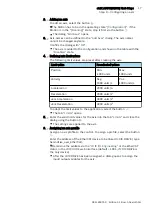
Select the kinematic type
“cartesian”
and confirm with thebutton
.
The kinematics is created and shown in the
“Kinematics”
table.
Содержание rexroth ctrlX AUTOMATION
Страница 1: ...ctrlX AUTOMATION First Steps Quick Start Guide R911403760 Edition 01 ...
Страница 8: ...8 ctrlX AUTOMATION First Steps Bosch Rexroth AG R911403760 Edition 01 ...
Страница 10: ...10 ctrlX AUTOMATION First Steps Bosch Rexroth AG R911403760 Edition 01 ...
Страница 22: ...22 ctrlX AUTOMATION First Steps Step 12 Commissioning a kinematics Bosch Rexroth AG R911403760 Edition 01 ...
Страница 24: ...24 ctrlX AUTOMATION First Steps Bosch Rexroth AG R911403760 Edition 01 ...
Страница 26: ...26 ctrlX AUTOMATION First Steps Bosch Rexroth AG R911403760 Edition 01 ...
Страница 28: ...28 ctrlX AUTOMATION First Steps Bosch Rexroth AG R911403760 Edition 01 ...
Страница 30: ...30 ctrlX AUTOMATION First Steps Bosch Rexroth AG R911403760 Edition 01 ...
Страница 32: ...32 ctrlX AUTOMATION First Steps ctrlX PLC Engineering Bosch Rexroth AG R911403760 Edition 01 ...
Страница 34: ...34 ctrlX AUTOMATION First Steps Bosch Rexroth AG R911403760 Edition 01 ...

