12
Continuous switching
ON
- Press trigger of switch
7
, then lock button
6
and release it.
OFF
- Press and release trigger on switch
7
.
Chanding speed
Type number 0 601 186 079
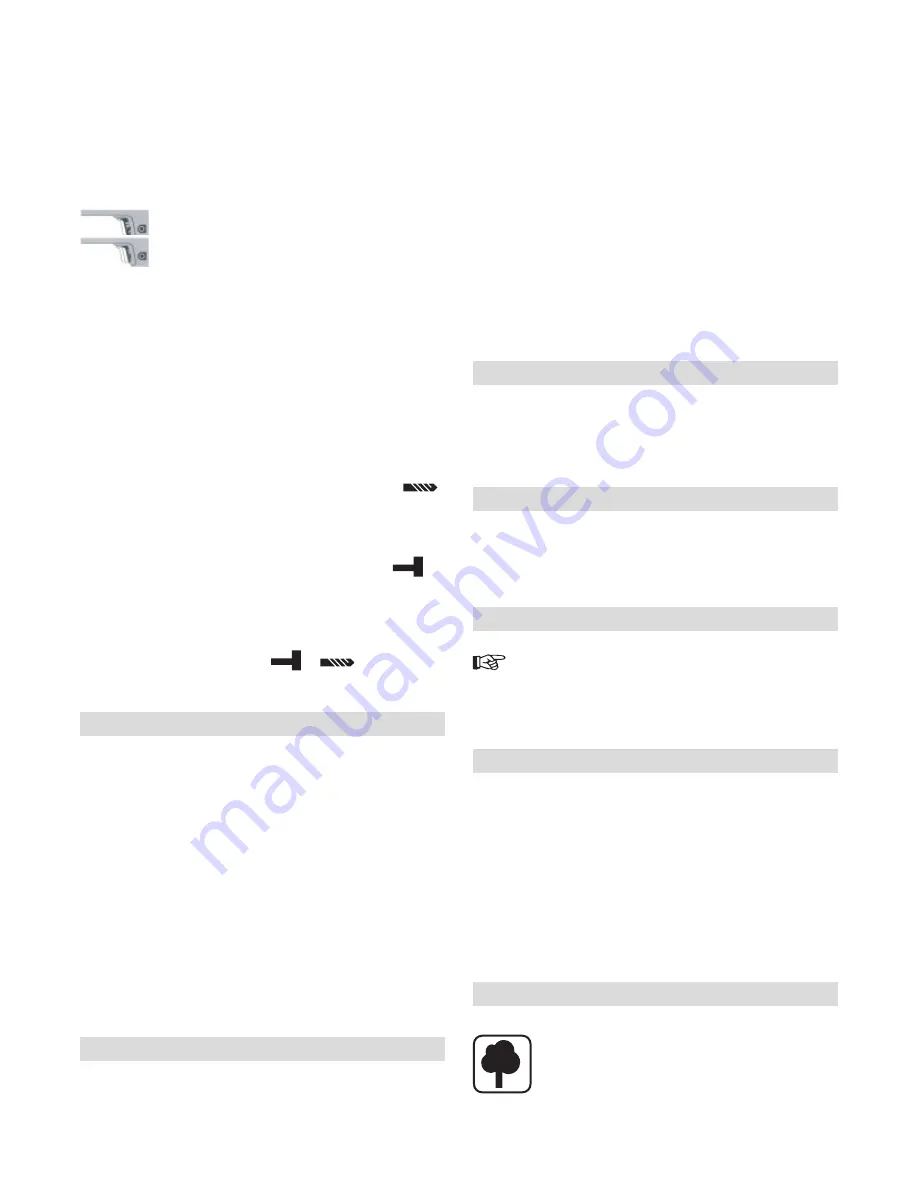
Two rotational speed ranges can be selected with the switch
7
. The machine switches from the first to the second rota-
tional speed step after a perceptible pressure point has been
exceeded.
Step I
Step II
Type number 0 601 186 077/078
Press the switch 11. When is visible on point the drill is con-
nected in low speed; two points high speed.
The ON/OFF switch
7
can be locked in either of the rotational
speed steps by means of locking button
6
.
Function with and without impact
Lever
4
at the top of the drill is used to change from simple
drilling to impact drilling. To change from one system to an-
other rotate the kever 180
o
, which can be done while the ma-
chine is running.
Without impact (rotation only)
Turn the button of switch
4
with the arrow pointing to
.
In this position you will be able to drill steel, aluminium, wood,
plastic and other materials.
With impact (rotation with impact system)
Turn de button of switch 4 with the arrow pointing to
. In
this position you will be able to drill concrete, stone, wall tiles,
bricks and other materials.
Warning!
Use your hammer drill only with the arrow of switch
4
point-
ing to one of the two positions, (
or
). Never stop in
the dead center (between those two positions), for this will
damage the tool.
Accessories assembly
Bits
Make sure:
• The bit you are intending to use is the correct one for this
specific material.
• The bit is in perfect working conditions (not buckled/cor-
rectly sharpened).
Assembly
Open the chuck and insert the accessory’s shank until it
reaches the botton of the chuck. Use chuck key
10
to tighten
it up through the three holes of the chuck.
Warning !
An accessory shank that has only the tip fastened:
• Will damage the chuck’s jaws
• Will destroy the accessory’s shank thus making it
buckle due to the centrifugal force
• May cause an accident due to the wrong assembly
Working instructions
Check the material to be drilled and select the correct bit. Do
not drill with a bit that is inadequate for the job, because this
will damage either your workpiece or the bit itself.
Small workpieces
Use a vise or clamps to hold your workpiece.
Loose pieces could grip int the bit and cause accidents.
Wall tiles and ceramics
Begin to drill without impact and activate the impact system
after drilling through the enamel surface. By doing this, you
prevent the bit to slide or the material to split.
Select the right bit
By choosing the correct bit for every specific material, and
keeping it correctly sharpened, you’ll allow your tool to show
its best performance.
Carbon tipped bits
- wood
High speed steel bits
- soft steel, aluminium, wood, etc.
Carbide tipped bits - concrete, marble, ceramics, etc.
Attention !
When drilling in metal, use special cutting oil to prevent the
bit to burn. Drillings in concrete, stone, ceramics, etc. should
be in dry.
Side handle
To improve handling and safety, always use handle
8
.
Depth stop rod
For serial drills of same depth you have to put the depth stop
9
in the auxiliary handle and to adjust the depth according to
your necessity.
Chuck replacement
Use an open-end spanner at spanner surface 2 to retain the
chuck. Place the chuck key in one of the 3 bores and loosen
the chuck by turning it to the left using the key as a lever. If the
chuck is frozen in place, a tap on the chuck key should loosen
it. The removal procedure is reversed for reassembling.
Maintenance and cleaning
• Before any work on the machine itself, pull the mains plug.
For safe and proper working, always keep the ma-
chine and the ventilation slots clean.
If the machine should fail despite the rigorous manufacturing
and testing procedures, repair should be carried out by an au-
thorized customer services center for BOSCH power tools.
Guarantee
We guarantee BOSCH appliances in accordance with statu-
tory/country-specific regulations (proof of purchase by invoice
or delivery note).
Damage attributable to normal wear and tear, overload or im-
proper handling will be excluded from the guarantee.
In case of complaint please send the machine,
undisman-
tled
, to your dealer or the BOSCH Service Center for Elec-
tric Power Tools.
Warning!
Freight and insurance costs are charged to the client, even
for warranty claims.
Environmental protection
Recycle raw materials instead of disposing as waste.
The machine, accessories and packaging should
be sorted for environmental-friendly recycling.
The plastic components are labeled for catego-
rized recycling.
Subject to change without notice
GSB19-2.indd 12
19.12.06 16:36:54
Содержание GSB 19-2 PROFESSIONAL
Страница 2: ...2 1 2 3 4 5 6 7 8 9 10 11 ...


