DSDA Digital Storage Disk Arrays
Configuration through the Web Interface | en
15
Bosch Sicherheitssysteme GmbH
Installation Guide
- | V2 | 2009.11
5.
The changes are summarized on the
Commit
screen.
Click
Commit
to apply the new settings.
6.3
Configuring the Volume
The system is preconfigured with one volume that contains either two or three hard disks. You
need to add the remaining disks of your system to the volume in order to use their capacity.
1.
In the navigation panel, select
Volumes
>
Manage
.
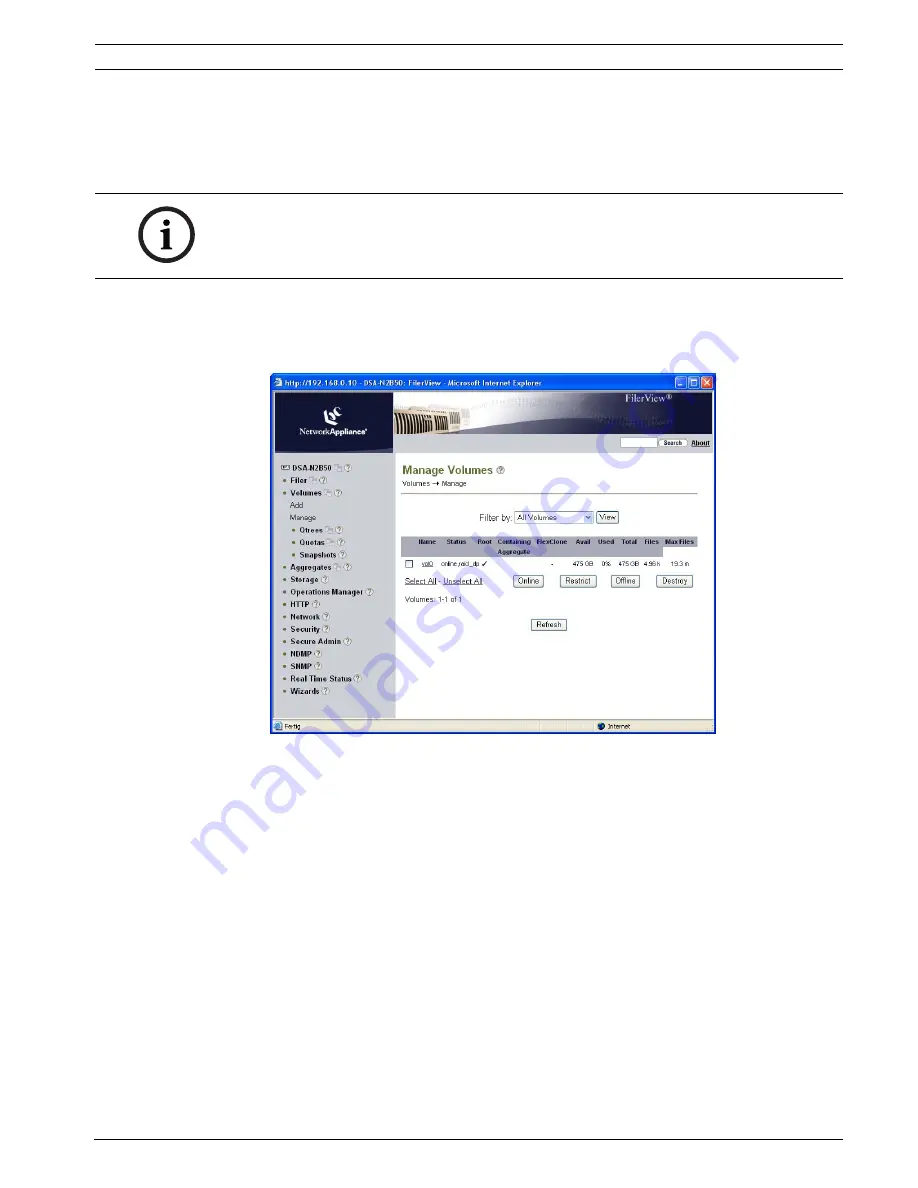
The preconfigured volume, named
vol0
, is listed.
2.
Click
vol0
to display and change the properties of the volume.
3.
Click
Add Disks
. This starts a wizard for adding disks to the existing volume.
4.
Click
Next
on the welcome screen of the
Volume Wizard
.
5.
Disk Selection
: Check
Automatic
. Click
Next
.
6.
Disk Size
: Select
Any Size
. Click
Next
.
7.
Number of Disks
:
–
DSA-N2B20
/
DSA-N2B40
/
DSA-N2B50
without extension shelves
: Select the
maximum number of disks available from the list. Click
Next
.
–
DSA-N2B20
/
DSA-N2B40
with extension shelves
: Add
9
disks. Later on, create
further volumes as described in
Section 7.1.4 Adding New Volumes, page 22
.
Click
Next
.
–
DSA-N2B50
with extension shelves
: Add
17
disks. Later on, create further volumes as
described in
Section 7.1.4 Adding New Volumes, page 22
.
Click
Next
.
NOTICE!
If you are using the VRM Video Recording Manager application (Version 1.5 or higher), all
further settings are made through VRM Configurator.
If you use the digital storage systems for direct recording, continue with the following steps.
Содержание DSA-N2B40
Страница 1: ...DSDA Digital Storage Disk Arrays DSA N2B20 DSA N2B40 DSA N2B50 en Installation Guide ...
Страница 2: ......
Страница 37: ......


