23
̈
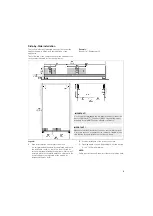
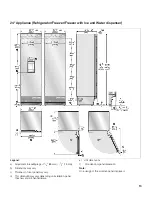
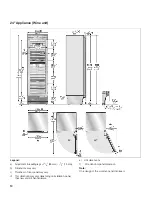
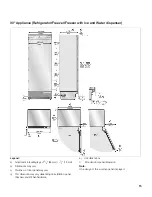
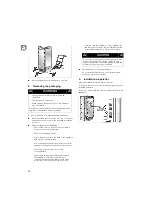
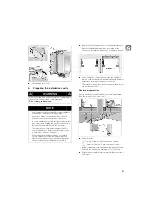
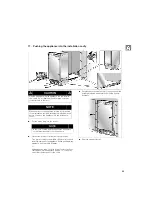
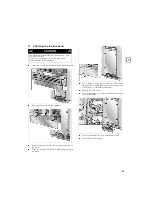
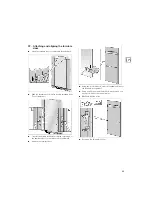
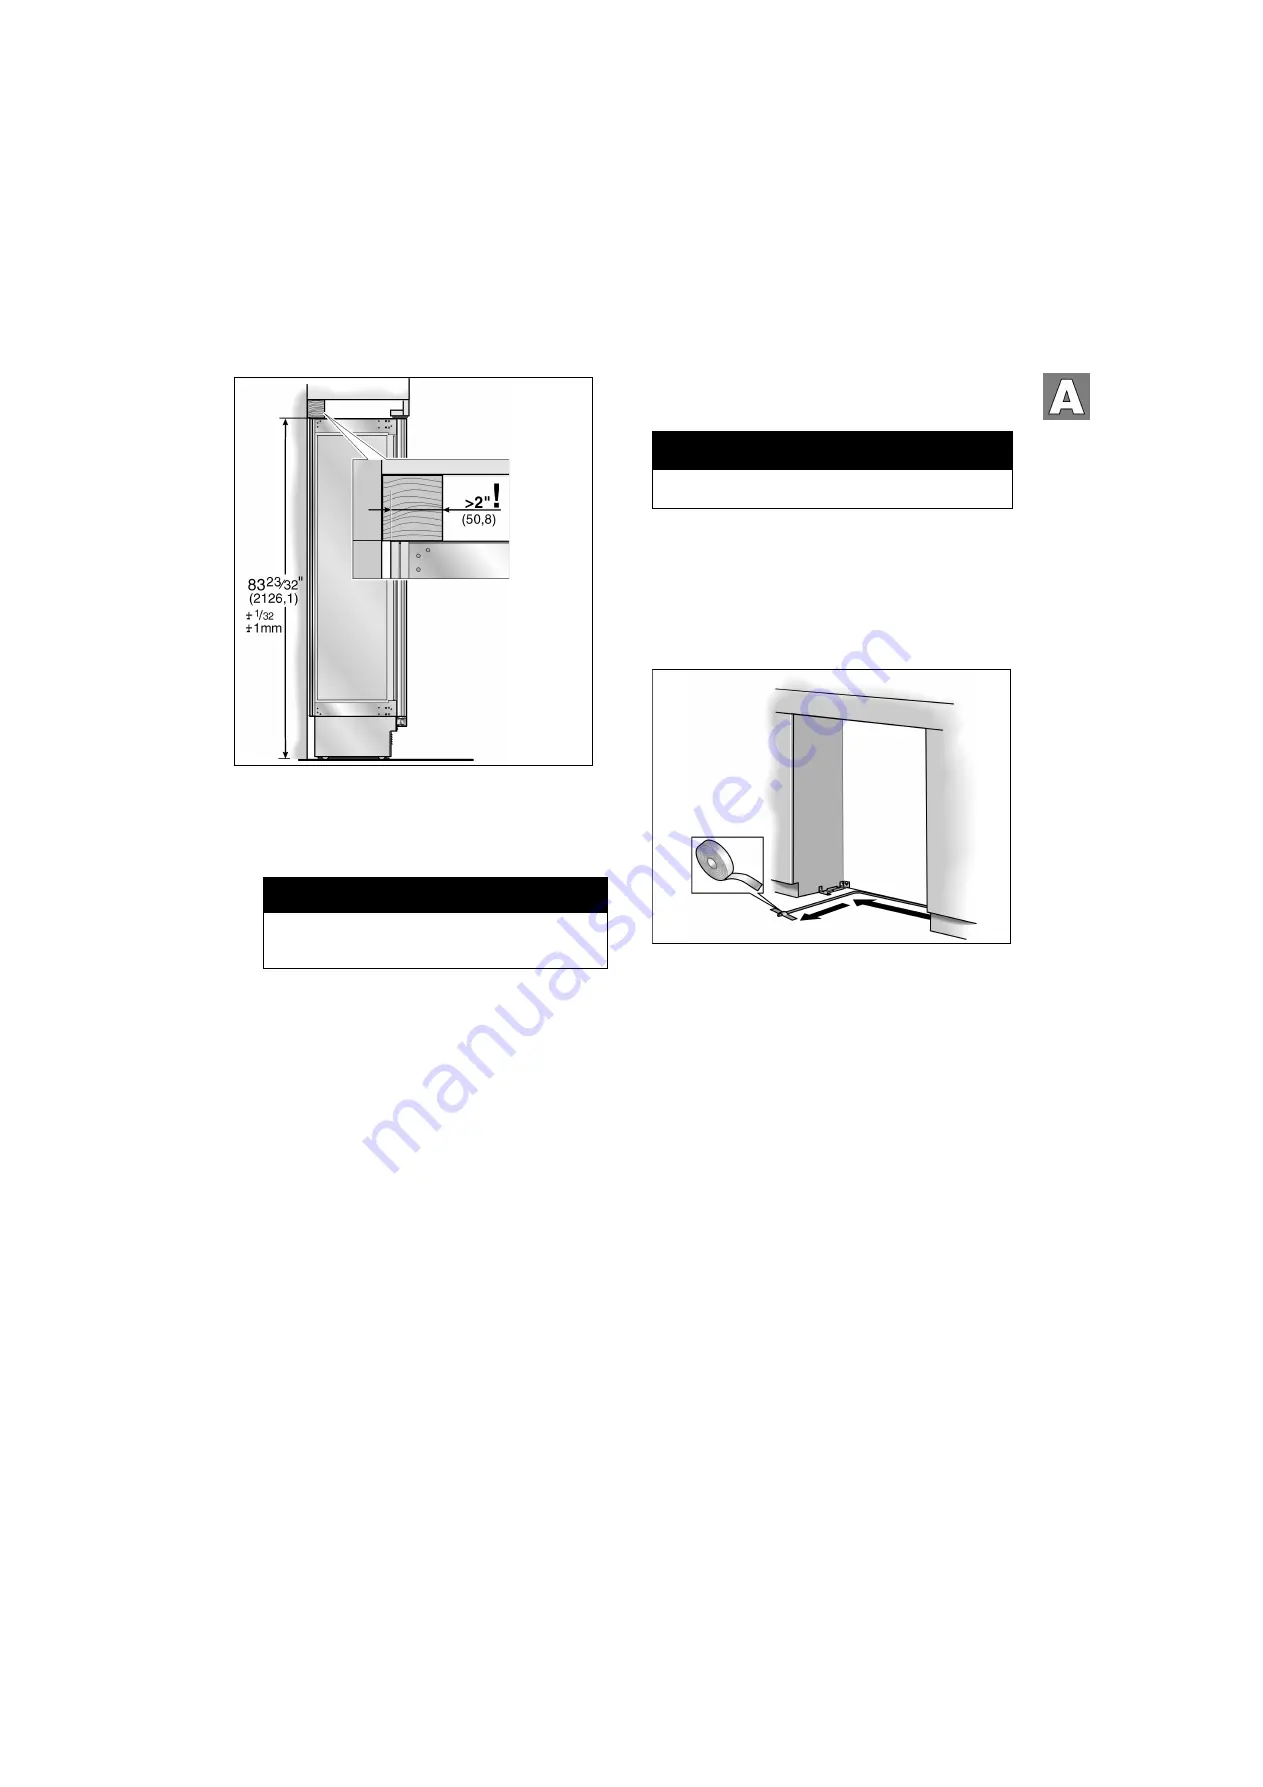
Mark the installation height (lower edge of the beam) on
the rear panel of the cavity.
̈
Select screws according to the thickness of the wooden
beam: length = min. 2.5 x beam thickness, diameter
#12 or #14.
According to the subsurface:
̈
Locate wall studs near the rear panel of the cavity and
mark drill holes in the beam
or
̈
Fasten suitable dowel into the rear wall.
̈
Predrill the wooden beam.
̈
Attach the wooden beam to the rear panel of the cavity.
8.
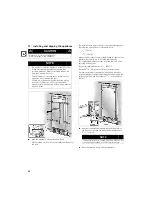
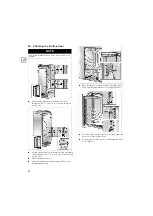
Preparing to connect the water
(only for appliances which require a water connection)
̈
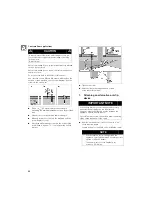
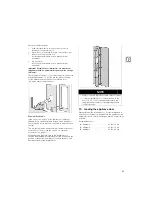
Attach the connecting pipe to the shut-off valve
according to the instructions supplied by the
manufacturer of the ice maker installation kit.
̈
Install the connecting pipe.
Always observe the indicated gap dimensions to
prevent damage to the connecting pipe when pushing
in the appliance.
̈
Attach the connecting pipe to the floor with adhesive
tape.
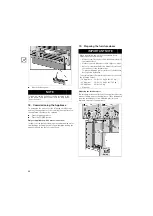
NOTE
Specify the number of screws according to the
cavity width, thereby ensuring that the beam can be
attached securely.
m
CAUTION
m
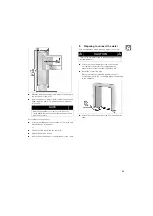
Turn off the main water tap to prevent damage caused
by leaking water.
Содержание B30 Series
Страница 1: ...B18 B24 B30 INSTALLATION INSTRUCTIONS INSTRUCTIONS D INSTALLATION INSTRUCCIONES DE INSTALACIÓN ...
Страница 2: ...2 INSTALLATION INSTRUCTIONS 3 INSTRUCTIONS D INSTALLATION 42 INSTRUCCIONES DE INSTALACIÓN 82 ...
Страница 121: ...121 ...
Страница 122: ...122 ...
Страница 123: ...123 ...

