4
4
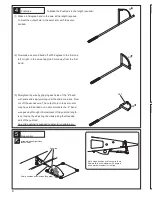
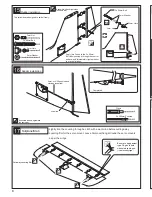
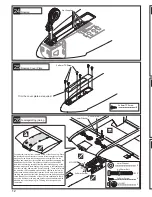
To Make the Pushrods to the length required;-
(1)
Make a 90 degree bend in the wire at the length required
to meet the output hole in the servo arm with the servo
centred.
(2) Now make a second bend off at 90 degrees to the first one,
left or right, in the wire at approx. 3mm away from the first
bend.
(3) Straighten the wire by gripping each side of the “Z” bend
with pliers and slowly turning until the ends are in line. Now
cut off the excess wire. The output hole in the servo arm
may have to be drilled out to accommodate the “Z” bend
wire passing through it. Adjustment of the pushrod length
is carried out by adjusting the clevis along the threaded
part of the pushrod.
An extra pushrod is supplied to allow for possible error.
13
28
27
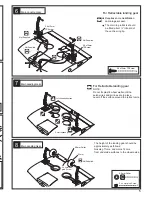
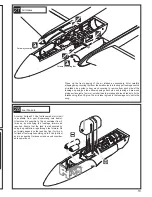
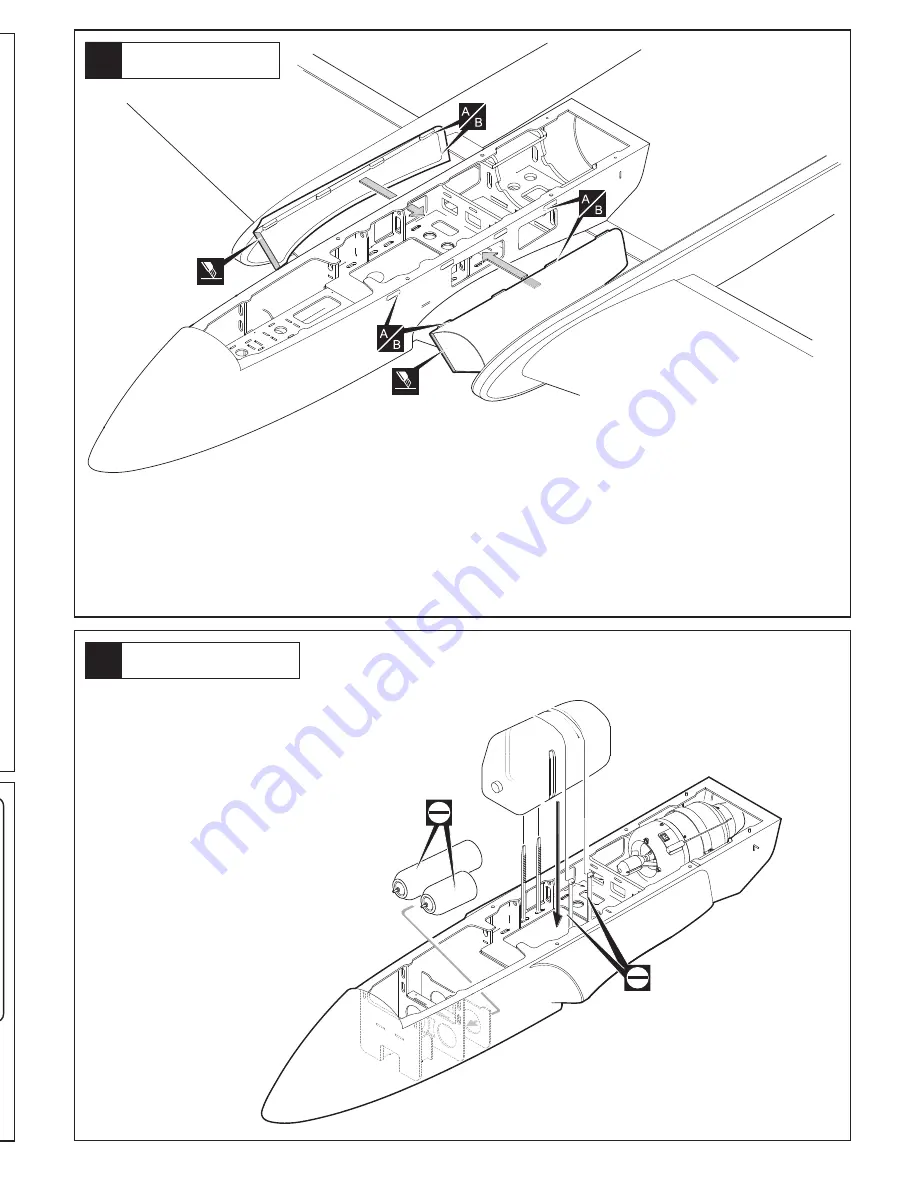
Fuel Tank etc
Pushrods
Cut
90
90
90
5
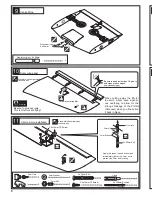
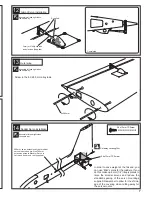
Flap control
Note hinge position and the control horn
Rearward to allow maximum 90 degree
downward movement for the flap.
Assemble left and right sides
the same way.
2mm.pushrods and clevises (Supplied)
Supplied
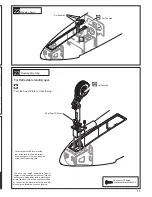
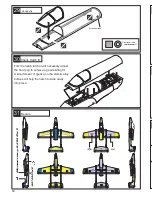
Air Intakes
Cut away covering film.
Cut away covering film.
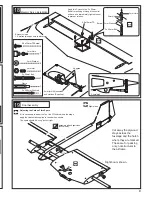
A custom Sullivan 3.7 litre fuel tank made for this kit
is available from your Boomerang Jets dealer.
Otherwise it is possible to fit any container from 2
litres up by modifying the fuselage formers as
required. Ensure that the tank is well secured by
using long cable tie wraps through the formers. Do
not simply depend on the tank bay floor for this. A
full tank of fuel weighs anything up to 8 Lbs (4 Kilos)
and in a negative G manoeuvre can exert consider-
able upward pull.
Clean up the front opening of the air intakes as necessary. After carefully
stripping away covering film from the small cutouts in the supper fuselage use the
air intakes as a guide to how much covering to remove from each side of the
fuselage, opening up the airflow openings each side and leaving a bare wood
gluing surface just a few mm. smaller than the intakes all around ready to fix the
intakes using think CA glue. The air intake is glued to the fuselage only, not to the
wing.


