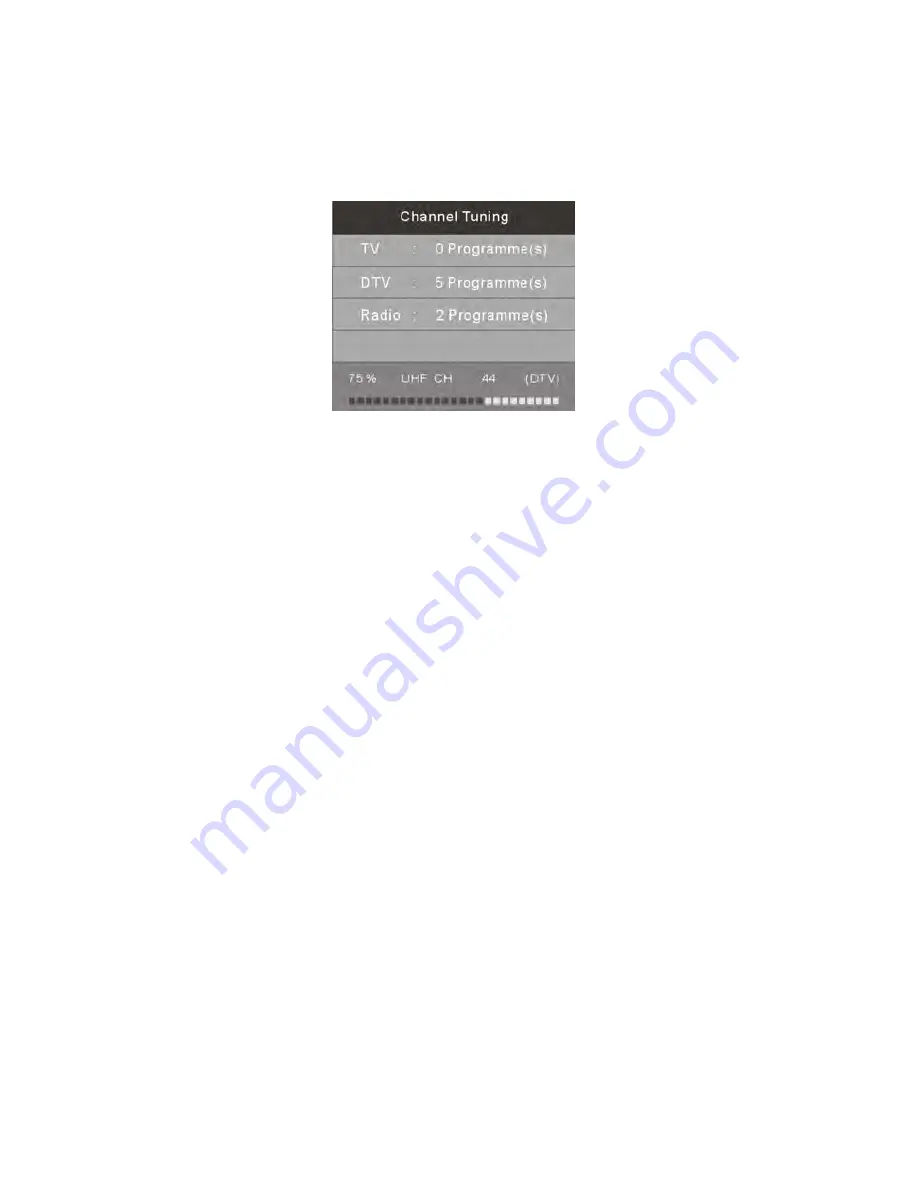
Blaupunkt BP2914HD Скачать руководство пользователя страница 12


- 11 -


3)


After auto tuning, the amount of programs found and stored will be shown on the display and the first channel will 

begin to play automatically.   


4)


To change between Digital TV (DTV) and Analog TV (ATV), press the SOURCE Button on the remote control to select 

the preferred mode.   

5)


To change the channel in either mode, press the CH+/CH- Button or press the OK Button in TV mode to display the 

Channel List. Then press the UP/DOWN Navigation Buttons to select the channel you want to watch and press the 

OK Button to confirm the highlighted channel. You can also press Numeric Buttons on remote to select the channel 

directly. To go back to the last channel you were watching you can press the RECALL Button on the remote control.   

6)


To change the source input to watch a connected accessory, press the SOURCE Button and then press the ▲or ▼ 

Navigation Buttons to scroll through and select the available input source.   

7)


To adjust the volume, press the VOL+/- Button to increase or decrease the sound level.     

8)


Press the MUTE Button to turn off the sound only and press it again to turn on the sound again.                        

9)


Press the INFO Button to display the information of the channel playing. Press the Up or Down arrows to scroll up 

through the information. Press the Right arrow to display the information of the next channel, and press the Left 

arrow to return to the information of the current channel. 

Teletext 

Teletext is an information system broadcasted by certain channels which will provide detailed program information. It also 

offers access to subtitles for viewers with hearing problems or who are not familiar with the transmission language (cable 

networks, satellite channels, etc.) To view the TV Teletext Menu you must be watching or in DTV mode. Below are the 

basic operation regarding to Teletext.   

1.


Press the TEXT Button to enter the Teletext Menu. Press again to exit.   

2.


Press the CH+/- or Numeric Buttons to select the page you wish to view. Note: When using the Numeric Buttons 

the first number should not be ‘0’ or ‘9’. 

3.


Press the INDEX Button will open/return you to the contents page.   


Содержание BP2914HD

Страница 1: ......

Страница 2: ...as been designed to give you many years of trouble free service In the unlikely event that your product fails to work normally please call one of our qualified service engineers on the below free warr...

Страница 3: ...Please refer to the correct model number outlined below for your specific accessories If any items are missing from the below list please contact the warranty line on 1300 055 518 LED LCD Remote Cont...

Страница 4: ...etween the TV and the wall to permit ventilation Avoid excessively warm locations to prevent possible damage to the cabinet or premature component failure Do not cover the ventilation openings when us...

Страница 5: ...on the back panel of the TV The wall mount bracket and screws are not included with your TV as they may be purchased together from your local retailer To attach your bracket use the 4 holes provided...

Страница 6: ...5 Sockets View BP2914HD LED Back View BP3914FHD...

Страница 7: ...CH Buttons to scroll through the channel list VOL VOL Press the VOL VOL Button to increase or decrease the volume level RF Input To connect the external aerial HDMI Inputs The HDMI inputs allow you t...

Страница 8: ...1 Remote Control Layout 7...

Страница 9: ...Press to confirm your selections 15 CH LIST Press to display the channel list 16 SLEEP Press to set Sleep Timer 17 VOL Press to adjust the sound level 18 PIC Press to switch between picture modes 19...

Страница 10: ...es to operate Below are steps to assist you with replacing the batteries 1 Open the back cover of the battery compartment 2 Install the batteries into the battery tray There are polarity markings in t...

Страница 11: ...ee image below 7 Connect your TV to your Mains Power Please only connect this TV to Mains Power that matches the power specifications AC 100 240 Volts 50 60 Hz of this TV Please note After AV YPBPR or...

Страница 12: ...ress the VOL Button to increase or decrease the sound level 8 Press the MUTE Button to turn off the sound only and press it again to turn on the sound again 9 Press the INFO Button to display the info...

Страница 13: ...hen you want to return to the previous Menu and press the EXIT Button to exit Menu setting Channel Menu The TV Channel Menu will allow you to change the channel setting or search for new or weak stati...

Страница 14: ...or press the EXIT Button to exit ATV Manual Tuning Use the or Buttons to select ATV Manual Tuning in the Channel Menu Then press the or Buttons to select the individual ATV channel frequency you wish...

Страница 15: ...tton to select the Skip function and a SKIP icon will be displayed next to the program and it will be skipped when changing the channel FAV Press the FAV Button instead of color Buttons to set the fav...

Страница 16: ...ress the or Buttons to scroll through the picture modes Press the OK Button to confirm Contrast Press the or Button to adjust the contrast Brightness Press the or Button to adjust the brightness Colou...

Страница 17: ...uts Auto Volume Press the OK Button to select Auto Volume to on or off When it s set to on the volume level will stay as the set Volume Audio Description This feature allows you to listen to an audio...

Страница 18: ...Zone here The default is New South Wales GMT 10 Option Menu To enter the Option Menu press the MENU Button then press the or Buttons to select the Option Menu and press the OK Button to confirm Press...

Страница 19: ...ere you are able to check your USB or Hard Disc Drive format and see if the USB or Hard Disc Drive you are using is compatible If your USB or Hard Disc Drive is not compatible you will see FAIL on the...

Страница 20: ...USB device is too low it will not be compatible with this TV and FAIL will be displayed on the screen You will not be able to record with the incompatible device Free Record Limit After formatting is...

Страница 21: ...factory settings Set Password To change the password press the OK Button to select Set Password and a pop up Menu will appear to enter your new password The default password is 6666 you will need thi...

Страница 22: ...to be set as the TVs preset channel Press the or Buttons to select the desired channel number and it will be set as the preset channel and automatically turn on when the TV is turned on Picture Lock...

Страница 23: ...option Make sure your USB HDD is connected to the USB input on the side of your TV Once your USB HDD is connected press the or Buttons to select the media mode you wish to play Recorded TV files can b...

Страница 24: ...to the Media Menu press the MENU Button or press the EXIT Button to exit You can also delete files from your USB HDD in media mode Highlighted the files you would like to delete and press the RED Butt...

Страница 25: ...r USB device is inserted into the USB input to scheduled recordings If your storage device is not compatible you will be asked to format it Press the MENU Button to enter the PVR File System Menu to f...

Страница 26: ...ll appear on the screen The record time length and remaining record time will be displayed in the menu below To conceal or reveal the menu press the REC Button again To stop recording press the Stop B...

Страница 27: ...s Press the II Button again to resume playing and a white play icon will appear at the left of the screen which shows that time shift is being performed To conceal or reveal the menu press EXIT Button...

Страница 28: ...he sub Menu Press the Button to adjust V Offset Press the Buttons to select V Offset then press the OK Button to enter sub Menu Press the Button to adjust Size Press the Button to select Size then pre...

Страница 29: ...ound Check that your audio cables have been connected firmly Check that Muted Audio is not on and that Audio Settings are correct Conduct a restore setting to return settings back to the factory defau...

Страница 30: ...io Layer I II Video MPEG2 Transport MP HL DTV de mod Demodulator COFDM OFDM Mod 2K 8K FFT SFN MFN Packed Carries 2K 8K Guard Interval 1 4 1 8 1 16 1 32 TV Tuner Integrated frequency synthesis USB Comp...

Страница 31: ...BG L DK DTV decode Audio MPEG2 Audio Layer I II Video MPEG2 Transport MP HL DTV de mod Demodulator COFDM OFDM Mod 2K 8K FFT SFN MFN Packed Carries 2K 8K Guard Interval 1 4 1 8 1 16 1 32 TV Tuner Integ...

Страница 32: ...ndows and MAC 3 There can be image disruption in PC mode This can occur as result of a signal from the VGA card which does not correspond with the usual standard This is not however an error You can i...

Страница 33: ...e does not operate normally or has been dropped 8 The TV should not be exposed to dripping or splashing water and no objects filled with liquids such as vases should be placed on the TV 9 If the TV is...

Страница 34: ...if the goods fail to be of acceptable quality and the failure does not amount to a major failure In the unlikely event that your product fails to work normally please contact BLAUPUNKT WARRANTY on 130...

Страница 35: ......

Отзывы: