9
INSTALLATION
Installing the Silencer
1. Inspect the condition of the silencer liner
and jacket prior to installing it onto the
nozzle. Make sure the silencer liner is
not damaged or cracked or has pieces
missing. Inspect the silencer liner wall
thickness at the exit of the silencer –
typically the silencing effect will reduce
if the silencer is excessively worn. The
silencer is excessively worn if the exit
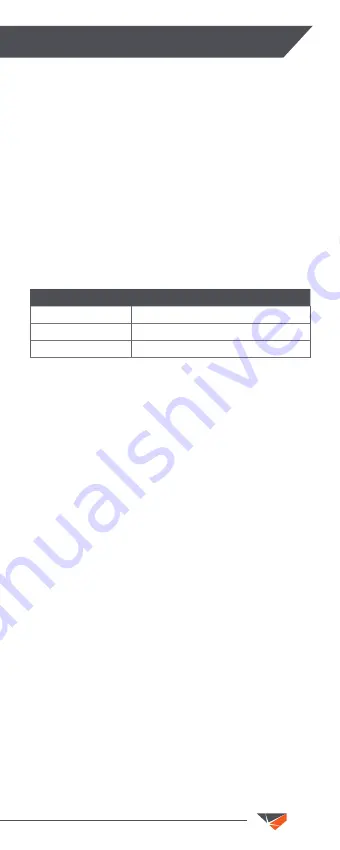
diameter has worn per the following table:
Inspect the silencer jacket for damage.
If the silencer is damaged or excessively
worn do not continue to use the silencer.
2. Ensure the system pressure is isolated
before installing the silencer onto the
nozzle.
3. The nozzle has been designed to be used
with or without the silencer. If required,
remove the bump guard, and clean the
threads on the nozzle exit and the silencer
and make sure they are free of any grit or
debris.
4. The silencer is installed onto the nozzle by
screwing it onto the outlet end of the nozzle
as shown below.
Note:
there is no silencer washer.
5. Continue to screw the silencer onto the
nozzle until the nozzle reaches the end of
the silencer thread, then tighten the nozzle
until it is hand tight. Do not over-tighten the
nozzle in the nozzle holder or use any tools
to tighten the nozzle.
NOZZLE SIZE
EXCESSIVELY WORN DIAMETER
No. 6
27 mm (1.06 in)
No. 7
30 mm (1.18 in)
No. 8
34 mm (1.34 in)


