22
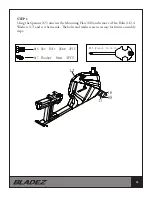
STEP 8
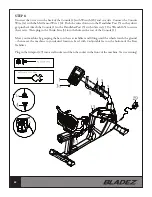
Unscrew the 4 screws in the back of the Console (1) with Wrench (65) and set aside. Connect the Console
Wire (1a) with the Mid Sensor Wire 1 (4). Push the wires down into the Handlebar Post (5) so they don't
get pinched. Attach the Console (1) to the Handlebar Post (5) with 4 Screws (2). Use Wrench (65) to secure
the screws. Then plug in the Trunk Line (3) into the hole in the rear of the Console (1).
Move your machine by grasping the bar on the rear stabilizer and lifting until the wheels touch the ground
– then move the machine to you desired location. Level with 2 adjustable feet on the bottom of the Rear
Stabilizer.
Plug in the Adaptor (29) into a wall socket and then the socket in the front of the machine. Start exercising!
Содержание R300II
Страница 4: ...4 WARNINGS AND LABELS ...
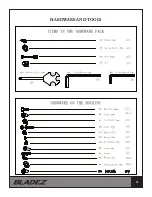
Страница 13: ...13 HARDWARE AND TOOLS 20PCS 10PCS 18PCS 65 Bolt 20mm 4PCS ...
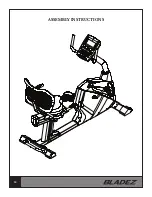
Страница 14: ...14 ASSEMBLY INSTRUCTIONS ...
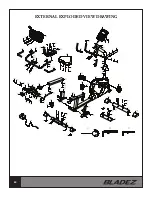
Страница 24: ...24 EXTERNAL EXPLODED VIEW DRAWING ...
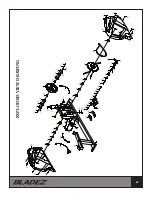
Страница 25: ...25 EXPLODED VIEW DRAWING ...
Страница 41: ...41 MISES EN GARDE ET ÉTIQUETTES ...
Страница 51: ...51 INSTRUCTIONS D ASSEMBLAGE ...
Страница 61: ...61 CROQUIS EN VUE ÉCLATÉE ...
Страница 62: ...62 CROQUIS EN VUE ÉCLATÉE ...

