


OPERATION
CB5A-021 page 10/24
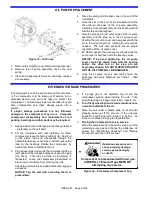
STARTUP PROCEDURE
NOTICE:
Consult the 'Troubleshooting' section of this manual if
difficulties during startup are experienced.
1. Start the compressor. Oil pressure should register
25 psig (172 kPa) within 10 seconds.
If proper oil pressure is not present, stop the
compressor and correct the problem.
Operating the compressor with low oil pressure will
cause severe damage to the unit. Adjust if
necessary. See "Setting the Oil Pressure".
Operation of the compressor with low or
no oil may result in extreme
temperature in the crankcase. This
could be an ignition source in the
presence of explosive gas and could
lead to severe personal injury or death.
Hazardous gases
can cause property
damage, personal
injury or death
The oil pump on these models will operate in either
direction of crankshaft rotation.
2. Verify that the suction and discharge pressures are
within the expected ranges.
Operating limits listed in the "Compressor Data"
section must not be exceeded.
3. Check for leakage from the piping and equipment,
and repair as necessary.
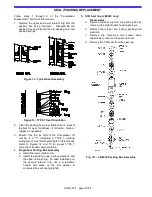
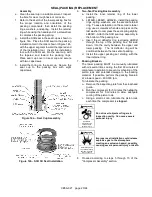
4. If the seals (packing) have just been replaced or if
the compressor has been out of service for over 6
months, the lower seal MUST be manually lubricated
during the first 60 minutes of operation. See "Seal
(Packing) Replacement" section. New compressors
have had the packing broken in at the factory.
5. On newly rebuilt units, the valve hold down screws,
valve cover plate bolts and cylinder head bolts
MUST have their torque checked after 60 minutes
running time. Also re-tighten all hold down bolts,
flywheel bolts, etc. after 60 minutes running time.
See Table 7 - "Bolt Torque."


