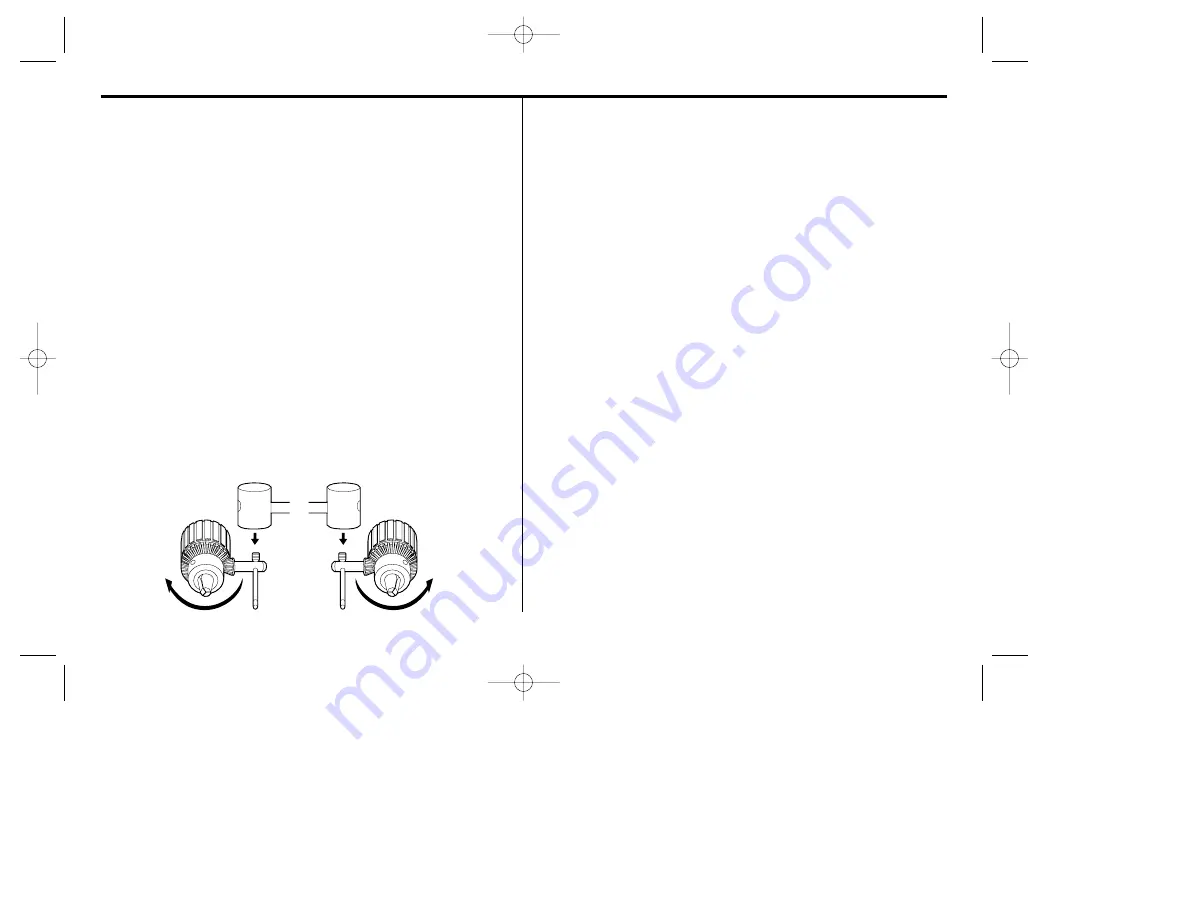
3. Be sure the material to be drilled is anchored or clamped firmly. If drilling
thin material, use a “back-up” block to prevent damage to the material.
4. Always apply pressure in a straight line with the bit. Use enough
pressure to keep the drill bit biting, but do not push hard enough to stall
the motor or deflect the bit.
5. Hold tool firmly to control the twisting action of the drill.
6. IF DRILL STALLS, it is usually because it is being overloaded. RELEASE
TRIGGER IMMEDIATELY, remove drill bit from work, and determine
cause of stalling. DO NOT CLICK TRIGGER OFF AND ON IN AN ATTEMPT
TO START A STALLED DRILL – THIS CAN DAMAGE THE DRILL.
7. To minimize stalling on breaking through the material, reduce pressure
on drill and ease the bit through the last fractional part of the hole.
8. Keep the motor running when pulling the bit back out of a drilled hole.
This will help prevent jamming.
Drilling in Wood
Holes in wood can be made with the same twist drills used for metal. These
bits may overheat unless pulled out frequently to clear chips from the flutes.
For larger holes, use spade bits, power auger bits, or hole saws. Work that is
likely to splinter should be backed up with a block of wood.
Drilling in Metals
Use a cutting lubricant when drilling metals. The exceptions are cast iron and
brass which should be drilled dry. The cutting lubricants that work best are
sulphurized cutting oil or lard oil; bacon grease will also serve the purpose.
Drilling in Masonry
Use carbide tipped masonry bits at low speeds. Keep even force on the drill
but not so much that you crack the brittle materials. A smooth, even flow of
dust indicates the proper drilling rate.
Lubrication
All ball and sleeve bearings used are factory lubricated to last the life of the
bearings. All needle bearings used receive their lubrication from the grease in
the gear case. Clean and relubricate gear case yearly or whenever servicing
requires the gear case to be removed. Use type and quantity of grease shown
on Parts Bulletin packed with your tool. Gear case is removed by removing
the three screws from the front of the tool. If the chuck is too large to permit
removal of the two top screws, see instructions for chuck removal.
Motor Brushes
TURN OFF TOOL AND DISCONNECT FROM POWER SUPPLY.
To inspect brushes, unscrew the plastic brush inspection caps (located in the
sides of the motor housing) and the spring and brush assemblies may be
withdrawn from the tool. Keep brushes clean and sliding freely in their
guides. Carbon brushes have varying symbols stamped into them, and if the
brush is worn down to a point where the symbol is not visible, they must be
replaced. New brush assemblies are available at B&D authorized service
centers.
NOTE: This tool uses the CHECKPOINT™ brush system and is designed to
automatically turn itself off when the brushes are worn out.
4
Figure 4
Figure 5
154574-00/2610-220 5/17/02 1:45 PM Page 4


