Gas Pressure Fryer
Installation
11
5. Turn on the gas at the gas supply valve.
6. Check for gas leaks from the gas supply to the fryer gas valve using a soap and water solution. If a leak is
detected, tighten the connection where the leak occurs.
7. Connect fryer wiring according to the appropriate wiring diagram in this manual.
8. Apply power to the fryer.
9. Perform the following procedures provided in the Startup and Checkout section of the
SV9401/SV9402/SV9403, SV9501/SV9502/SV9503, SV9601/SV9602 SmartValve™ SYSTEM
CONTROLS Installation Instructions (69-1004-2). Refer to
Error! Reference source not found.
.
•
Gas Leak Test
•
Check and Adjust Gas Input Burner Ignition
Initial Test and Adjustment
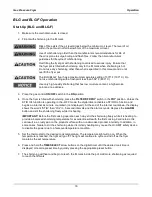
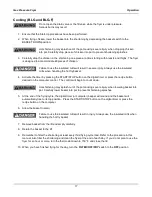
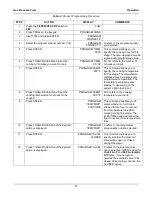
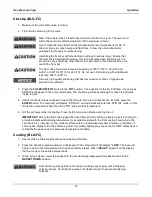
1. Open the gas supply valve.
2. Place the DRAIN handle in the CLOSED position.
3. Fill pot with shortening to the fill mark.
Risk of fire exists if the oil level drops below the minimum oil level. The level of oil
within the pot must not fall below 5mm of the maximum oil level.
Use of oil/shortening older than the manufacturer’s recommendations for life of
the oil is prone to surge boiling and flash fires. Follow the oil manufacturer’s
guidelines for lifecycle of oil/shortening.
Overfilling the fryer pot with shortening could lead to serious injury. Ensure that
the fryer pot is filled with shortening only to the fill mark when shortening is hot.
Do not use any shortening other than what is specified in this manual and do not
overfill the fryer pot.
The fryer has a maximum temperature setting of 375º F/190º C (for BLG and
BLG-F) or 390º F/200º C (for BLG-FC). Do not use oil/shortening with a
flashpoint less than 554º F (290º C)
Use only high-quality shortening that has low moisture content, a high smoke
point and no additives.
4. Place the gas control
ON/OFF
switch in the
OFF
position.
5. Place the
FILTER/OFF/FRY
switch in the
OFF
position.
6. Before you turn on the gas, wait at least five minutes to allow any gas that may have accumulated in the
burner compartment to escape.
7. Place the gas control
ON/OFF
switch in the
ON
position.
8. Place the
FILTER/OFF/FRY
switch to the
FRY
position. The shortening should begin to heat and begin to
reach the fill mark inside the pot. Add more shortening as required to reach the fill mark.

