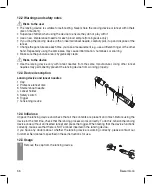
Beurer GL44
37
2
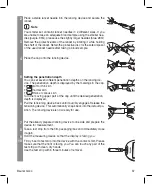
Place a sterile lancet needle into the lancing device and secure the
lancet.
Note
Your starter set contains lancet needles in 2 different sizes. If you
are unable to take an adequate blood sample using the smaller nee-
dles (purple, 33G), please use the slightly larger needles (blue, 28G).
3
Remove the protective disc of the lancet by rotating it while holding
the shaft of the lancet. Retain the protective disc for the safe disposal
of the used lancet needle after taking a blood sample.
4
Place the cap onto the lancing device.
5
Setting the penetration depth
You can set seven different penetration depths on the lancing de-
vice. The penetration depth is displayed by the markings in the cap.
•
soft or thin skin
•
normal skin
•
thick or callous skin
Turn the moving upper part of the cap until the desired penetration
depth is displayed.
6
Pull the tensioning device back until it audibly engages. Release the
tensioning device. This automatically snaps back into the default po-
sition. The lancing device is now ready for use.
7
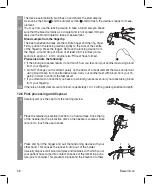
Put the already prepared lancing device to one side and prepare the
device for measurement.
8
Take a test strip from the film packaging/box and immediately close
it again.
9
Hold the measuring device so that the display is facing you.
10
Firmly insert a test strip into the device with the contacts first. Please
make sure that the front is facing you. You can touch any part of the
test strip with clean, dry hands.
Use the test strip within three minutes of removal.
Содержание GL 44
Страница 2: ......
Страница 41: ...Beurer GL44 41...
Страница 42: ...42 Beurer GL44...
Страница 43: ......

