4
1
e
g
a
P
Installation Instructions
-
Ceiling / Wall Installation
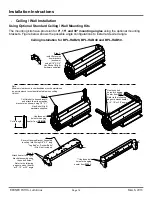
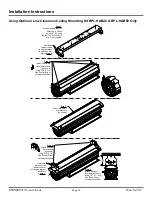
Using Optional Standard Ceiling / Wall Mounting Kits
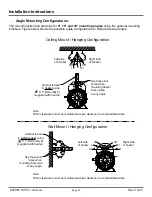
The mounting kits have provision for
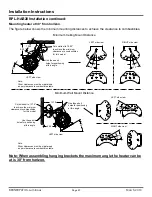
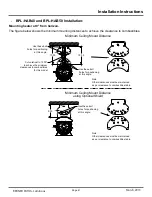
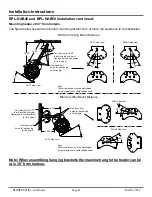
0°, 15° and 30° mounting angles
using the optional mounting
brackets. Figure below shows the possible angle configurations to install at desired angle.
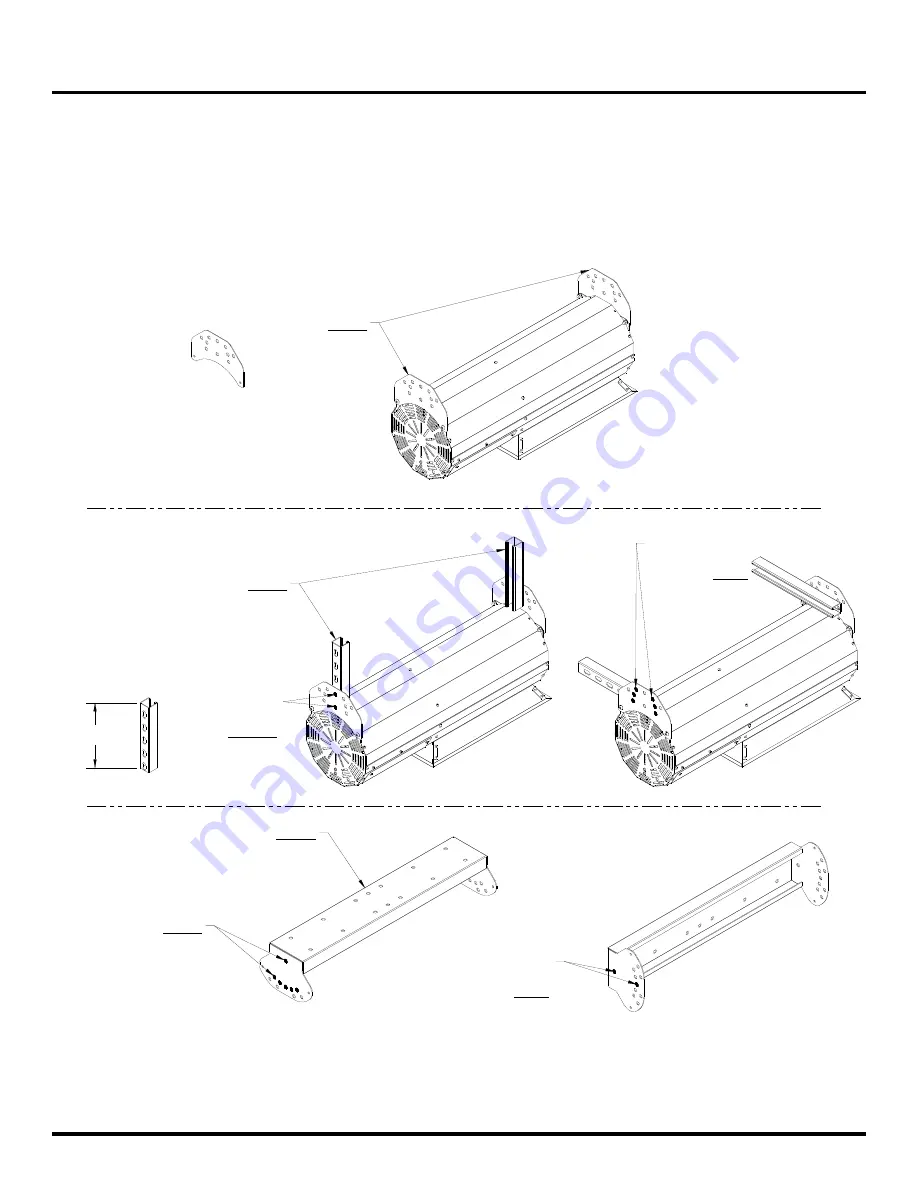
Ceiling Installation for BPL-HAB20, BPL-HAB40 and BPL-HAB50.
Step 1.
Install Extension
Arm brackets
(as shown)
using 5/16" X 3/4"
Hex Socket (Qty 4)
hardware supplied.
Note:
Minimum clearances to combustibles must be maintained
as per clearance to combustibles table when cutting
Unistrut.
Step 2.
Cut Unistrut to desired length,
and attach them to extension
brackets (as shown) using 1/2" X 1"
Hex Bolts (Qty 8)
hardware supplied.
Cut to length
Use these bolt
holes for hanging
heater from
CEILING
.
Step 3.
Secure Hanging Bracket Assembly
to ceiling / wall using 3/8" X 3" long
"Lag Bolt" or "Anchor Bolts"
(Qty 4) not included.
Step 4.
Attach heater to hanging
bracket assembly using
these bolt holes.**
Refer to the following
pages to mount heater
at 0°, 15° or 30° angle
Use these bolt
holes for hanging
heater from
WALL
.
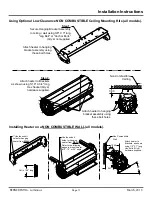
Refer to the following
pages to mount heater
at 0°, 15° or 30° angle.
**Use these bolt
holes for hanging
heater from
WALL
.
March, 2013
BERNER PATIO+ Luminous
Содержание BPL-HAB20
Страница 2: ...March 2013 BERNER PATIO Luminous...


