Chapter 4
Adjusting the monitor
4.2 OSD Menu Functions
You
can use the buttons on the control panel to set the screen display via an
integrated OSD (On Screen Display) menu.
4.2.1 Menu Features
The following features can all be accessed by using your monitor’s on screen menu
system. Once are finished, make adjustments to a feature, and select the EXIT icon to
leave the menu.
Please follow the procedures of selection and adjust an item using the OSD system as
below.
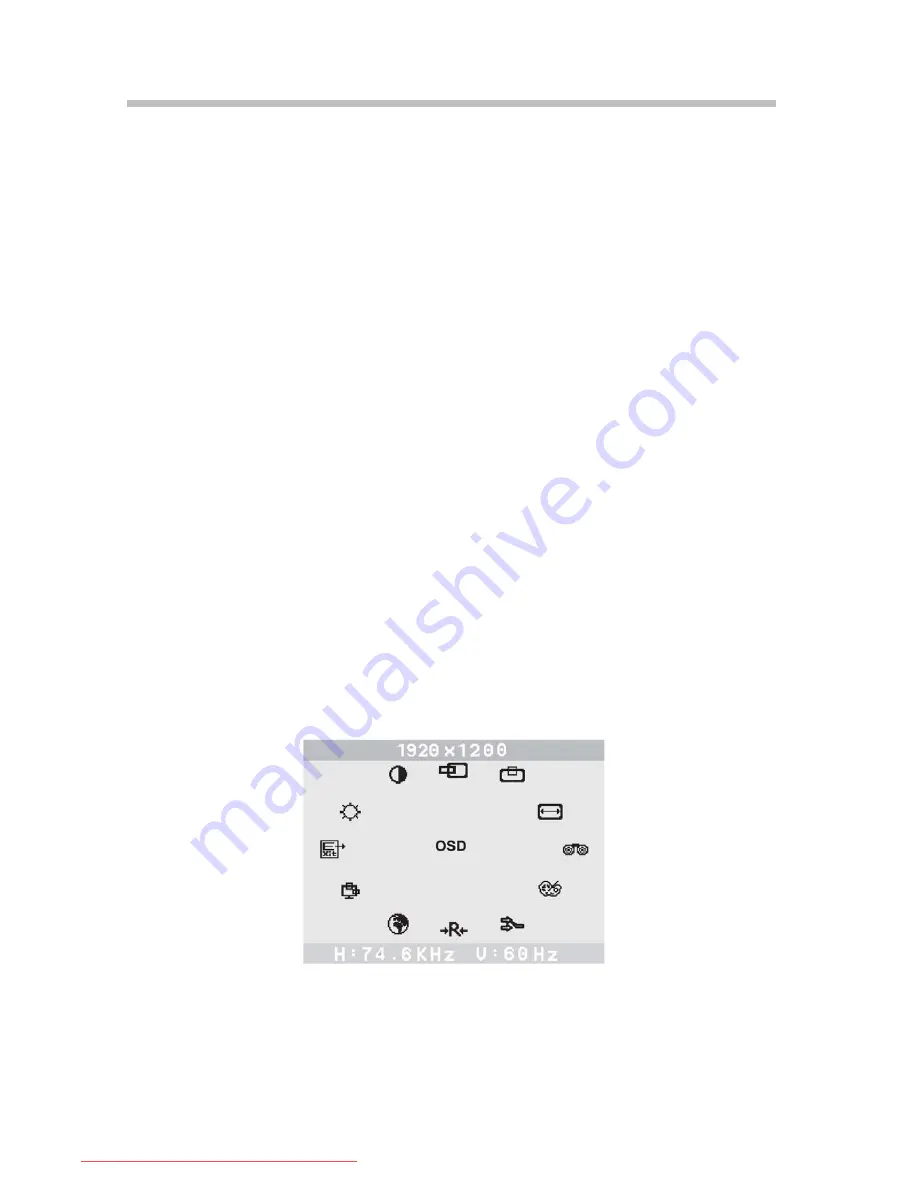
Step 1: Press the MENU button to activate the OSD menu. The main menu appears on
the screen with icons for the setting functions.
Step 2: If necessary, use the
◄
or
►
buttons to select the icon.
Step 3: Press the MENU button to activate the highlighted icon.
Step 4: Use the
◄
or
►
button to make the desired setting.
Step 5: Select the EXIT icon to exit the OSD menu.
Step 6: Repeat step 2 through 5 to make further adjustments.
All changes are stored immediately.
4.2.2 OSD Menu
1) Main menu
OSD main menu gives you an overview of the selection of controls available. When
you want to make adjustment of the screen image, press and release button menu.
2) OSD adjustment
You can choose where you would like OSD image to appear on your screen. All
possible adjustments of the monitor using the OSD menu are described in the
following.
9
Downloaded from ManualMonitor.com Manuals


