11
Introduction
6.
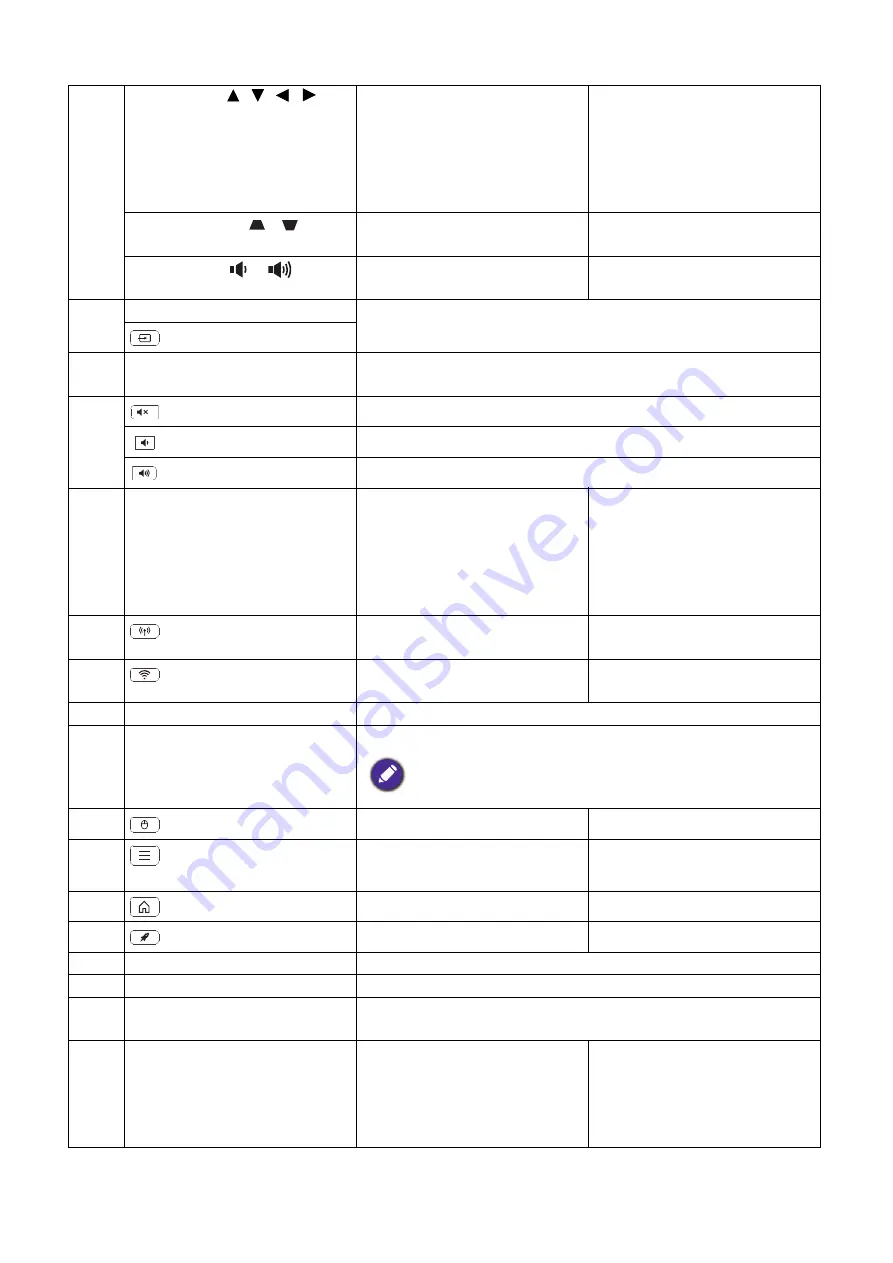
Arrow keys ( , , , )
Moves through the menu
items or toggle through the
available options.
When the On-Screen Display
(OSD) menu is activated,
these keys are used as
directional arrows to select
the desired menu items and to
make adjustments.
Keystone keys (
,
)
(Not available.)
Displays the keystone
correction page.
Volume keys
/
(Not available.)
Decreases or increase the
projector volume.
7.
SOURCE
Displays the source selection bar.
(
SOURCE
)
8.
Source selection buttons:
HDMI
,
PC
,
LAUNCHER
Selects an input source for display.
9. Toggles
projector
audio between on and off.
Decreases the projector volume.
Increase the projector volume.
10.
Control
buttons:
F1
,
F2
,
F3
Customizes buttons, the
default is the entry interface of
wireless projection (
F1
) / the
entry interface of video
conference (
F2
) / the entry
interface of file manager (
F3
).
(Not available.)
11.
(
Hotspot
)
Enters the
Hotspot
menu in
Settings
.
(Not available.)
12.
(
Wi-Fi
)
Enters the
Internet
menu in
Settings
.
(Not available.)
13.
PICTURE
Selects an available picture mode.
14.
BLANK
Used to hide the screen picture.
Do not block the projection lens from projecting as this could
cause the blocking object to become heated and deformed or even
cause a fire.
15.
(
Cursor
)
Activates the cursor function. (Not available.)
16.
(
Smart Launcher
Menu
)
Goes to the BenQ
Settings
menu.
(Not available.)
17.
(
HOME
)
Returns to the home screen.
(Not available.)
18.
(
Clear memory
)
Goes into Task Manger.
(Not available.)
19.
BRIGHTNESS
Adjusts brightness.
20.
CONTRAST
Adjusts contrast.
21.
LIGHT MODE
Displays the
Light Mode
menu for selecting a suitable lamp
operating mode.
22.
AUTO
(Not available.)
Automatically determines the
best picture timings for the
displayed image when PC
signal (analog RGB) is
selected.


