Other settings 15
Eng
lish
To select a Movie Record option:
1. Press
and make sure you can see the icon
on the screen.
2. Press
>
, and then select an option.
3. Press
or to select a setting.
4. Press
or
> .
To activate Timer Record:
1. Once you set the time and the duration for Timer Record, press
>
to return to
the Movie Record mode.
2. Press
. You can see
and the text (Timer Recording) on the screen.
3. Press the shutter halfway to set automatic focus.
4. Press the shutter down fully. The text (Timer Recording) shows again.
5.
shows to indicate that you have activated Timer Record. Make sure the battery power is
adequate and do not turn off the camera. So, you can keep Timer Record activated until it
completes recording the video based on the Timer Record settings you made.
Other settings
Press
>
, and then select an option.
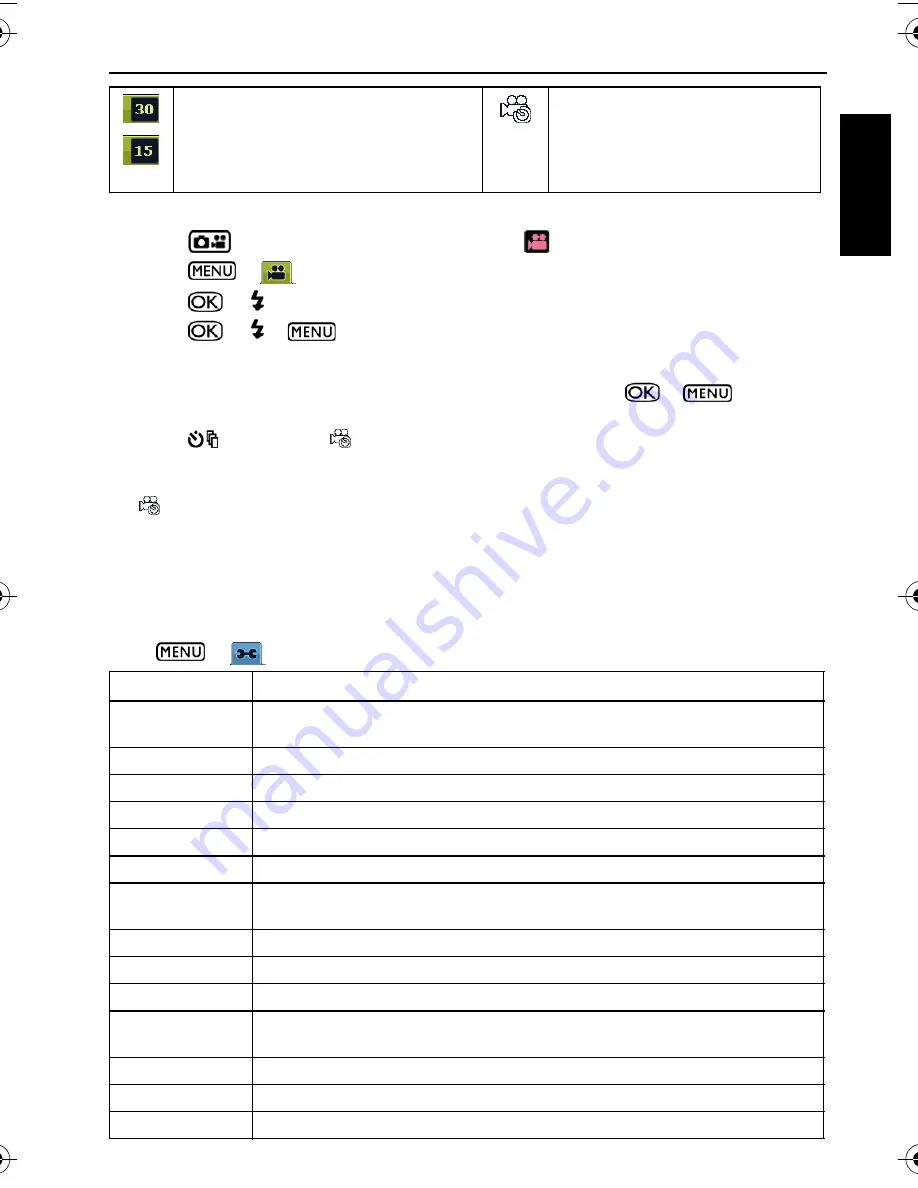
Frame Rate: 30/15 fps (frames per
second)
Timer Record Setup: Records
videos at the time and the duration
you set. After setup, follow the
procedure below to activate Timer
Record.
Mode
Description
Manage Memory • Copies files from the internal memory to the SD card.
• Formats the internal memory or the SD card.
Instant Review
Sets how long you want to review the image you just captured.
Digital Zoom
Turns on/off the digital zoom feature.
System Sound
Turns on/off the volume for operation.
Volume
Adjusts the volume for playback.
LCD Brightness
Sets the degree of brightness for the screen.
Power Saving
Sets the idle time before the camera automatically enters the standby
mode to save battery power.
Power Off
Sets the idle time before the camera automatically turns off.
Date/Time
Sets date and time.
Date Format
Sets the date format.
TV Format
Sets the video format (such as NTSC or PAL) when connecting to an AV
system like TV.
Reset
Returns all settings to the factory default values.
Language
Sets the displayed language on the screen.
Version
Shows the currently installed firmware version number.
X725 UM.book Page 15 Friday, March 30, 2007 2:15 PM


