


BenQ DC 5530 User’s Manual
En
glis
h
Using the DC X600
18
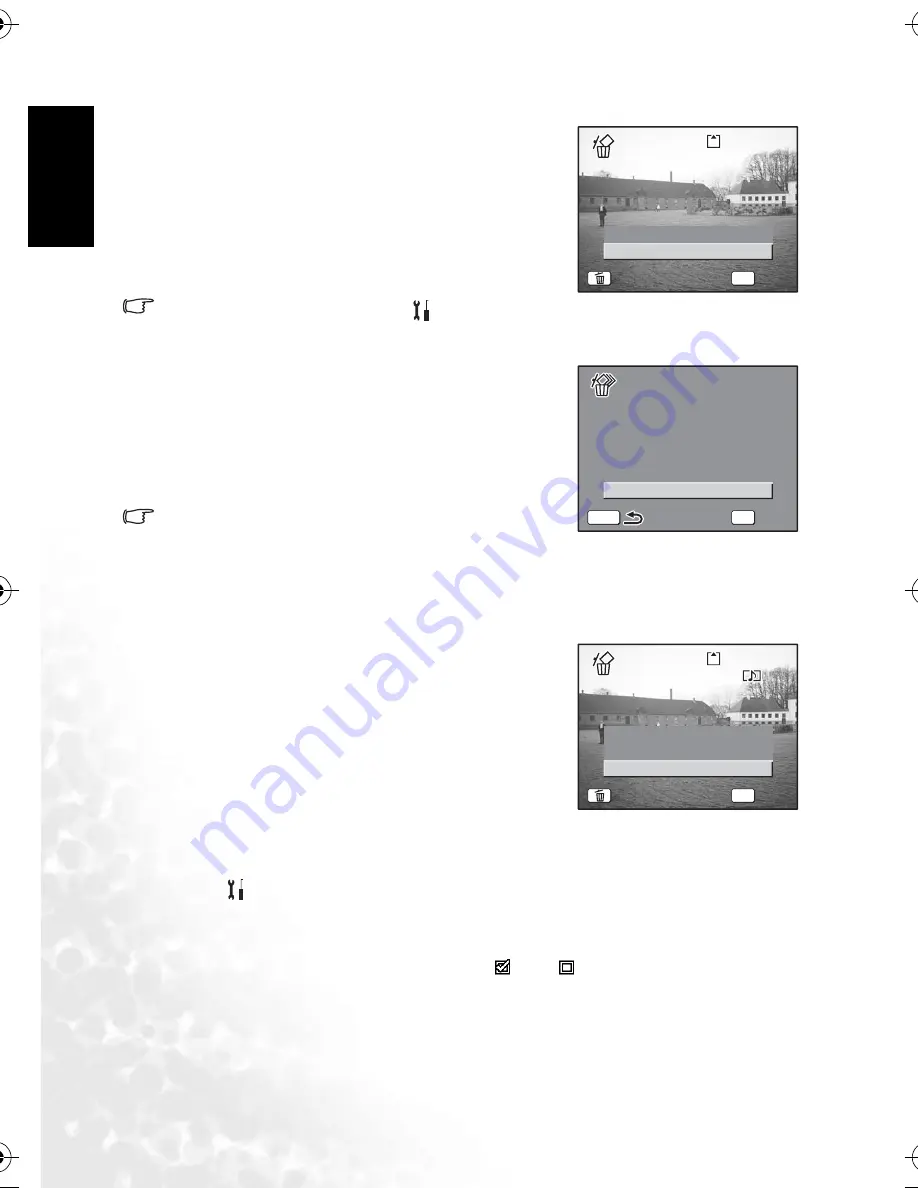
3.6.6.1
Deleting a single image, movie, or sound
1. Enter the Playback mode and use the four-way
controller (
W
X
) to choose the image, movie or
sound to delete.
2. Press the Green Button.
The Delete screen appears.
3. Use the four-way controller (
S
) to select [Delete].
4. Press the
OK
button.
The image, movie or sound is deleted.
•
[Quick Delete] is set to On in the [
Set-up] menu,
Step 3 can be omitted.
3.6.6.2
Delete all the images, movies, or sounds
1. Enter the Playback mode and press the Green Button
twice.
The Delete All screen appears.
2. Use the four-way controller (
S
) to select [Delete all].
3. Press the
OK
button.
All the images and sounds will be deleted.
•
You can also delete images from Instant Review.
3.6.6.3
Deleting a voice memo only
If an image has a voice memo, you can delete the voice memo without deleting the image.
1. Enter the Playback mode and use the four-way controller (
W
X
) to choose an image with
a voice memo to delete.
2. Press the Green Button.
The Delete screen appears.
3. Use the four-way controller (
S
) to select [Delete
sound].
4. Press the
OK
button.
The voice memo is deleted.
3.6.6.4
Setting the Quick Delete function
When the Quick Delete function is set to On, the Delete
screen appears with [Delete] already selected.
1. Press the
MENU
button in Playback mode.
The [
Set-up] menu appears.
2. Press the four-way controller (
X
).
3. Use the four-way controller (
S
T
) to select [Quick Delete].
4. Use the four-way controller (
W
X
) to select
(On)/
(Off).
5. Press the shutter release button halfway.
The camera is ready to take pictures.
100-0010
100-0010
100-0010
Cancel
Delete
OK
OK
OK
OK
All
All
All
Cancel
Delete All
Delete All
Delete All
OK
OK
OK
OK
MENU
Delete all images/sounds
Delete all images/sounds
Delete all images/sounds
100-0010
100-0010
100-0010
Cancel
Delete
Delete sound
OK
OK
OK
OK
All
All
All
DC_X600_UM.book Page 18 Friday, September 23, 2005 6:34 PM


