42
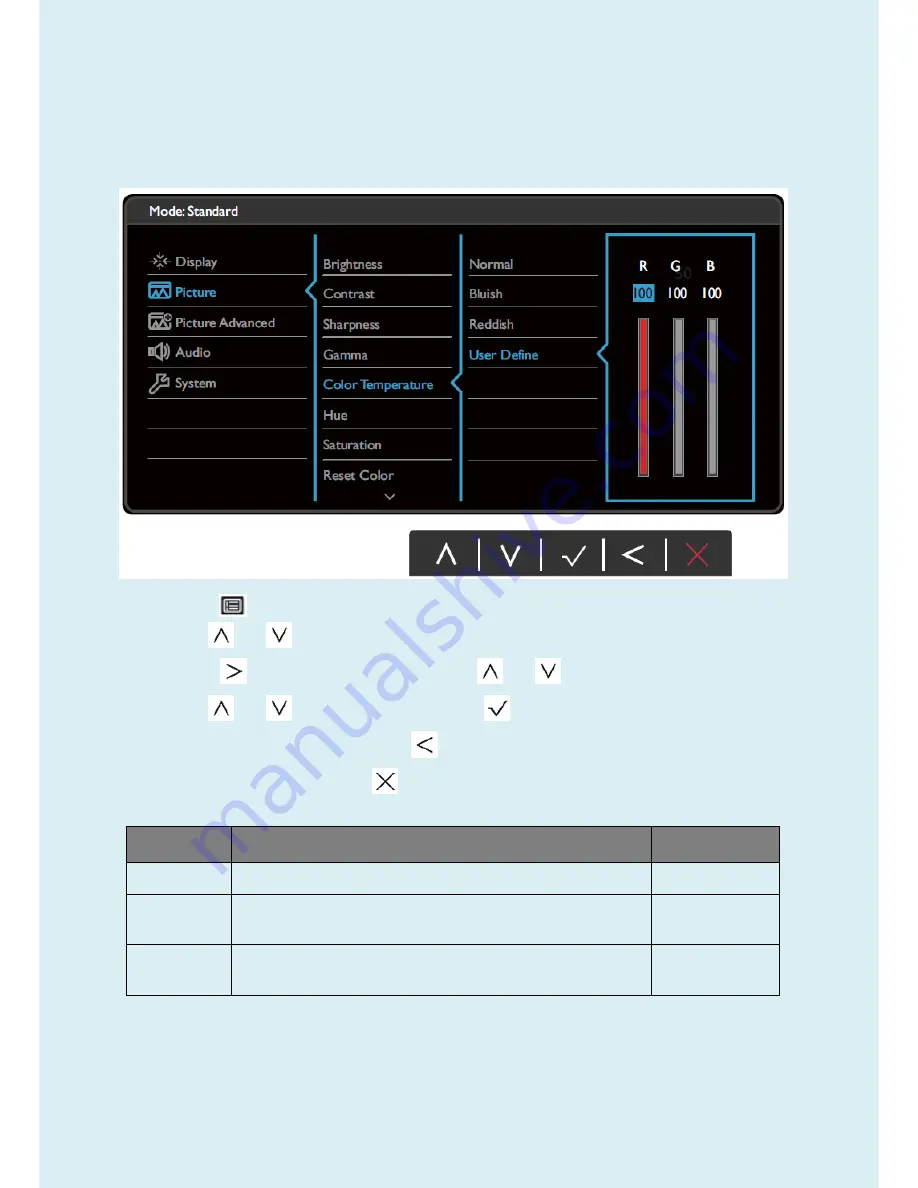
Picture menu
Available menu options may vary depending on the input sources, functions and settings. Menu options that are
not available will become grayed out. And keys that are not available will be disabled and the corresponding
OSD icons will disappear. For models without certain functions, their settings and related items will not appear
on the menu.
1.
Select
(Menu)
from the hot key menu.
2.
Use
or
to select
Picture
.
3.
Select
to go to a sub menu, and then use
or
to select a menu item.
4.
Use
or
to make adjustments, or use
to make selection.
5.
To return to the previous menu, select
.
6.
To exit the menu, select
.
Item
Function
Range
Brightness
Adjusts the balance between light and dark shades.
0 to 100
Contrast
Adjusts the degree of difference between darkness and
lightness.
0 to 100
Sharpness
Adjusts the clarity and visibility of the edges of the subjects in the
image.
1 to 10
Содержание 9H.LDMLA.TB Series
Страница 15: ...15 5 2 Panel Inspection Specification Inspection Standards for LCD Modules...
Страница 16: ...16...
Страница 17: ...17...
Страница 18: ...18...
Страница 19: ...19...
Страница 20: ...20...
Страница 21: ...21...
Страница 24: ...24 Click Finish to complete the USB serial port driver installation...
Страница 28: ...28 3 Service Page and Verify the software version...
Страница 31: ...31...
Страница 34: ...34 5 Run the ISP tool 5 1 Double click the icon to open the tool 5 2 Select the EDID folder...
Страница 35: ...35 5 3 Load EDID successful 5 4 Tick the Only connect VGA and Write SN then click Debug Imformayion...
Страница 37: ...37 Adjustment Alignment Procedure The Control Panel...
Страница 63: ...63 Six Angles View...
Страница 69: ...69 6 The bezel and Key board...
Страница 70: ...70 Assembly 1 Assemble key board to bezel 2 Assemble the panel into bezel...


