


10
Setting Up Your KMX-4911 Multiviewer
Networking Setup
13 Verify that the new IP address is effective, by referring to
, below. Perform this verification for all the cards that are
connected to your system’s rear module.
Finding the System IP Address and Application Version
To find the system IP address and application version
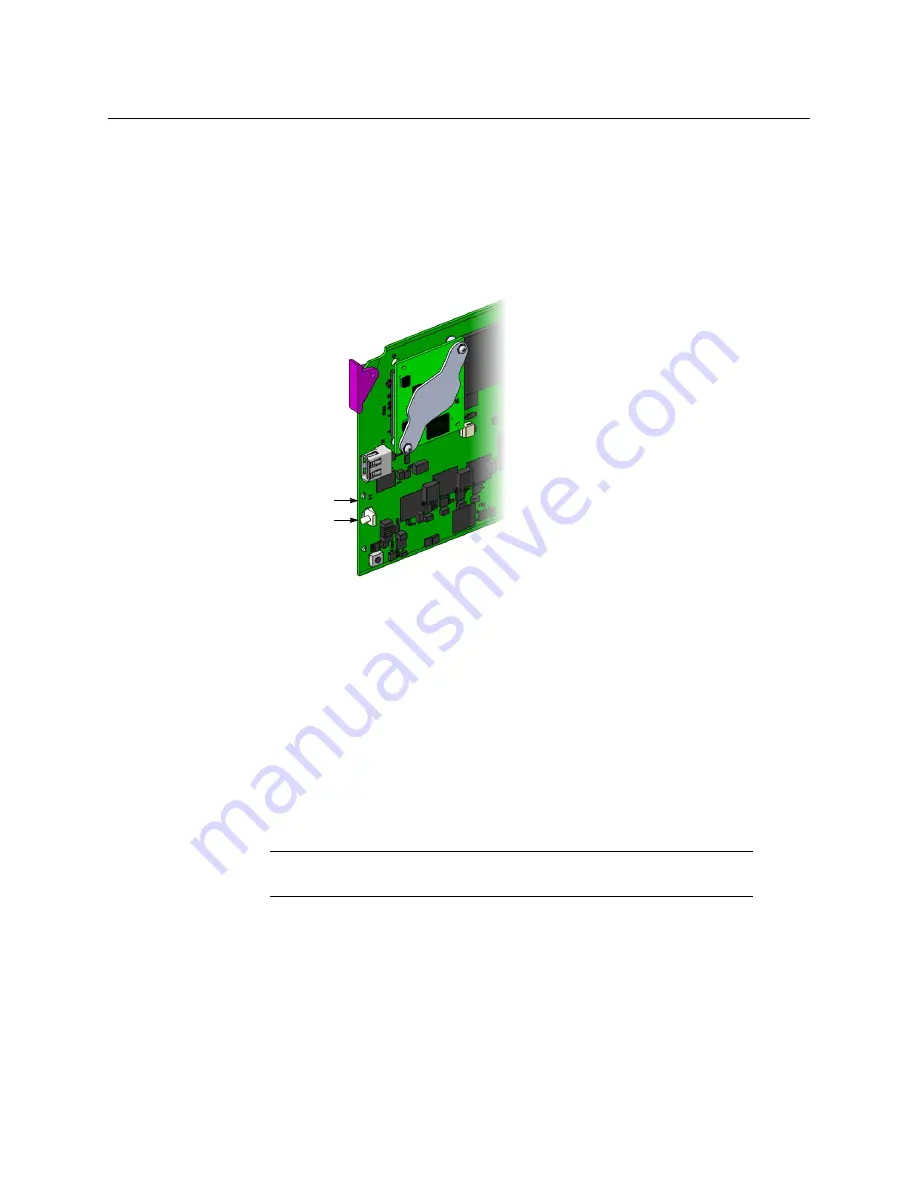
1 Press the Select button on the front edge of the KMX-4911 card.
The Status LED on the selected card flashes orange, and the version of the Kaleido-X
Software that is running on the card (e.g. “8.00 build 2220”) appears on the display of
the GV Node frame’s local control panel.
2 On the local control panel, touch the [–] button repeatedly until NETWORK SETTINGS
appears on the display, and then touch the SEL button.
SYSTEM IP EDIT appears on the control panel’s display.
3 Touch the SEL button again.
The current IP address appears on the display.
4 Press the Select button
on the front edge of the KMX-4911 card
to exit the control menu.
Using the Kaleido-RCP2 with Default Settings
To start using the Kaleido-RCP2 with its default settings
1 Physically connect the Kaleido-RCP2 unit to the network using an Ethernet cable.
By default, the Kaleido-RCP2 is configured with DHCP enabled, so it will automatically
be assigned an IP address by a DHCP server. If no DHCP server can be found, the
Select
button
Status LED
Note:
The Kaleido-RCP2 unit is optional and is not included in the standard
KMX-4911 package.
Содержание grass valley KMX-4911
Страница 1: ...Quick Start Guide M3033 9905 102 2016 04 26 KMX 4911 SCALABLE KALEIDO MULTIVIEWER FOR GV NODE...
Страница 6: ......
Страница 24: ......


