Benchmark Scientific Accuris Скачать руководство пользователя страница 5


Product specifications
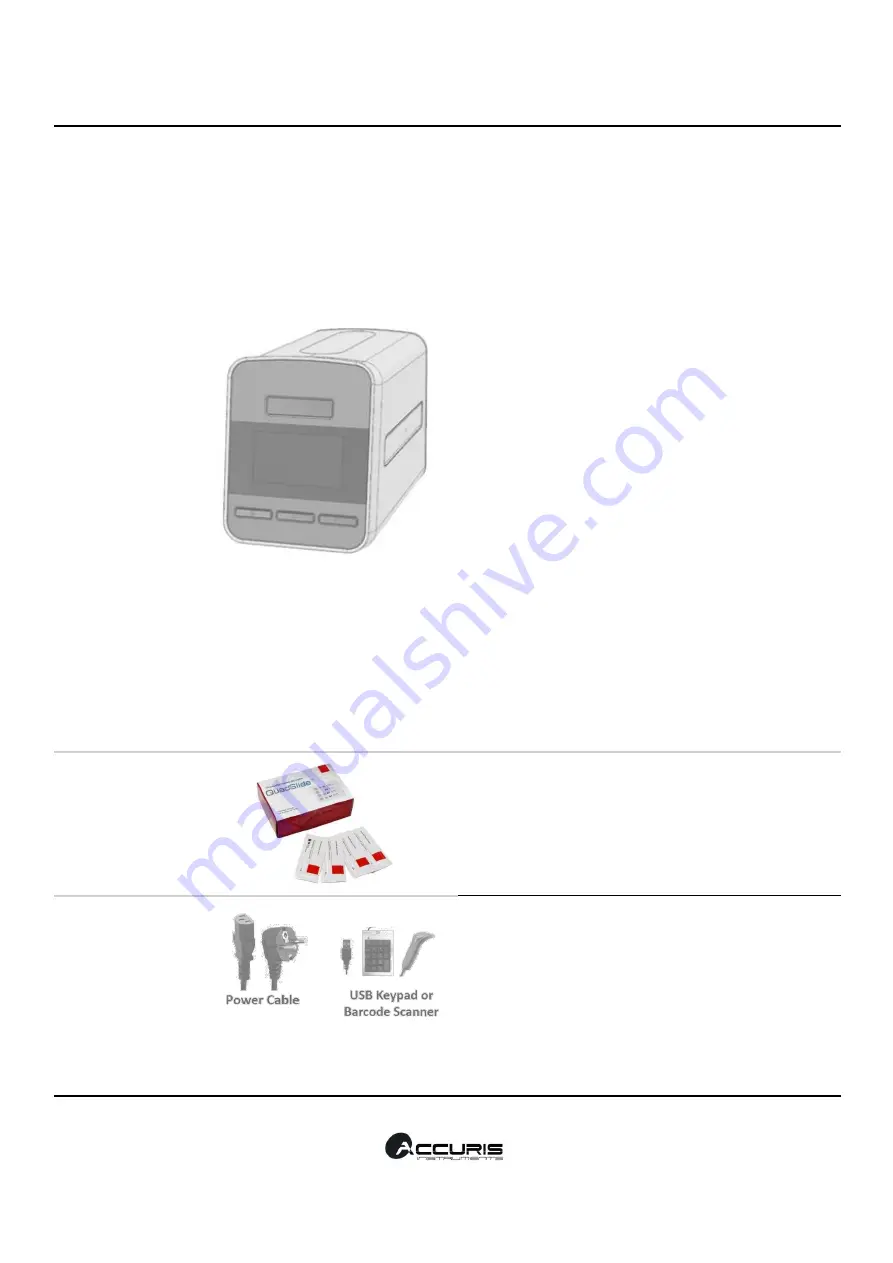
 

QuadCount

TM


Voltage 


AC 100~240 V, 50~60 Hz


Current 


Max. 1.0 A, 50 W


Objective lens


4 x


Light source


4 W Green LED


Camera


5Mega pixels high resolution 
monochrome CMOS image 
sensor 


Weight


5 Kg


Size (W × L × H)


163 × 293 × 216 mm


Measuring 
concentration range


1 x 10

4

 ~ 1 x 10

7

 cells/mL 


Detectable cell 
diameter


5 ~ 60µm


Measuring speed*


Quick mode: ≈ 20s per test


Normal mode: ≈ 30s per test


Precise mode: ≈ 100s per test


Counting area


Quick mode: ≈ 0.15 µL


Normal mode: ≈ 0.9 µL


Precise mode: ≈ 3.6 µL


QuadSlides™


(Cat. No. 
E7500-S1


(Order 
separately)


Quantity


50 slides per box (for 200 tests)


Sample loading 


volume


20 µL


Accessories


Power cable


1.5 m


USB memory stick


Supports USB 2.0


(Optional)


Keypad, Barcode 
scanner, thermal   
printer


USB type


*Cell Counting time can vary depending on cell type and concentration. 


Содержание Accuris

Страница 1: ...truction manual Accuris Instruments A division of Benchmark Scientific PO Box 709 Edison NJ 08818 Tel 908 769 5555 E mail info accuris usa com Website www accuris usa com Copyright 2020 Benchmark Scie...

Страница 2: ...2...

Страница 3: ...n Power Cable 1 QuadCount Slides Optional 50 ea per box Keypad Optional 1 Barcode scanner Optional 1 Thermal printer Optional 1 When receiving the package Check that all items listed above are include...

Страница 4: ...device in an area where there is 10 cm clearance from other objects to allow for proper air cooling Do not disassemble the device If service is needed contact Accuris Instruments or an authorized dis...

Страница 5: ...Detectable cell diameter 5 60 m Measuring speed Quick mode 20s per test Normal mode 30s per test Precise mode 100s per test Counting area Quick mode 0 15 L Normal mode 0 9 L Precise mode 3 6 L QuadSli...

Страница 6: ...cted from inserted into the device Touch LCD display Preview automatic cell counting processes and the results are displayed 3 control buttons Slide holder door Touch screen LCD display Button 3 Setti...

Страница 7: ...these ports Ethernet port LAN cable is connected to this port for PC interface Power switch Main device power ON OFF control Power cable socket Power cable is connected to this socket USB Port Keypad...

Страница 8: ...slides for 200 tests per a box Cat No E5750 S1 Getting started Pre requirements 12 Basic installation 13 Power up and initial display 14 General operation Sample preparation 15 Basic operation 16 Pre...

Страница 9: ...ck E Exporting Data all history to a USB memory stick 43 F Showing channel ID names Setting screen A Checking Firmware information and Updating Firmware 48 B Bead Quality Control 50 C Setting Date and...

Страница 10: ...distinguish between live and dead cells The stained sample is pipetted into the disposable plastic slide 4 tests per slide and the slide is loaded into the QuadCount Instrument After loading the slid...

Страница 11: ...ument but can also be used for manual counting methods The measuring range of cell concentrations is 1 x 10⁴ 1 x 10⁷ per mL when used with the QuadCount Instrument Cell Counting prepare a cell suspens...

Страница 12: ...low temperature condition below 10 C In cold conditions warm up the device for a minimum of 10 minutes before use Relative humidity between 0 95 Install in a location free of corrosive gases or other...

Страница 13: ...accompanying power cable into the power cable socket 3 Connect any optional peripherals keypad barcode scanner or thermal printer to the USB port if desired 4 Plug the power cable into an appropriate...

Страница 14: ...ooting is completed the initializing process starts and internal motorized stages start moving 2 Initializing progress is displayed while processing 3 When initializing is finished the slide holder is...

Страница 15: ...n NOTE Before sampling the cell suspension gently resuspend the cells at least 6 times pay attention to avoid bubbles and check if there are any cell clumps or agglomerates The sampling should be in m...

Страница 16: ...e samples into the slide holder NOTE Make sure the arrow on the slide points toward the instrument STEP 2 Press Start button to start counting procedures The slide holder will retract automatically an...

Страница 17: ...llowing image For completion of each sample the count results unit x104 mL are displayed STEP 4 Once counting is complete the slide holder is ejected automatically Remove the QuadSlide from the slide...

Страница 18: ...u can see the cells tap the screen twice to make the icons disappear To get icons back again tap the screen twice STEP 1 Load a slide and press Review button STEP 2 Select a channel to preview STEP 3...

Страница 19: ...19 STEP 4 See the cell image of the selected channel STEP 5 Press Mark and the detection mark is displayed Live Dead definition can be modified at this stage STEP 6 Counting 1...

Страница 20: ...g Press the STOP button STEP 2 A confirmation message box is displayed as shown the following image Press the Continue button to confirm stopping STEP 3 Once stop counting is confirmed all remaining p...

Страница 21: ...Precise Total counting area number of snapshots is different for each count mode Quick mode 0 15 L 1 Frame Normal mode 0 9 L 6 Frames Precise mode 3 6 L 24 Frames Presets User changeable parameters f...

Страница 22: ...erous results autosaved after counting The auto saved results review screen are accessible only to the user group that was active at the time the results were captured Note Review and User preset list...

Страница 23: ...able Count mode the number of frames captured per a channel Analyzed volume Counting time per chamber Application requirement Quick mode 1 0 15 L 20s When you want to get a result quickly and make a r...

Страница 24: ...ied to all enabled channels C Creating a Preset Users can manage User Preset items 5 User presets are available per User group The 3 fixed presets cannot be removed or edited STEP 1 To create your own...

Страница 25: ...25 STEP 3 Select one of 3 fixed presets Universal Small Angular and press the blank text box beside Index STEP 4 Type the names of Index and Preset ID primary T PT primary T...

Страница 26: ...26 STEP 5 Adjust the 3 parameters according to requirements Gating size Aggregation level Live Dead definition STEP 6 Ready to count with a customized preset PT...

Страница 27: ...27 D Editing a Preset STEP 1 To edit your own preset press Preset button STEP 2 Select the preset button which you created STEP 3 Adjust the parameters of your preset PT PT...

Страница 28: ...28 STEP 4 Press the Save button to keep the changed parameters STEP 5 To delete your own preset press Delete button PT primaryT PT...

Страница 29: ...ls Four channels in the QuadSlide can be individually enabled or disabled STEP 1 Press the Channel numbers to be disabled enabled Disabled Gray box Enabled White box STEP 2 Press the Start button to c...

Страница 30: ...as shown below and enter the desired channel name The name might often be the specific cell type The ID can consist of a maximum of 20 alphanumeric characters and some special characters STEP 1 Press...

Страница 31: ...31 STEP 4 Press Back button STEP 5 Ready to count JurkatT JurkatT NIH Hela U937 Channel ID...

Страница 32: ...EP 1 Press All button STEP 2 Enter the desired name or cell type and press OK button STEP 3 Confirm that the ID has automatically populated for all 4 channels then press Back button Channel ID JurkatT...

Страница 33: ...ypad 1 Enter a channel ID and press the Enter key 2 The cursor moves to the next channel ID box The direction key can also be used to move the cursor Barcode Scanner 1 Scan a barcode containing channe...

Страница 34: ...d keypad or the barcode scanner refer to the above table The maximum channel ID length is 20 alphanumeric characters or some special characters STEP 3 Confirm that up to 4 channel IDs boxes are correc...

Страница 35: ...he QuadCount can generate both histograms for individual channels and also a combined histogram of all channels The QuadCount can detect 5 60 m diameter objects However the gating system is set by def...

Страница 36: ...can be saved as a new preset Save in the current preset The changed settings can be saved in current preset This is not available in a fixed preset Apply all The changed settings is applied to all ch...

Страница 37: ...37 STEP 3 Move both columns and adjust the cell size gating STEP 4 Check the results table of total cells quantity of live and viability 19 12 26...

Страница 38: ...and analyzed per channel and the number of images depends on the count mode selected The Result image screen shows the analyzed images with live cells circled in green and dead cells circled in red ST...

Страница 39: ...39 STEP 3 Press Data icon STEP 4 Review the number of Live cells and Viability 60...

Страница 40: ...nting result The Thermal printer is optional Contact Accuris Instruments or your local distributor for ordering information Step 1 Connect the thermal printer to the USB port at the back side of the d...

Страница 41: ...em USB memory sticks formatted to the ex FAT file system is not supported If an ex FAT File system memory stick is connected the USB memory icon will display but an error message Unsupported USB memor...

Страница 42: ...appears and the notification message Export success is displayed on status bar you can remove the USB memory stick from USB port NOTE If the USB memory stick is removed before the exporting message di...

Страница 43: ...ich can be opened by Microsoft Excel Please use the USB memory stick included with the QuadCount or another that is formatted to FAT32 or NTFS file system USB memory sticks formatted to the ex FAT fil...

Страница 44: ...a USB Memory stick to the USB port at the back side of the instrument Confirm that the icon is present on the status bar indicating it is recognized Press Export CSV button Step 4 A progress dialog bo...

Страница 45: ...sappears and the notification message Exported all data is displayed on status bar remove the USB memory from USB port NOTE If the USB memory stick is removed before the data is exporting message disa...

Страница 46: ...46 F Showing channel ID names Step 1 To see each of Channel ID names press Channel ID To go back to the channel numbers press Back...

Страница 47: ...47 Setting screen FN...

Страница 48: ...ck that contains the appropriate firmware update files Step 2 Choose the firmware category to update Main or Display If USB the memory stick is not connected or it does not contain the update program...

Страница 49: ...roperly Step 6 After about 1 minute and the initialization is complete switch the power to off and then back on again for stable operation NOTE When the following message Please wait appears on the in...

Страница 50: ...fer to the instructions included with the Bead QC kit for additional details Step 1 Press the Bead QC button Step 2 Load a standard slide with the appropriate bead mixtures added to the sample chamber...

Страница 51: ...nting Step 4 Check the resulting data Step 5 Check the Histogram and Bead image 200 12 Check the image STOP 12 34 12 Home 200 12 Check the image 320 15 Check the image 400 17 Check the image 350 19 Ch...

Страница 52: ...52 Step 6 Return to Home screen C Setting the Date and Time STEP 1 Press Time button STEP 2 Adjust date and time accordingly...

Страница 53: ...53 STEP 3 Press Set button to save the adjusted values STEP 4 Return to the Home screen 22...

Страница 54: ...egular maintenance or regular replacement of parts or components Clean the external surface of the device using a soft cloth Isopropyl alcohol or deionized water can be used together for cleaning the...

Страница 55: ...ers Pay careful attention to avoid bubbles when pipetting and loading samples into the slide low cell concentration 5 x 10⁴ Try again using the Precise mode Cell size is smaller than 10 m or around 10...

Страница 56: ...ue or media is contaminated or contains any debris which is similar in size and shape to cells this will causes inaccurate result Appendix B Examples of errors and inaccurate results 1 Too Low error 2...

Страница 57: ...error Cells are severely aggregated The sample loaded into the slide has dried out 4 Contaminated stain solution Cells mixed with contaminated trypan blue Comparative image Cells mixed with filtered...

Страница 58: ...was created Channel No Channel number Channel ID Channel ID name Date Measurement date Time Measurement time Total cell x10 4 mL Total cell Count result x 1X10⁴ cells mL Converted count result Live ce...

Страница 59: ...59 Appendix D Example and explanation of PDF report...

Страница 60: ...n Manual Website http www accuris usa com E mail info accuris usa com Accuris Instruments a division of Benchmark Scientific PO Box 709 Edison NJ 08818 PH 908 769 5555 FAX 732 313 7007 The information...

Отзывы: