background image

28

29

• 

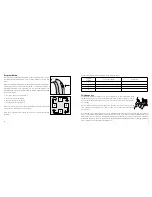
Dry the earmold with a cloth.

• 

Blow possible water drops from tubing and earmold. A special de-
vice is available from your hearing care practitioner.

• 

Ensure that the earmold and tubing are completely dry before at-
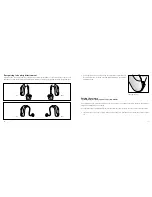
taching them to the hearing instrument. Take care to identify the left 
and right instruments (please refer to figure on page 15).

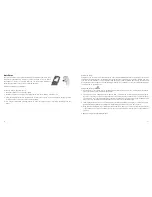
Replacing the tube

Ask your hearing care practitioner to replace the tubing from the instru-
ment to the earmould if it turns stiff or changes colour. 

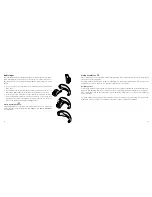
Cleaning the ThinTube and dome 

The ThinTube feeds the amplified sound from the hearing instrument into the ear. It is important that the 
ThinTube and the dome fit correct ly into your ear. If the ThinTube or the dome irritates your ear in any way 
and prevents you from wearing your hearing instrument, please contact your hearing care professional. You 
should never attempt to modify the shape of the ThinTube yourself.

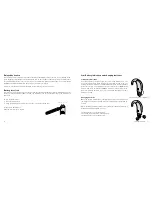
The ThinTube and the dome should be cleaned regularly. Remove the ThinTube from the instrument before 
cleaning by unscrewing it. Use a damp cloth to clean the ThinTube  and dome on the outside and use the 
black cleaning rod to “push” any debris out of the sound tube. The cleaning rod should be insert ed where 
the ThinTube attaches to the instrument and pushed all the way through the ThinTube and out through the 
dome. It is not recommended to submerge or rinse the ThinTube and dome with water, as there is a risk that 
a water drop may become lodged in the ThinTube. If this should occur, it will prevent sound coming through 
the ThinTube, and may be harmful for the instrument’s electronics. 

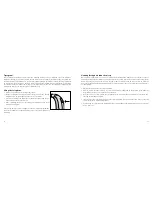
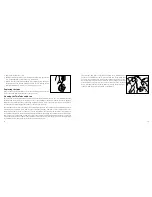
The ThinTube and dome should be changed every third month or 
sooner if the ThinTube becomes stiff or brittle. We recommend that 
you have your hearing care professional change the dome for you. 
If your hearing care professional instructs you to change the domes 
yourself, make sure that they are securely fastened to the ThinTube 
before inserting them in your ear. A failure to change the domes in ac-
cordance with the instructions could result in injury.

Содержание BO95DVI

Страница 1: ...Instructions for use Digital Behind the Ear hearing instrument Non wireless OR65DI OR65DIO OR75VI OR75DVI OR75DVIO OR85VI OR85DVI BO95DVI...

Страница 2: ...and pleasant listening with your new instrument Beltone Contents Warning to hearing care professional 4 Important notice to prospective users 4 Your hearing instrument 5 Switching on and off 9 Delayed...

Страница 3: ...gap equal to or greater than 15dB at 500 Hz hertz 1000 Hz and 2000 Hz vii visible evidence of significant cerumen accumulation or a foreign body in the ear canal viii pain or discomfort in the ear Im...

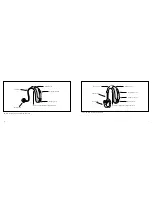
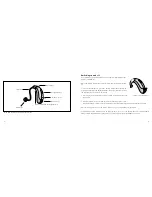
Страница 4: ...Hearing Instrument With ThinTube Model Serial Number Manufacturer Microphone Program button Plastic tube 75 85 95 BTE Hearing Instrument Earmold Tone hook Battery door Volume control Model Serial Num...

Страница 5: ...rds The power will switch off at the point where you can feel a small click Switch your instrument off if you are not using it This will increase the battery life At night switch off your instrument a...

Страница 6: ...he right To unlock the battery door Slide the color marker to the left Unlock Lock Low Battery Indication and changing batteries Low battery indication Your hearing care professional can set your hear...

Страница 7: ...time Whenever the hearing instruments are not in use remember to turn them off to avoid unnecessary bat tery consumption Inserting and removing the instrument standard earmould Inserting the instrumen...

Страница 8: ...ugh into the ear that the sound tube lies flush with your head When the dome is placed appropriately you should not see the sound tube sticking out when you look directly into a mirror If the device w...

Страница 9: ...k your instruments with a coloured Left and Right indication Left is blue and Right is red side indication indication Setting the volume 75 BTE 85 Power BTE and 95 Super Power BTE Your instrument has...

Страница 10: ...r hearing care professional fill out the following table Program number Type of program Intended for 1 2 3 4 Telephone use Your hearing instrument allows you to use the tel ephone as you ordinarily do...

Страница 11: ...htly to find the best position for reliable Auto Phone activation and good hearing on the telephone If the switching mechanism is not reliable or consistent additional magnets can be placed on the tel...

Страница 12: ...s a poor telecoil signal use the microphone program Do not hold the handset too tightly against your ear since this might cause whistling Hearing through an induction loop More and more public places...

Страница 13: ...audio input must comply with these safety regulations IEC 60601 1 IEC 60950 IEC 60065 or comparable Listen to radio or TV When listening to the TV or the radio start out by listening to news commenta...

Страница 14: ...hearing instrument from rough handling and avoid dropping it on hard surfaces or floors Do not leave the instrument in or near direct heat or sunlight since excessive heat can damage the in strument o...

Страница 15: ...nd the dome should be cleaned regularly Remove the ThinTube from the instrument before cleaning by unscrewing it Use a damp cloth to clean the ThinTube and dome on the outside and use the black cleani...

Страница 16: ...or if excessive ear wax accumulates with the use of the instrument Different types of radiation e g from X ray MRI NMR CT scans may damage the instrument There fore do not wear the instrument during t...

Страница 17: ...mes they sound very loud try not to get frightened 3 Have a conversation with a single person Use your instrument in conversation with one person a family member or a friend Move to a quiet spot Expla...

Страница 18: ...switch your hearing instrument to the telecoil pro gram Read about this on page 22 Your hearing instrument meets strict international regulations Therefore it should be possible to use a GSM telephone...

Страница 19: ...hand away or create some more space between the instrument and the object Does there seem to be a large amount of wax in your ear Visit your physician No sound Is the instrument switched on Close the...

Страница 20: ...a new one Is the plastic tube or the earmold clogged or broken Visit your hearing care practitioner Did your instrument get moist Use a dessicator Battery drains very quickly Did you leave your heari...

Страница 21: ...nal warranty in the event of defects in work manship or material as described in applicable warranty documentation In its service policy Beltone pledges to secure functionality at least equivalent to...

Страница 22: ...may place a check mark in the below list to identify the model you have received Serial number Right Serial number Left Dome Size Be aware of information marked with the warning symbol iWARNING point...

Страница 23: ...44 45 Notes...

Страница 24: ...46 47 Please ask your local hearing care professional concerning disposal of your hearing instrument...

Страница 25: ...2750 Ballerup Denmark Tel 45 45 75 11 11 Fax 45 45 75 11 19 www beltone hearing com CVR no 55082715 Any issues relating to the EU Medical Device Directive 93 42 EEC or Council Directive 1999 5 EEC on...

Отзывы: