12
Using your PS/2 KVM Switch
Selecting a Computer Using the
Port-Selector Button
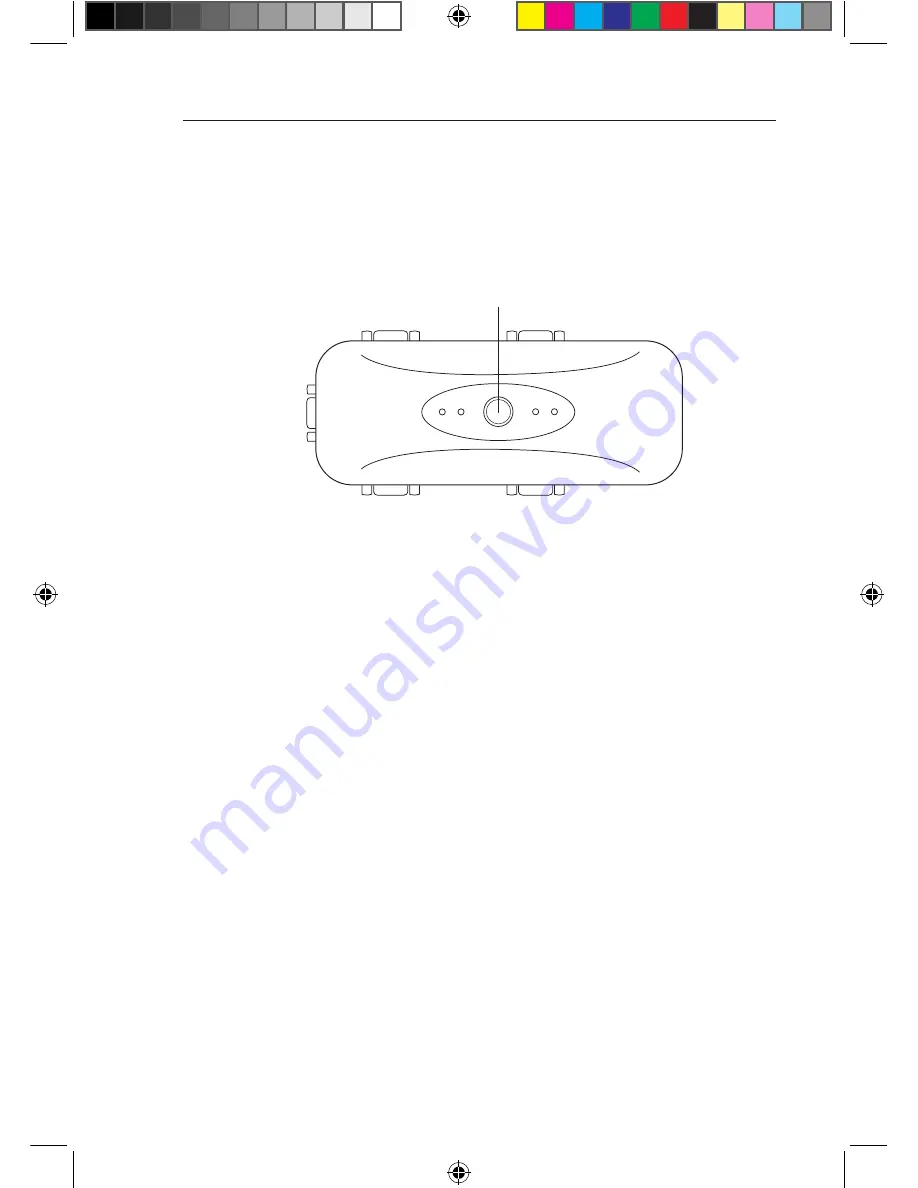
You can select which computer you wish to control by pressing the port-selector
button. The LED will illuminate to indicate the port is currently selected.
LED Display
The LEDs on the front panel of the PS/2 KVM Switch serves as a status
monitor. An LED illuminates to indicate that the console currently controls the
corresponding computer. As a port selector is pushed, the LED will light up
as you cycle through the ports. A flashing port LED indicates that there is no
computer connected to that port or that the computer connected is powered off.
The LED will also blink while the KVM Switch is in AutoScan mode.
Note:
The port LED will remain solid for some computers that continuously
supply power to the keyboard PS/2 port, even while they are shut down.
AutoScan Mode
In AutoScan mode, the PS/2 KVM Switch remains on one active port for eight
seconds before switching to the next active port. This time interval cannot be
changed.
To activate the AutoScan function, press “Scroll Lock”, “Scroll Lock”, “S”. You
should hear two beeps.
To stop AutoScan, press the port-selector button on the top panel or any key on
the keyboard.
Note:
There is no mouse or keyboard control in AutoScan mode. This is
necessary to prevent data and synchronization errors. If the user is using the
mouse or keyboard when the PS/2 KVM Switch is switching between ports, data
flow may become interrupted and could result in erratic mouse movement and/or
wrong-character input when using the keyboard.
Port-Selector Button
P74529ea_F1DJ10xP_uk.indd 12
10/01/2008 10:37:44


