1 697 630 500
2013-03-05
|
Beissbarth GmbH
14 | MS 65 OR RAC S80 | Operating instructions
en
5.2
Tire demounting
i
Read the Wdk publications available in German and
English!
(www.wdk.de: mounting/demounting instructions)
5.2.1
Preparations for demounting
!
Avoid valve damage!
1.
Pull out the valve element from the valve..
The air is discharged completely from the tire.
2.
Before starting bead breaking operations adjust the
3 position device according to tire width.
3.
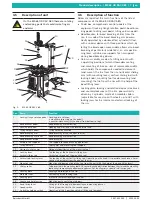
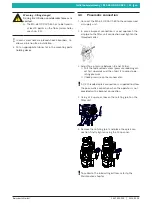
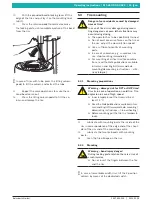
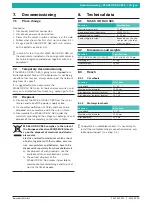
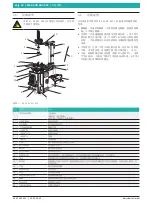
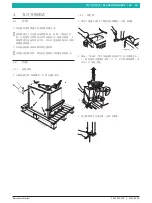
Place the wheel on the floor, close to the antiabra-
sive supports of the bead breaker; to put the blade
(1) close to the bead press the bead breaker control
pedal (2). The operation has to be carried out in dif-
ferent points of the wheel (rotating it manually) until
the bead doesn't come off completely.
i
Lubricate the side of the tire and the rim shoulder
with mounting paste to make the bead breaking
operations easier.
652012-15_Mi
1
2
4.
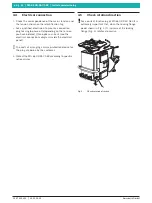
Repeat the operation on the opposite side of the
wheel.
Warning – limb injury danger!
During operation of the bead breaking arm,
be careful in order to avoid that the limbs are
not crushed between the tire and the bead
breaker.
Do not insert limbs between the tire and
the bead breaking arm.
Warning – damage risk for RFT or UHP tires!
Cracks in case of operation on cold tire. Tire
explosion in case of high speed.
Inner temperature of the tire must be at
least 15 °C.
Read the Wdk publications available in Ger-
man and English! (www.wdk.de: mounting/
demounting instructions – tire overheating)
Before mounting put the tire in a temperate
room.
5.2.2
Demounting
Warning – hand injury danger!
During locking plate rotation there is a risk of
crush injuries.
Do not insert the fingers between the tire
and the rim.
i
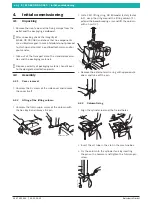
In case of remarkable width rims, lift the 2 position
column by means of the dedicated switch.
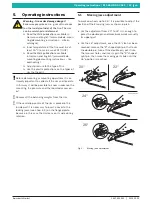
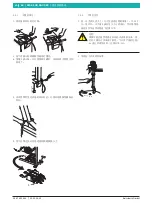
1.
Turn counter-clockwise the locking knob to unlock
the sliding rod.
2.
Press the tilting column pedal to tilt the column
backwards.
3.
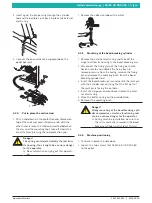
For external locking of the rim press the locking jaws
pedal to prepare the jaws in the open position;
i
In case of internal locking the jaws have to be in the
closed position.
4.
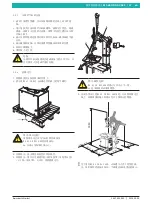
Place the wheel on the locking plate
5.
Exerting with the hand a pressure on the rim, press
(and release immediately) the locking jaws pedal in
order to lock it.
6.
Lubricate with mounting paste the side of the tire till
the edge of the rim.
7.
Press (and release immediately) the tilting column
pedal to lower the column.
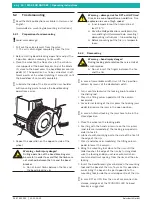
8.
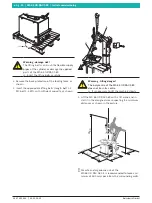
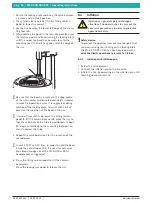
Bring the mounting tool close to the rim until the
roller touches the edge of the rim; by turning clock-
wise the locking knob you achieve automatic hori-
zontal and vertical spacing from the rim and the arm
locking.
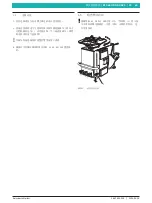
9.
Insert the bead breaking lever between the mounting
tool and the bead of the rim. To make this operation
easier bring the bead in the part opposite to the
mounting tool inside the semi drop centre of the rim.
i
In case RFT or UPH tires the use of accessories like
clamps, wedge or of the TECNOROLLER SL bead
breaker is suggested.


