156
Address book
Once you have entered all the informa-
tion, you must save the entry.
!
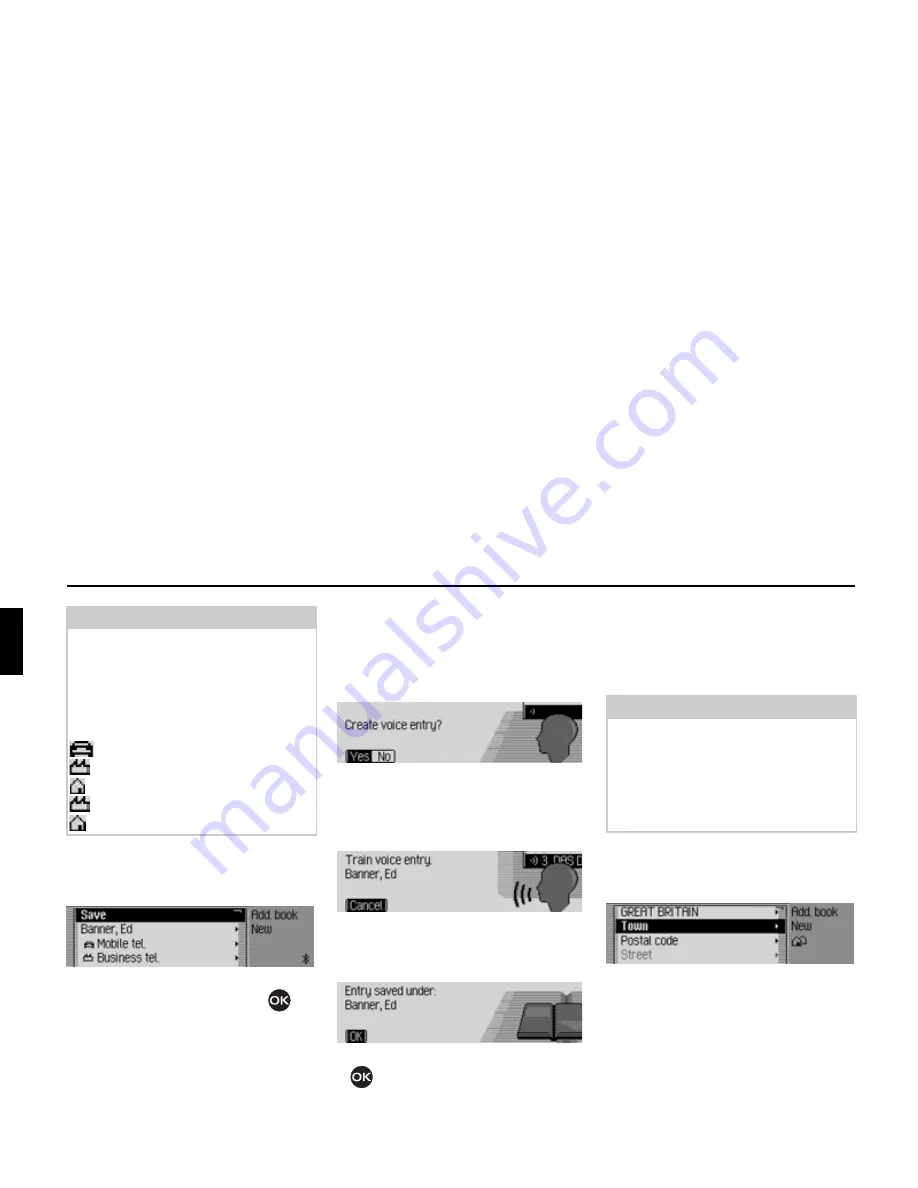
Select the
Save
entry.
!
Confirm your selection by pressing
the rotary control/push button
.
If, under “Automatic dialogue” on
page 182, you specified that a prompt to
record a name should appear when an
address entry is created, you will be
prompted to record a name.
!
Select
Yes
(record) or
No
(do not
record).
If you select
Yes
, a name will now be
recorded.
Once you have recorded a name, the
following information appears on the
display.
!
Press the rotary control/push button
.
The entry is saved.
Creating an entry which
supports navigation
!
In the Address Book main menu,
select the
New entry - navigable
entry.
!
Enter a surname and first name as
described in “Creating an entry” on
page 155.
The data entry menu for the address
appears. The last country selected
appears as the country by default.
!
Enter the address as described in
“Entering a destination” on page 28.
Note:
If for example a telephone number has
been entered for
Mobile tel.
, this will
appear in the menu instead of
Mobile tel.
.
To enable you to identify numbers sub-
sequently, symbols appear in front of
the individual entries.
stands for
Mobile tel.
.
stands for
Business tel.
.
stands for
Private tel.
.
stands for
Business e-mail
.
stands for
Private e-mail
.
6006
6007
6008
6009
Note:
The memory card with the navigation
data must be inserted in order to create
an address book entry which supports
navigation. If the memory card is not
inserted, you will be prompted to insert
it.
6010


