the electrode and pilot tip. These should ignite the gas at the pilot and burner. If the pilot
and burner do not light then the fire will have to be turned off before attempting to light
again. See section 11.3.2 below. Repeat the lighting procedure. The pilot and burner
should now light although air in the pipes may mean that the above procedure needs to
be repeated several times. The burner always lights on the low heat setting.
11.3.2
To turn off.
x
Press
the on-off button
(The word ‘OFF’ will now start to flash in the top left
hand corner of the display screen).
x
Press
the ‘SET’ button. The red L.E.D. light on the bottom left hand side of the fire
will illuminate. The word ‘OFF’ will now be displayed.
11.3.3
Burner operation.
Once the fire is lit the hanset will display the word ‘ON’ and a small twin flame symbol.
The burner flame can be increased by pressing the
button and decreased by pressing
the
button. There are three heat settings to choose from and these are shown on the
handset by flame size. The L.E.D. light on the bottom left hand side of the fire will
illuminate to confirm that each signal has been recieved.
11.3.4
Installing more than one 755 model in the same room.
Once the remote control handset is set and operating correctly it will be necessary to
deactivate the ‘learning’ sequence from the control box on the fire. This will prevent the
fire from ‘learning’ another remote control signal. If this isn’t turned off then both fires
will respond to the same remote control handset. To do this, remove the two forward
facing screws from above the control box. Gently rotate the control box bracket to gain
access to the right side of the control box. Be careful not to pull the box as this may
cause disconnection of plugs / wires from the back of the box. At the top of the box is a
switch marked ‘ON’ (See figure 45). Slide the switch from its current position. Replace
the control box using the two screws removed previously.
11.4 Check inlet pressure.
The appliance is pre-set to give the correct heat input at
the inlet pressure shown in section 2 of this manual. No
adjustment is necessary.
1.
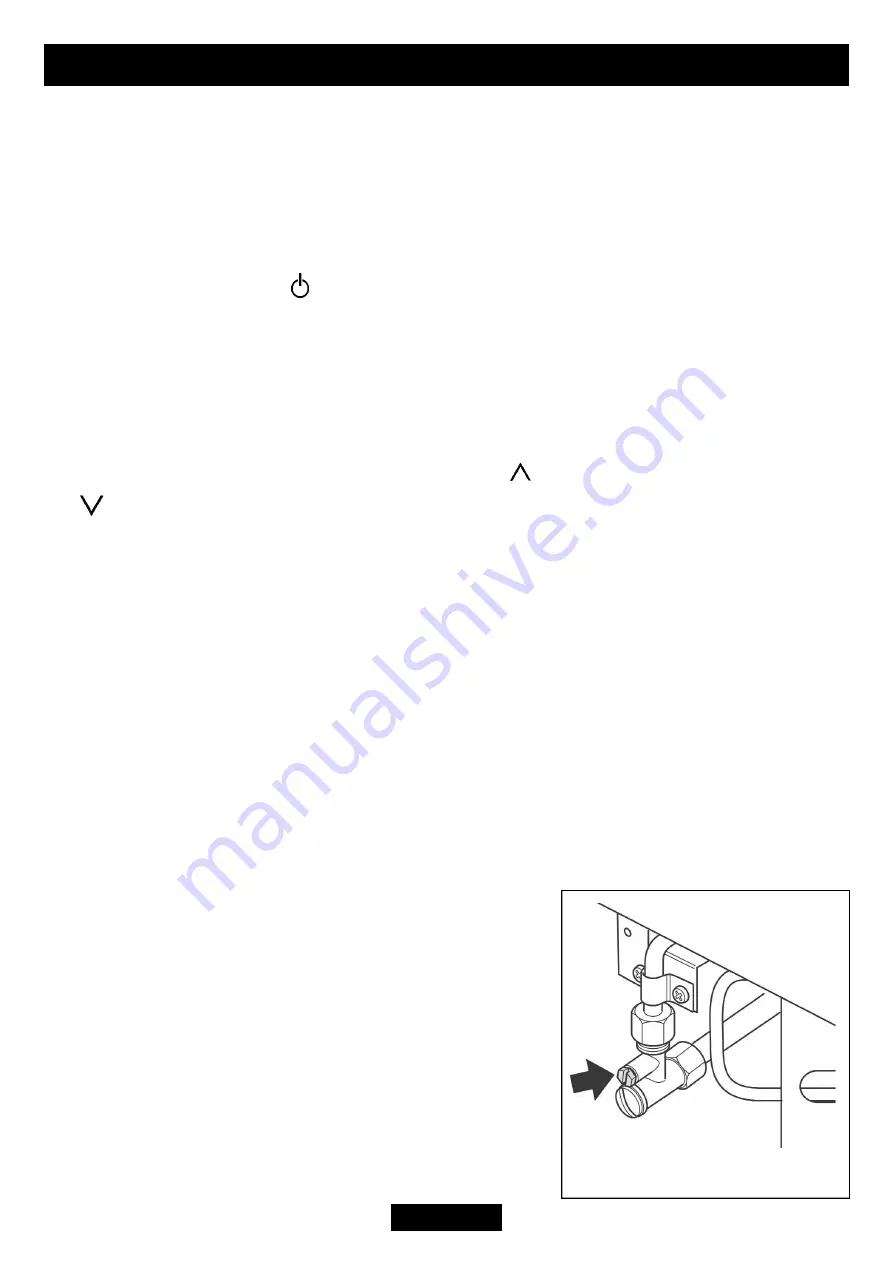
Check the inlet pressure by fitting a pressure gauge at
the test point. The test point is on the inlet ‘T’ connector
(See figure 24). Check the pressure with the appliance
alight and set at maximum output.
2.
After checking, turn off the appliance. Remove the
pressure gauge and replace the test point sealing screw.
3.
Relight the appliance. Turn to the maximum output
Page 25
INSTALLER GUIDE
©
Baxi Heating U.K. Limited 2006.
Figure 24. Pressure test point


